How Does 3D Printer Work?
Have you ever wondered how a 3D printer transforms a digital model into a real object? It’s pretty fascinating—layer by layer, the printer builds up material like plastic or resin to create something tangible.
By understanding these steps, you’ll see just how innovative this technology really is. Stay with me to learn exactly how it all comes together.
What Is 3D Printing and How Does It Work?
3D printing works by turning a digital model into a physical object through a layered manufacturing process. You start with a design created using CAD software, which is then sliced into ultra-thin layers by specialized software. This slicing process converts the model into G-code instructions that direct how the printer deposits or fuses material.
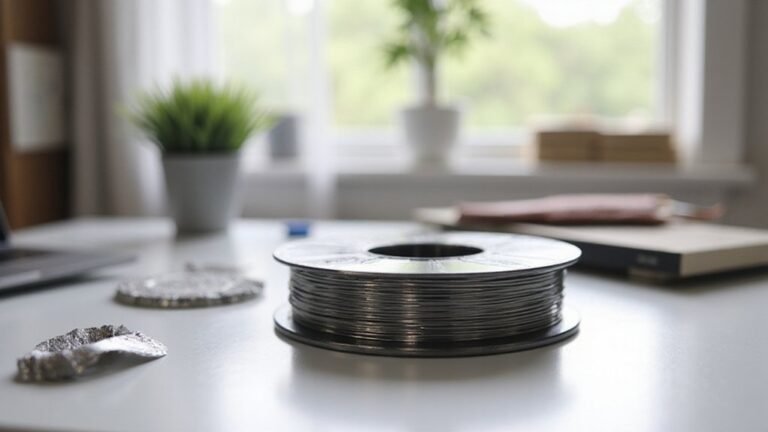
Material compatibility is crucial; the chosen substance—such as plastic, resin, or powder—must suit the specific printing technology. During printing, the machine deposits or fuses material layer by layer, with each new layer bonding to the previous one as it cools or cures. Proper calibration of the printer is essential; it ensures the nozzle, build platform, and other components operate smoothly, resulting in accurate dimensions and strong bonds. When all these factors align, you get a precise, high-quality object faithful to your digital blueprint.
How to Prepare Your 3D Printer and Materials
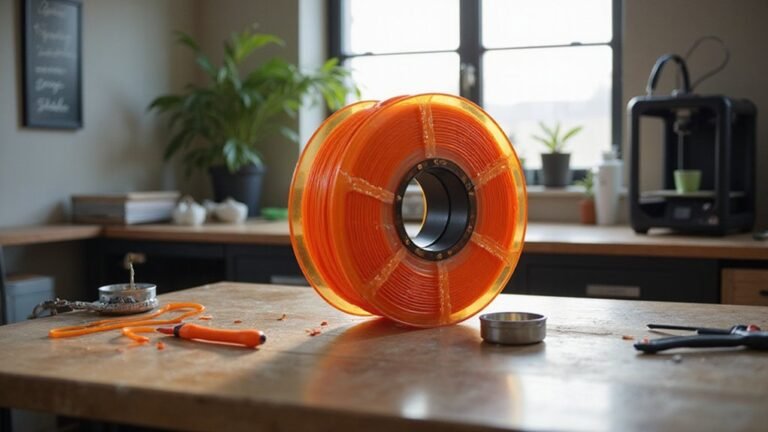
To prepare your 3D printer and materials effectively, start by placing the printer on a firm, level surface to ensure stability during printing. Check that the print bed is properly leveled, either manually or automatically, to guarantee good first-layer adhesion. Adjust the Z-offset to ensure the first layer contacts the bed just right—neither too squished nor too loose. Preheat the bed to around 60–70°C if you’re printing with PLA, which helps improve print adhesion and reduces warping. Store filament in a dry, airtight container or use desiccants to prevent moisture absorption, which can cause filament to bubble or fuse incorrectly during printing. Confirm that you are loading filament with the correct diameter, typically 1.75 mm for most beginners, to avoid extrusion issues. Set your nozzle and bed temperatures to appropriate levels—around 200–210°C for PLA—and perform calibration routines to fine-tune the printer’s movements for accuracy. Proper print bed leveling is critical for high-quality prints and reduces the chance of failed prints. Before starting a print, verify that the filament extrudes smoothly through the nozzle and that your file transfer method, such as SD card or USB, is functioning properly. Keep essential tools like flush cutters, microfiber cloths, and gloves nearby to handle filament and clean the printer when needed. Proper preparation of your printer and materials plays a crucial role in achieving successful, high-quality prints. Additionally, ensuring your filament is thoroughly dry can prevent common issues like stringing or layer separation, making filament drying an important step in the setup process.
Designing and Slicing Your 3D Models
When designing and slicing your 3D models, start with a clear plan for the final appearance and function of your print. Focus on optimizing your model by refining proportions, adjusting geometry, and verifying the scale to ensure parts are accurate. Check for errors such as disconnected edges or incorrect units before exporting, typically in STL format, to maintain geometry details. Upon importing into slicer software like Cura, review the model’s scale and orientation, making adjustments to support structures and print settings to avoid issues with support removal later. During slicing, optimize toolpaths for a balance of speed and strength, minimizing unsupported overhangs below 45 degrees. Fine-tune wall thickness and include features like fillets or chamfers to enhance durability and facilitate support removal. Proper preparation simplifies the printing process and increases the likelihood of a successful result. Additionally, verifying and fixing potential mesh errors can prevent problems during die cutting or 3D printing.
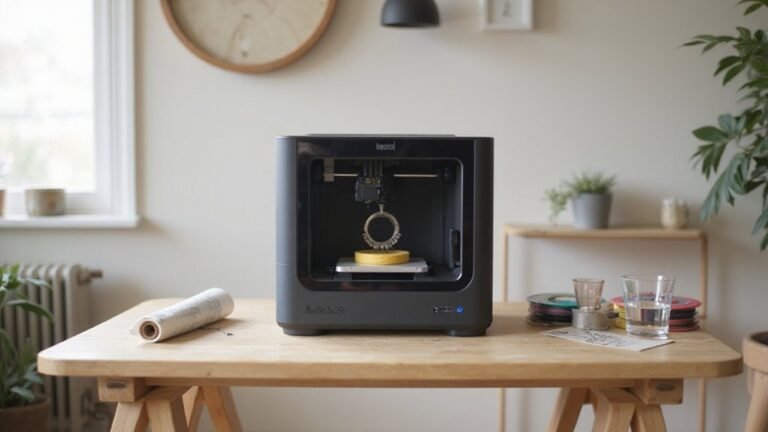
How 3D Printing Builds Objects Layer by Layer
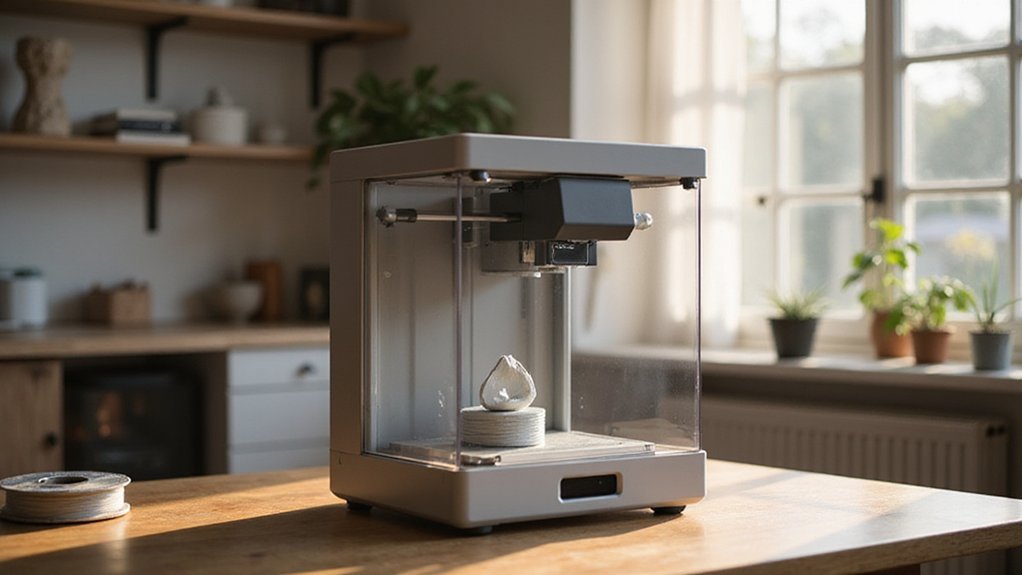
3D printing builds objects by adding material layer by layer, rather than removing it from a solid block. This process depends on precise layering of thin cross-sections of the digital design, which are created sequentially. Different bonding methods—such as cooling, solidification, or fusing—ensure each new layer bonds securely to the previous one, resulting in a strong, integrated structure. For FDM or Fused Deposition Modeling printers, filament is melted and extruded through a nozzle along exact paths to form each layer. In SLA printing, a liquid resin is cured into solid form by UV light, while SLS uses a laser to fuse powdered particles together. After each layer is deposited, it cools or hardens before the next is added, gradually building the final object from the bottom up. This cycle of forming, bonding, and repeating converts digital models into physical objects with high precision. The quality of bonding between layers is critical to ensure the durability and precision of the final product.
Choosing the Right 3D Printing Technology and Materials
Choosing the right 3D printing technology depends largely on your specific project needs, budget, and desired level of detail. Material compatibility plays a crucial role—FDM or FFF printers work best with thermoplastics like PLA, PETG, and ABS. However, ABS requires an enclosed chamber to prevent warping during printing. Resin-based methods such as SLA, DLP, and MSLA excel at producing highly detailed parts with smooth finishes but involve more post-processing steps and safety precautions due to resin handling. Powder bed fusion technologies, including SLS and DMLS, are suited for industrial-strength components, utilizing materials like nylon and metal alloys such as titanium. When evaluating these options, consider surface quality, part strength, and print speed. Matching your technology choice to your project’s functional needs, available materials, and budget will ensure the best results. Additionally, understanding CNC or laser cutting can help determine complementary manufacturing methods for certain project components. Considering the material properties and how they influence part durability is also essential for selecting the appropriate printing technology.
Finishing Your 3D Prints: Post-Processing Tips
After your print is finished, cleaning it up is the next crucial step before applying finishing touches. Remove supports, rafts, and brims carefully using tools like pliers or flush cutters. Then, trim any stringing, blobs, or surface imperfections with a sharp hobby knife or fine files. Use gentle filing or cutting to avoid damaging the model and to improve hand safety. Clear away loose dust and debris, especially before applying primer or paint, but be cautious around fine details to preserve delicate features. When smoothing surfaces, start with coarse grit sandpaper and work through progressively finer grits, switching to wet sanding when possible for a smoother finish. Fill gaps or small holes with epoxy or putty by applying thin layers and sanding after curing. Finally, research your material’s properties to determine whether vapor smoothing or priming and painting will produce the best professional-looking results. Understanding your filament’s characteristics can help you choose the most effective post-processing techniqueslike acetone smoothing for ABS or sanding PETG. For optimal results, consider exploring wood-filled filaments or other specialty materials to add unique textures and finishes to your prints.
Troubleshooting Common 3D Printing Problems
To troubleshoot common 3D printing problems after your print is complete, addressing filament feed and nozzle issues is crucial. If you experience inconsistent extrusion or no filament supply, changing the filament spool or type can resolve feed problems caused by tangles or empty spools. Ensuring the filament is properly loaded and not tangled allows for smooth feeding into the extruder. Heat transfer principles also play a role in filament adhesion and print quality, making it important to consider material behavior during troubleshooting. Regularly checking nozzle condition helps identify and prevent potential blockages caused by debris or wear.
Nozzle blockages or wear often cause extrusion issues or surface imperfections. Replacing a clogged or worn-out nozzle restores proper filament flow and improves print quality. Regularly inspecting the nozzle and clearing any blockages helps prevent partial or complete stops during printing.
Adjusting retraction settings and calibrating extrusion rates can also prevent stringing, blobs, and layer artifacts. Fine-tuning retraction distance and speed reduces unwanted filament trailings, while precise calibration ensures consistent extrusion volumes. Addressing these common issues promptly maintains smooth printing operations and enhances the surface finish of your prints.
Real-World Uses of 3D Printing Technologies
3D printing is widely used in the medical field for creating highly customized and precise solutions. It enables the production of patient-specific implants, such as skull plates, joint replacements, and dental restorations, tailored to fit individual anatomy perfectly. This customization improves comfort, functionality, and surgical outcomes. Surgeons also utilize 3D-printed models of patients’ anatomy for preoperative planning, which helps reduce surgery time and increase accuracy. Additionally, the choice of filament materials like ASA or ABS can influence the durability and suitability of printed medical devices, making material selection a critical factor in healthcare applications. In dentistry, 3D printing significantly speeds up the fabrication of crowns, bridges, and implants. These prosthetics can be produced within a few hours, allowing for quicker treatment times and fewer visits. The technology supports the creation of highly detailed and durable dental appliances, often with better fit and aesthetics than traditional methods. Additionally, pharmaceutical applications include 3D-printed pills and drug delivery devices. Some medications designed with 3D printing, like the FDA-approved Spritam, enable personalized dosing and controlled release profiles. This flexibility helps tailor treatments to individual patient needs, improving efficacy and minimizing side effects. As material selection involves understanding factors like durability and biocompatibility, it plays a crucial role across healthcare applications. Overall, 3D printing enhances precision, speed, and customization, and ongoing advancements in materials and techniques are expanding its potential in medical fields.
Factors That Affect 3D Print Quality
Several factors influence the quality of your 3D prints. One of the most important is filament consistency; uneven filament diameter can cause extrusion issues like weak spots or jams. Calibration accuracy is also crucial, especially bed leveling and nozzle alignment, which ensure proper layer adhesion and precise dimensions. Printer settings, such as layer height, directly impact surface finish—smaller layers result in smoother details. The temperature of the filament must match its specifications—too hot can cause stringing and poor bonding, while too cold can lead to weak layers. Environmental conditions like temperature and humidity stability help prevent warping and surface defects. Proper slicer configurations and post-processing steps contribute significantly to achieving a high-quality print. Material selection, which involves choosing the appropriate filament material for your specific application, also plays a vital role in ensuring a successful printed object. Additionally, understanding the working mechanisms of your 3D printer can help optimize settings for better results, including awareness of how filament properties impact extrusion. Paying attention to calibration techniques can further enhance print accuracy and consistency.
Next Steps: Starting Your Own 3D Printing Projects
Getting started with your own 3D printing projects involves selecting simple tasks that build your confidence and skills. Begin with small, straightforward items such as a coaster, keychain, or a test print. These projects have minimal design complexity, making them ideal for beginners. Focus on choosing the right material, like PLA or ABS, which are beginner-friendly and widely available. Ensuring good print bed adhesion is crucial; prepare the bed properly by cleaning and leveling it, and verify that the first layer sticks well before proceeding. Use beginner-friendly models from online repositories or tutorials, especially those with flat bases and minimal overhangs, to simplify printing. Convert downloaded STL files into G-code with a slicer, and pay attention to setting the model’s orientation to maximize stability during printing. Keep initial projects limited in scope and view them as learning exercises, allowing you to gradually improve your workflow, settings, and understanding of the entire 3D printing process. Additionally, understanding the 3D printing process can help you troubleshoot issues and refine your techniques effectively. Developing a good foundation in printer operation helps ensure successful prints and enhances your print quality over time.