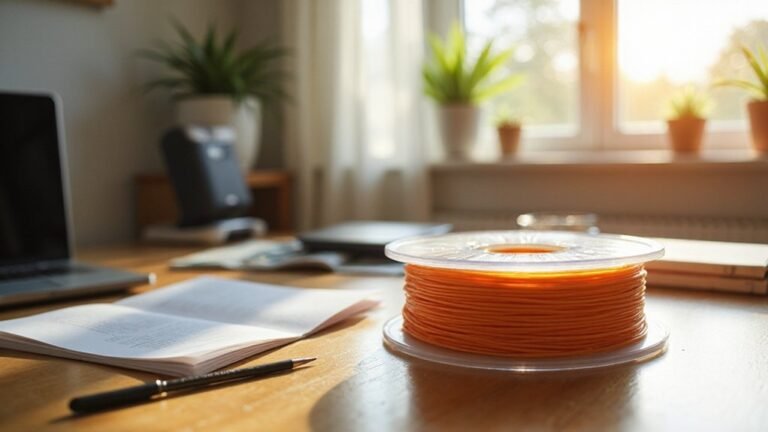
Figuring out how to dry filament without a dryer can save you time and keep your prints in top shape.
You’ll learn easy methods like making a simple drying box or using common household items like an oven or heated bed to remove moisture effectively.
With the right approach, you can keep your filament dry and ready for printing. Keep reading to see how you can get it done efficiently.
Why Properly Dry Your Filament for Better 3D Printing Results
Properly drying your filament is crucial because moisture absorbed during storage can lead to a host of print defects. When filament contains excess water, you may notice popping and sizzling sounds during extrusion, steam escaping from the nozzle, stringing, blobs, and inconsistent flow. Water in the filament hampers stable melting and makes it difficult for layers to adhere properly, resulting in weaker prints and surface imperfections. Drying the filament helps maintain a consistent flow, improves surface finish, and ensures dimensional accuracy. Materials like nylon and PETG are especially hygroscopic and require higher temperatures and longer drying times, while PLA typically needs gentler drying conditions. Proper drying not only enhances print success but also extends the lifespan of your filament by preventing degradation caused by moisture. Additionally, understanding which filament materials are more hygroscopic can help you choose the best drying method for different types of filament. To optimize your drying process, it’s important to consider the specific moisture absorption characteristics of each filament type.
How to Build a Homemade Filament Drying Box
To build a homemade filament drying box, you need a container that is sturdy, clear, and fits your spool. A good choice is a plastic storage bin approximately 12 to 16 inches long, 8 to 12 inches wide, and 6 to 10 inches high. The size should allow your filament spool to spin freely without hitting the walls, with enough space for support hardware and airflow. The lid must fit tightly to prevent moisture from entering or escaping. Proper airflow management is essential to ensure uniform drying of the filament, preventing hotspots or moisture pockets. Support the filament spool on a rod or holder that ensures smooth rotation—using a wooden dowel, metal rod, or a printed holder works well. Position the support so the spool can freely rotate without rubbing against the container walls. To promote airflow, drill intake and exhaust holes about 1 to 2 inches wide on opposite sides of the box. These allow moist air to escape while fresh dry air enters. Installing a small, quiet fan inside the box can help improve airflow and drying efficiency. Additionally, using moisture-absorbing materials inside the box can further enhance drying performance by capturing residual humidity. Incorporating a humidity sensor can help monitor and maintain optimal drying conditions in real time. Install a low-power heater inside the box to gently raise the temperature, typically around 35 to 45 degrees Celsius (95 to 113 degrees Fahrenheit). Place a temperature and humidity sensor inside to monitor conditions continually. Seal all gaps and holes with weatherproof tape or a rubber gasket to keep the environment stable and prevent moisture exchange. Proper sealing and ventilation are crucial for maintaining consistent drying conditions.
How to Use a Heated Bed or Oven to Dry Filament Safely
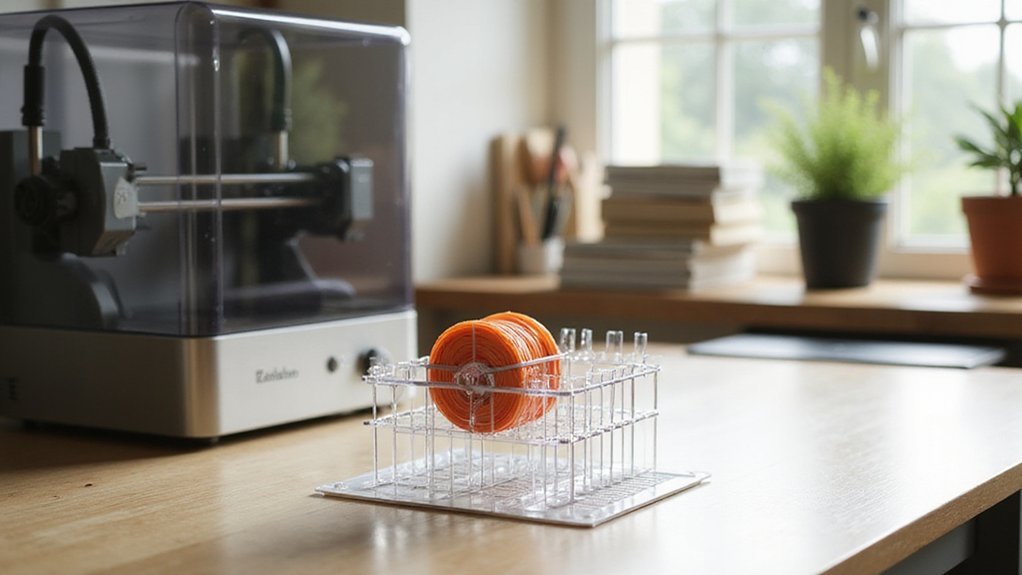
Using a heated bed or oven to dry filament is effective when specialized dryers are unavailable. For heated beds, set the temperature to around 60°C (140°F). Elevate the filament spool on a rack or support to ensure proper airflow and avoid direct contact with the surface, which could cause deformation. Place a tray underneath to catch any possible drips or failures. Proper airflow is essential to prevent hotspots and ensure even drying. For oven drying, keep the temperature between 40°C and 60°C, ensuring it never exceeds 60°C. Use an oven thermometer to verify the temperature for accuracy. Slightly opening the oven door improves airflow and helps moisture escape while preventing overheating. Keep the filament away from direct heat sources to promote even heating. It’s also important to consider storage conditions for your filament to prevent moisture buildup before drying. Monitor the drying process, typically lasting 4 to 6 hours, and check periodically to prevent softening or deformation. Proper ventilation and cooling after drying help ensure safe and effective moisture removal.
Adjusting Drying Times and Temperatures for Different Filaments
Adjusting drying times and temperatures for different filaments is essential to avoid damage and ensure proper moisture removal. Different types of filament require specific temperature ranges: PLA at 40–55°C, PETG at 60–70°C, and ABS at 70–80°C. High-performance filaments like nylon or polycarbonate need even higher temperatures—75–90°C for nylon and 80–100°C for polycarbonate—to effectively dry them. Moisture absorption significantly varies among filament types, affecting the ideal drying parameters to prevent defects. Your drying station should be designed to accommodate these varying temperatures, providing uniform and safe heating. For hygroscopic filaments such as nylon, extended drying times of 8 to 12 hours are recommended, while polycarbonate generally needs about 6 to 8 hours. Increasing the drying temperature by 10°C can reduce the time needed by roughly an hour, but caution is vital. Exceeding the recommended temperature limits risks filament degradation and compromised print quality, especially when temperature control is inconsistent. Regularly monitor the drying process with a thermometer or by checking filament weight loss or sound; understanding filament properties in relation to moisture is crucial for optimal results. Additionally, filament storage practices impact moisture absorption even after drying, highlighting the importance of proper storage to maintain dryness. Overheating can damage the filament, so careful adjustments are crucial. Once dried, filament should feel dry and produce a clear snapping sound when bent. Adjusting both time and temperature according to filament type will optimize drying results and prevent future printing issues caused by moisture.
Monitoring Moisture and Long-Term Storage Tips for Filaments
Monitoring moisture levels in filament is crucial to maintaining print quality and avoiding common issues like stringing, bubbles, or rough textures. To detect excess moisture, perform a zipper snap test by bending a filament sample and listening for a shattering sound instead of a smooth bend. Popping noises during extrusion also indicate water vapor expanding into steam inside the nozzle. Visually, you might notice bubbles or rough surfaces on printed parts, which signal wet filament. Additionally, condensation along the spool or swelling can suggest moisture buildup. Handling the filament can reveal a tacky texture or discoloration, further indicating moisture absorption. For more precise detection, weigh your spools before and after drying to measure moisture loss, or use passive humidity sensors like hygrometers inside sealed storage containers. Proper storage methods—such as airtight containers with silica gel packs, vacuum-sealed bags, and storing in cool, dark environments—help prevent moisture uptake and ensure long-term filament quality. Regularly monitoring moisture levels can help you catch issues early and maintain optimal print results. Implementing moisture management techniques, like pre-drying filament before printing, can also significantly improve your print quality and reduce troubleshooting time. Additionally, monitoring the humidity environment where you store your filament can be an important factor in preventing moisture absorption over time.