Struggling to get your printable heat transfer vinyl just right? The process isn’t complicated, but it does require some careful steps to ensure a professional-looking design.
Whether you want a custom shirt or personalized tote, mastering these basics will make your projects look polished and durable.
By the end of this, you’ll know how to design, print, cut, and press your vinyl with confidence.
Keep reading for the full step-by-step guide to get your heat transfer vinyl projects looking their best.
What Is Printable Heat Transfer Vinyl and How Does It Work?
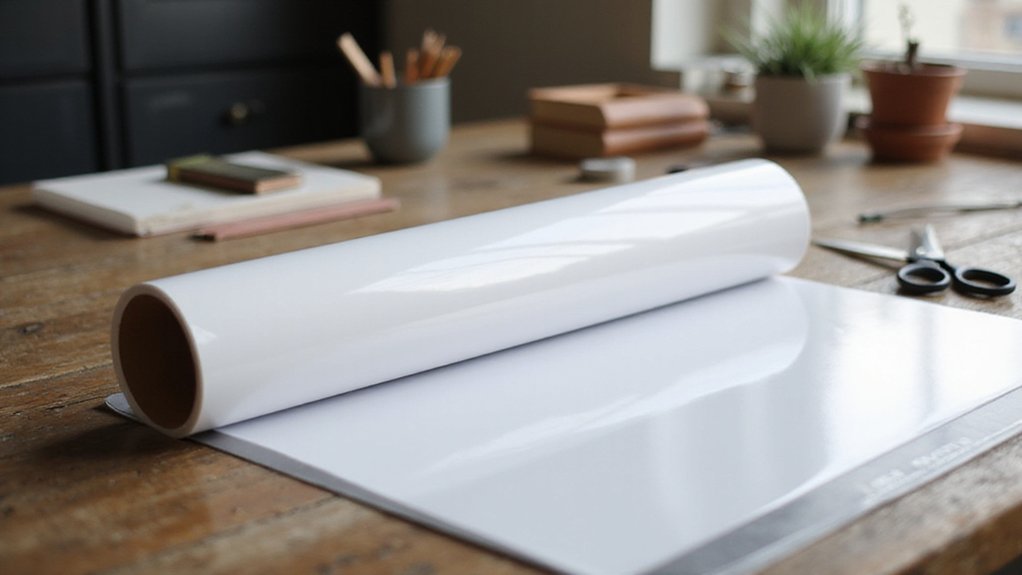
Printable heat transfer vinyl (HTV) is a specially designed vinyl film that allows you to create full-color, detailed designs on fabric. You print your artwork directly onto the printable HTV first, using compatible printers such as solvent, eco-solvent, sublimation, or inkjet printers. After printing, you cut the vinyl to shape, ensuring your design is ready for transfer. The adhesive layer within the vinyl is activated by heat and pressure, typically using a heat press set between 300 and 350°F. When you press the vinyl onto the fabric, the heat causes the adhesive to bond securely, fusing the design to the material. This process makes it possible to reproduce complex graphics, gradients, and photographic images with high resolution and vibrant colors. Understanding the adhesion process can help you achieve better results and longer-lasting designs. Using proper application techniques ensures the longevity and quality of your printable heat transfer vinyl projects. Once cooled, the design becomes a durable decoration that stands out on your garment, maintaining strong adhesion even through multiple washes.
Essential Materials and Tools for Printable HTV Projects
Choosing the right materials and tools is crucial for a successful printable HTV project. Start with fabric compatibility by selecting cotton, polyester, or blends that the vinyl can adhere to well. Always pre-press fabrics to remove wrinkles and moisture, which helps the vinyl stick more evenly. When working with printable HTV sheets, ensure you print on the correct side—the printable side for vibrant color matching and sharp images. Using a heat transfer vinyl cutting machine equipped with a fine-point blade is essential for precise cuts. Perform test cuts to adjust the cut depth, preventing the vinyl from tearing or not cutting through properly. Weeding tools and sharp blades make removing excess material easier, saving time and effort. Proper cutting techniques are essential for achieving clean, professional results. For application, a heat press or iron set to the manufacturer’s recommended temperature and duration is essential for proper adhesion. Pay attention to adhesive compatibility with different fabrics to avoid peeling or bubbling. Additionally, ensuring the cut quality is precise will result in a cleaner, more professional look. Additional tools like lint rollers and heat-resistant tape help with accurate placement, ensuring your design remains exactly where it should be. These small but vital accessories contribute to a professional, flawless finish on your printable HTV projects.
Designing and Printing Your Printable HTV Design
Creating a printable HTV design begins with selecting the appropriate graphics software, such as Adobe Illustrator, Canva, or Microsoft Word, which allows you to import and edit your artwork. Ensure your design’s colors are accurate by adjusting saturation and brightness in your printer software to match the fabric background. Proper alignment is crucial; scale your design to fit your fabric dimensions while maintaining visual balance. For example, leave about 3 inches of clearance below the collar if placing the design near the neckline. Save your file as an SVG to ensure compatibility with cutting machine software. Convert text to shapes using “Type > Create Outlines” to prevent font issues during cutting. Expand stroke lines into shapes with “Object > Expand” to avoid cutting errors. Including registration marks helps with precise alignment during transfer and maximizes material usage. Additionally, paying attention to printability settings can greatly influence the final outcome of your design. Proper setup of these elements results in a clean, vibrant print ready for transfer onto your fabric. Ensuring your file settings are correct in your software can prevent printing issues and improve cut accuracy.
Cutting and Weeding Printable HTV for a Clean Transfer
To ensure a clean transfer of printable HTV, begin with precise cutting and careful weeding. Use a kiss cut to cut only the printable layer, leaving the liner intact. Place your HTV carrier side down and the adhesive side up before cutting. Run a test cut first to adjust blade depth and pressure, aiming for a cut that’s clean without damaging the backing. Incorporate cut lines or weeding boxes around your design to improve control and achieve cleaner edges. When weeding, start with the inner cavities, removing those first, then gradually peel away the outer excess. Use sharp weeding tools, optimal lighting, and pull at an angle for better control. For easier removal, warm the HTV or do your weeding on a warm heat press—this loosens the vinyl and promotes a smooth, professional finish when heat pressing. Additionally, using a sharp blade and proper settings helps prevent tearing or incomplete cuts, ensuring a smoother weeding process. Understanding the properties of brayer rollers can also help you make cleaner cuts by smoothing out transfers and removing air bubbles before pressing. Mastering weeding techniques such as the proper angle and slow peeling can further enhance the precision and quality of your transfers. Incorporating proper handling techniques can further enhance the precision and quality of your transfers.
Preparing Your Garment for Optimal Printable HTV Application
Ensuring your garment is properly prepared is crucial for a smooth and long-lasting printable HTV transfer. Start by selecting a fabric with a smooth weave, as this promotes consistent vinyl contact and adhesion. Textured surfaces can cause lifting or uneven transfers, so avoid heavily textured fabrics when possible. Verify that your garment is compatible with the recommended application temperature, typically around 100% cotton or specific blends, to prevent scorching or damage during heat pressing. Using the correct temperature setting, based on the material and vinyl specifications, helps ensure optimal adhesion and durability. Prewashing and thoroughly drying the fabric removes residues such as sizing or detergents that can interfere with adhesion. It also helps eliminate shrinkage and wrinkles that may affect the transfer. Avoid fabric softeners, as they leave a residue that can hinder bonding. A brief pre-press to remove moisture and smooth out wrinkles creates a clean, dry surface, ensuring better vinyl contact. Proper fabric preparation can significantly improve the longevity of your design. Additionally, understanding heat transfer techniques and applying them carefully can make a notable difference in the quality of your results. Properly test the transfer on a scrap piece of fabric before working on the actual garment to gauge the adhesion and durability of your heat transfer. Finally, ensure the fabric is lint-free and free of debris to help achieve a professional, durable, and neat transfer.
Transferring Printable HTV to Fabric: Settings & Techniques
To successfully transfer printable HTV onto fabric, set your heat press to 374°F (190°C). Allow the press to fully heat to this temperature before applying the transfer. Maintain firm, consistent pressure for 10 to 15 seconds, ensuring heat is evenly distributed across the design area. Using a thermometer to verify the platen temperature helps prevent overheating, which can compromise the ink’s integrity. Preheat the fabric for 3 to 5 seconds to smooth out wrinkles and improve adhesion. During pressing, cover the transfer with parchment paper to protect both the design and the fabric. After pressing, let the transfer cool for about a minute before removing the backing. Proper placement, steady pressure, and precise timing are key to achieving a vibrant, durable design that resists heat and washing. Monitoring the temperature regularly ensures consistent results, especially when working with different fabrics or multiple projects. Additionally, understanding the heat transfer process can help troubleshoot any issues that arise during the application, and being aware of different heat transfer types can help you choose the best method for your project. Knowing how heat transfer vinyl reacts to various settings can help improve your success rate.
Tips for Achieving Flawless Designs and Troubleshooting Common Issues
Proper preparation and meticulous attention to detail are key to achieving flawless printable heat transfer vinyl designs. Start by ensuring your design is properly sized and positioned before cutting. Test cut your vinyl first to verify blade depth and cutting speed—using the wrong settings can cause tearing or incomplete cuts. Weed carefully, removing excess material without ripping fine details. When applying the design, use the recommended temperature, pressure, and pressing time for your specific vinyl type to promote even adhesion, preventing issues like lifting or shifting. Adjust your design’s contrast and saturation during preparation to enhance vibrancy and color accuracy. After peeling, if edges lift or the design doesn’t adhere fully, reapply heat and pressure to secure it. For stubborn areas, warming with a heat gun or re-pressing can help. Consistent application, precise cutting, and proper alignment are essential for troubleshooting common issues and consistently creating professional-looking, flawless designs. Additionally, ensuring the workspace is free of dust and debris helps achieve a smooth, clean transfer every time. To further improve results, consider researching butcher paper options for different projects and how they can influence the finished appearance. Using vinyl transfer tape effectively can protect intricate designs during application, minimizing mistakes. Being aware of the sublimation printer capabilities and limitations can also assist in optimizing your transfer process for specific projects.
Final Tips for Perfect Printable HTV Results and Maintenance
Proper post-press handling and finishing techniques are key to maintaining the quality of your printable HTV results. Store your finished projects flat in a cool, dry place, away from direct sunlight and dust, which can weaken the adhesive over time. For long-term durability, wait at least 24 hours before laundering, with 48 hours being ideal to ensure a stronger bond. When washing, turn garments inside-out and use cold water with a mild detergent. Avoid fabric softeners and harsh chemicals, as these can diminish the adhesion and vibrancy of your design. To extend the lifespan, opt for gentle, low-agitation drying options. Storing garments in a cool, dry environment helps prevent deterioration. Quality assurance during storage and handling Handling your projects carefully after application significantly enhances their longevity, preserving both their vibrant appearance and strong adhesion over time.