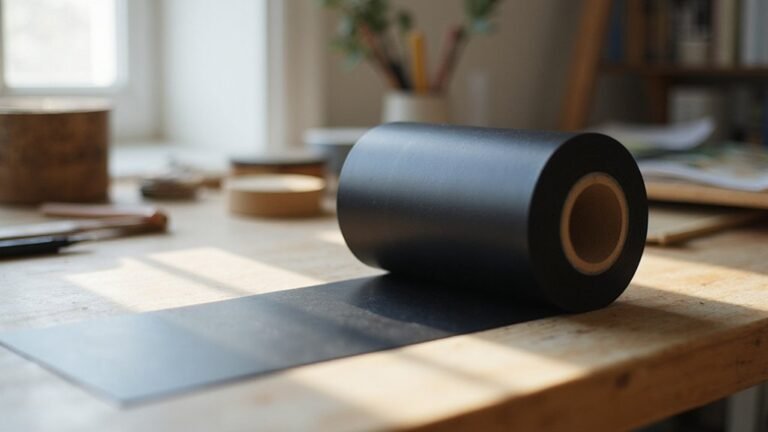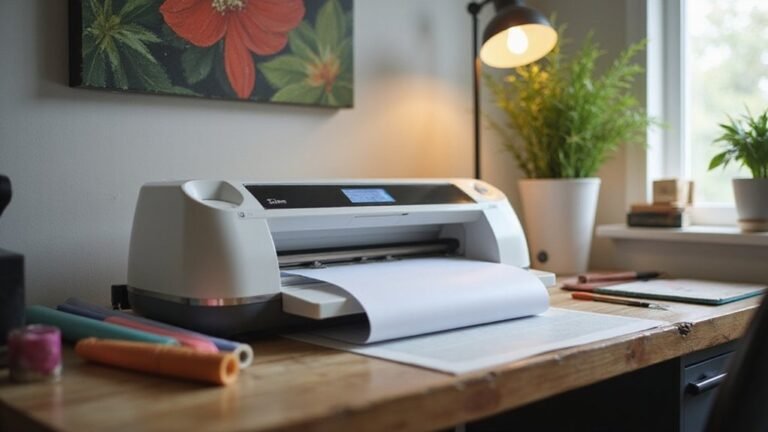
If you’re wondering how to get that perfect, professional-looking vinyl design onto your surface, transfer tape is your best friend.
It might seem simple, but using it correctly ensures your design stays intact and looks amazing.
Once you master the steps, you’ll be able to transfer your vinyl smoothly and accurately every time.
Keep reading to learn how to use Cricut transfer tape like a pro.
How Do You Prepare Your Vinyl Design for Transfer Tape?
Before applying transfer tape, properly preparing your vinyl design is essential. Begin by selecting contrasting colors for the vinyl and transfer tape, which makes weeding easier—especially with complex designs. Pay attention to design complexity: intricate details or thin lines require careful weeding to remove all unwanted vinyl. Use a weeding tool or tweezers to lift small pieces and ensure no leftover scraps remain around letters or corners. A clean, weeded design reduces the chance of transfer tape catching debris during application. Keep your design flat on the backing sheet to preserve spacing and alignment. Trim the transfer tape slightly larger than the design to make handling easier, but avoid excessive overlap that could interfere during application. Proper preparation ensures a smooth, professional-looking transfer. Additionally, ensuring your vinyl design is fully adhered to the backing sheet before applying transfer tape prevents shifting or misalignment during the transfer process. Vinyl should be firmly adhered to backing sheet. Understanding types of transfer tape available can help you select the most suitable option for your project and improve overall results. Moreover, choosing the right adhesive strength of transfer tape can impact how easily your design transfers without lifting or tearing. Furthermore, using the correct application tools can make the transfer process easier and more precise.
What Transfer Tape Should You Use for Vinyl Projects?
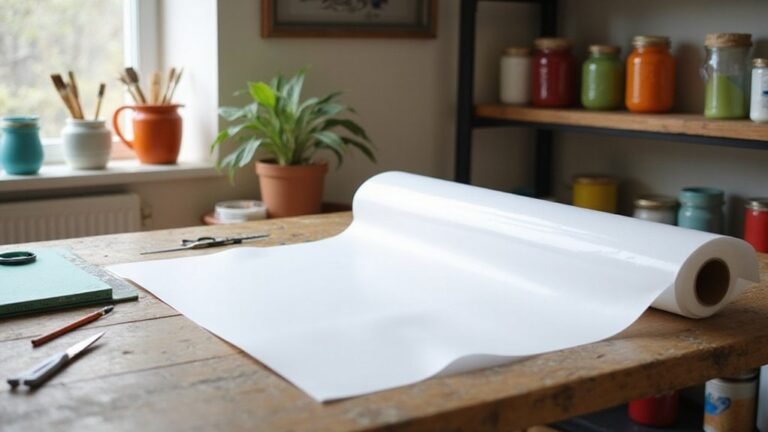
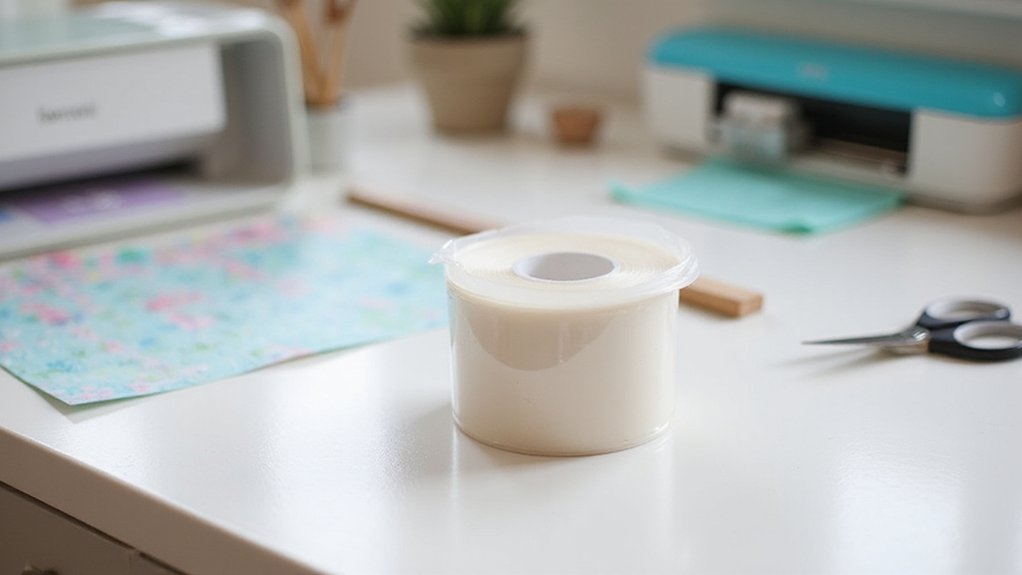
Clear transfer tapes are ideal for vinyl projects requiring precise placement and visibility. Their transparency allows you to see exactly where your vinyl is positioned, making alignment easier, especially for detailed designs. For larger projects like signs or banners, 12-inch-wide tapes provide ample coverage and simplify handling. Smaller projects, such as decals, often benefit from 6-inch-wide tapes, which offer better control and ease of use. When working with textured or glitter vinyl, high-tack transfer tapes are necessary. These tapes feature a stronger adhesive designed to lift stubborn materials without tearing or slipping. Medium-tack transfer tapes are a versatile choice for most standard vinyl projects. They provide a balanced adhesive strength that ensures easy transfer without damaging the vinyl surface or causing unnecessary lifting. Matching the adhesive strength of your transfer tape with the type of vinyl you’re using ensures a smooth transfer process and helps prevent issues like tearing or lifted edges. Additionally, understanding sublimation printing can help you explore other transfer techniques for different projects. Knowing the adhesive properties of transfer tapes can also improve your results and make your workflow more efficient. Selecting the right tape consistency is crucial to achieving a professional finish and ensuring the durability of your craft.
How Do You Apply Transfer Tape Correctly to Vinyl?
To apply transfer tape correctly to vinyl, start by anchoring a small edge of the tape to your design. Work gradually from one corner or end to ensure precise placement. This approach helps keep the design aligned and makes handling easier. Cover the entire design with a larger piece of transfer tape, which provides control and stability during application. As you press the tape down, use a scraper or squeegee to burnish from the center outward. Apply firm, even pressure to eliminate wrinkles and bubbles. When peeling back the liner, do so slowly and carefully, keeping the transfer tape flat and fully adhered to the vinyl. If any vinyl lifts during the process, press it back down and burnish again to ensure complete contact. [Properly preparing and aligning transfer tape] minimizes errors and promotes a smooth transfer. Taking your time and working gently results in a cleaner, more accurate transfer with fewer imperfections. This method reduces the likelihood of air bubbles or misalignment, ensuring a smooth transfer every time.
How Do You Line Up and Transfer the Vinyl to Your Surface?
To line up and transfer vinyl accurately to your surface, start by anchoring a small section of transfer tape at a precise reference point, such as the center or a corner of your design. Use grid lines or visual guides to ensure straight placement, especially on larger designs or when aligning seams or edges. When working on textured surfaces, clean the area thoroughly with rubbing alcohol to improve adhesion—this is particularly important on plastic or glass surfaces. For precise positioning, consider matching the vinyl color to the surface, creating a more seamless appearance. Before pressing down completely, lightly preview the alignment with the transfer tape still on the backing sheet. Burnish outward from the anchored point, working from the center to the edges, to minimize wrinkles and trapped air bubbles. Recheck the position before applying full pressure to ensure a smooth and accurate transfer. Additionally, using a precision tape can help maintain alignment during the transfer process, especially for intricate or delicate designs. Recognizing the differences in cutting technology like CNC and laser cutters can also influence how well your vinyl adheres and transfers, especially for detailed or custom projects. Being aware of the material properties such as texture or surface finish can further improve your transfer results. And, paying attention to vinyl types and their specific transfer requirements ensures a more professional outcome.
How Can You Peel Off Transfer Tape Without Damaging the Design?
Peeling off transfer tape carefully is key to avoiding damage to your design. Start by holding the tape at about a 45-degree angle and pull it back steadily across the surface. Watching the color contrast between the transfer paper and the vinyl helps guide a smooth peel. If any small details lift with the tape, gently lay the tape back down and press the vinyl with a scraper or your finger before attempting to peel again. Burnishing the vinyl before removing the tape ensures a strong bond and reduces the risk of lifting. If the transfer tape feels too sticky, warming it slightly or using a lower tack tape can make removal easier. Managing these steps with patience and precision results in a clean, professional finish without damaging your design. Additionally, ensuring your surface is smooth and free of dust will help adhesion quality, and prevent any unexpected lifting during removal. Being mindful of the weeding process can also facilitate easier tape removal and a better overall result. Paying attention to tape tension while peeling can also help maintain control and prevent stretching or tearing of the vinyl.
What Are Common Transfer Tape Problems and How Can You Fix Them?
If you encounter transfer tape problems, most have simple solutions. If the tape sticks too strongly, switch to medium-tack or lower-tack options to prevent over-adhesion and residue, especially with delicate vinyl. To lift stubborn vinyl, burnish it with a scraper or apply warm heat to loosen the bond. For air bubbles, clean the surface thoroughly and smooth the tape carefully; if bubbles are trapped, puncture them with a pin to release the air. When adhesion fails on the project surface, ensure the surface is clean and dry, and consider applying additional heat or allowing more bonding time. If the tape tears or stretches, cut the tape slightly larger than your design, snip it for better flexibility, and always use fresh tape when reapplying. Good color contrast between your design and the transfer tape, as well as choosing durable tape, will make these fixes more effective and easier to execute. Proper preparation of transfer tape is essential for successful application, which can be achieved by reducing its stickiness through repeated pressing and peeling with a microfiber cloth, ensuring it adheres just enough for effective transfer without excessive residue. Additionally, understanding transfer tape properties can help prevent common issues and improve your overall results. Knowing the tape adhesive strength can guide you in selecting the best tape for different projects, ensuring a smoother transfer process.
How Do You Reuse and Store Transfer Tape Safely?
Reusing transfer tape safely hinges on careful handling and proper storage. Always keep the tape’s adhesive clean and dust-free to maintain its sticking power. When storing, place the tape back onto its original backing paper, smoothing it flat to protect the adhesive. Use the same piece until its grip diminishes; cutting only what you need helps minimize waste. To handle the tape properly, peel it slowly and burnish the vinyl before removal to reduce stress on the adhesive. Store it in a protected craft space away from dust and bending, which can compromise its integrity. Color-coding your transfer tape can assist in identifying which pieces are still reusable. Cutting techniques that preserve the tape’s structure are essential, and visibly dirty or weak tape should be retired to keep your results consistent. Additionally, appropriate storage conditions such as a cool, dry environment help prolong the tape’s usability and prevent deterioration of the adhesive. Proper handling also ensures that the Cricut device’s cutting capabilities are not compromised when applying or removing transfer tape.
Final Tips for Professional-Looking Vinyl Transfers
To achieve a professional-looking vinyl transfer, start with thorough surface preparation and careful application techniques. Clean your surface with a lint-free microfiber cloth, removing dust, oils, and debris that can interfere with adhesion. Make sure the surface is completely dry before proceeding. When positioning your design, use alignment aids such as the hinge method or test placement to ensure accurate placement, particularly when resizing designs or matching colors across multiple surfaces. Burnish the transfer with firm, even pressure to enhance adhesion and reduce gaps. Peel away the transfer tape slowly at a shallow angle to preserve intricate details and prevent lifting. For detailed areas or edges, apply extra pressure to reinforce adhesion, then allow the adhesive to set fully. Proper technique during transfer minimizes tearing, ripples, and bubbles, ensuring smoother results. A careful approach at each step guarantees a professional finish every time.