How to Print Using 3D Printer: Easy Step-by-Step Tutorial
Ever wondered how to turn a 3D model into a physical object? Getting started can seem complicated, but with a few simple steps, you’ll be ready to bring your ideas to life.
By preparing your model correctly and setting up your printer with care, you can achieve smooth, high-quality prints every time.
In this guide, you’ll learn the essential steps to start printing successfully, from preparing your design to starting your first layer.
Keep reading to discover how to get the best results with your 3D printer.
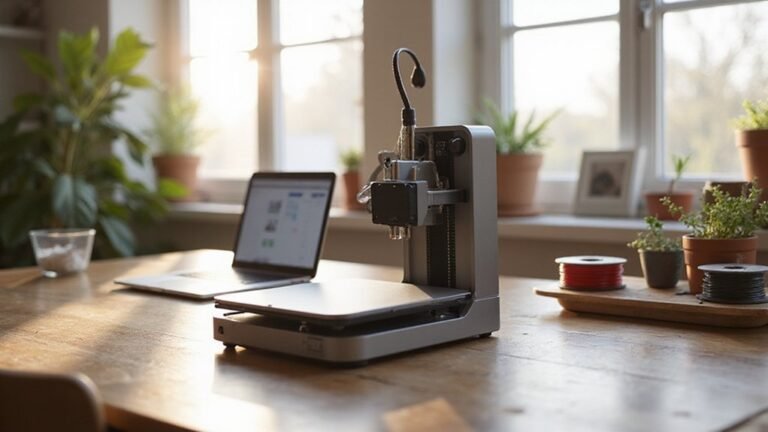
Get Your 3D Printer and Model Ready for Success
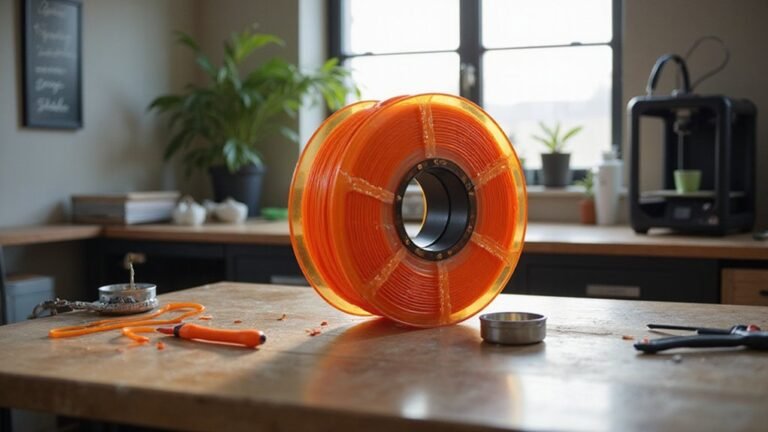
To ensure successful 3D printing, start by verifying your printer’s readiness. Power on the machine and preheat the hot end to your filament’s optimal temperature, typically between 200°C and 220°C for PLA. Check that the filament spool turns smoothly without resistance to avoid jams during extrusion. Load the filament properly by guiding it into the extruder until it reaches the nozzle, then extrudes a consistent filament strand.
Next, level the build bed using the paper-gap method. Place a sheet of paper between the nozzle and the bed at each corner, adjusting the bed height until you feel slight resistance when moving the paper. Repeat at multiple points to ensure the bed is evenly leveled, which helps produce a flat, successful print. Additionally, familiarize yourself with printer calibration to improve print quality and reduce errors. Ensuring your filament is dry and free from moisture is also crucial, as moisture can cause printing defects; this can be achieved by proper filament storage to prolong filament longevity. Proper print bed adhesion techniques can further ensure your model sticks securely during printing, preventing warping or detachment.
When preparing your model, save it as an STL file, verify it is watertight—meaning no holes or gaps—and ensure the normals correctly face outward. Confirm the model fits within your printer’s build volume to prevent printing errors. Before printing, customize your slicer settings: set an appropriate print speed, usually around 50-60 mm/sec, and optimize material profiles for desired quality and speed. Properly setting up each of these elements creates a strong foundation for a successful print.
How to Slice Your Model for Better Print Quality
Slicing your model effectively is crucial for achieving better print quality. It translates your 3D design into precise instructions your printer can follow. Proper support planning ensures supports are only placed where necessary, like overhangs, which minimizes post-processing time. Adjusting settings such as layer height and extrusion width also makes a significant difference: smaller layers produce finer surface details but take longer to print. Using the correct slicer profile for your specific printer and filament material can further improve print success and surface finish. Before slicing, always check the model with slicer previews to identify issues like gaps, missing geometry, or corrupt STL data. If problems are found, mesh repair tools can fix disconnected parts or damaged geometry. For large models, splitting them into smaller sections can help fit your printer bed and simplify the printing process. Additionally, understanding material compatibility can lead to better adhesion and overall print quality. It is also beneficial to consider print orientation to optimize strength and surface quality. Paying attention to print settings such as temperature, speed, and retraction settings is essential for consistent results. When executed correctly, effective slicing guarantees smoother prints, optimal support placement, and higher surface quality.
Setting Up Your 3D Printer for Accurate Prints
Setting up your 3D printer for accurate prints starts with proper bed leveling and mechanical calibration. Begin by homing all axes to establish a clear Z=0 position. Use a piece of 0.1mm thick printer paper and insert it between the nozzle and bed at each corner. Adjust the bed leveling knobs until you feel slight drag on the paper without tearing it. Repeat this process twice to account for interactions among corners and ensure consistent distance.
Next, fine-tune the Z-offset using the “Baby Step” or “Fine Tuning” function if your printer supports it. Raise or lower the nozzle in small increments until the first layer adheres well and the nozzle is slightly above the bed surface. Confirm the bed surface is clean and compatible with your filament—apply adhesion aids like glue stick, painter’s tape, or a specialized adhesion sheet if needed. Proper bed leveling helps ensure consistent first layer height and adhesion. It is also helpful to keep your print bed clean and free of debris to maintain optimal adhesion. Additionally, understanding your filament’s material properties can guide you in choosing the correct temperature and print settings for optimal results. Being aware of your filament’s compatibility with print surface can help prevent warping and improve print quality. After making firmware adjustments or mechanical changes, reboot the printer to ensure changes take effect. If your printer is equipped with an automatic probe or bed leveling sensor, run the auto calibration process to verify the bed’s plane. Proper calibration, combined with an understanding of your filament’s material properties, helps achieve consistent, high-quality prints with precise dimensions.
Starting Your 3D Print: Tips to Achieve a Perfect First Layer
Getting the first layer right is crucial for a successful 3D print. Start by ensuring your bed is level and the nozzle is at the correct distance. Use a piece of paper or a leveling tool to check for slight resistance at all corners—you want it to just drag when moved under the nozzle. Adjust the Z-offset if necessary to create the ideal gap, which influences how well the filament adheres to the bed. Proper bed leveling is essential because it directly impacts print quality and adhesion.
Set a thicker first layer, around 0.24 to 0.4 mm, to improve bed contact and adhesion. Slowing down the first layer print speed, typically to about 20-30 mm/s, allows the molten filament to bond better and creates a more stable foundation. Keep the bed temperature consistent with your filament’s recommended settings, increasing it slightly if you notice poor adhesion. Additionally, understanding your filament’s composition can help you choose the right bed temperature and adhesion techniques for optimal results.
Ensuring the build surface is clean by wiping it down with isopropyl alcohol before starting each print can make a significant difference. Applying adhesion aids like a glue stick or specialized bed surface can further enhance contact, reducing the chance of warping or failure. To improve your success rate, consider researching the specific print settings recommended for your filament type, as those can vary widely. Taking these steps helps ensure your first layer sticks well and sets the stage for a successful print.
Troubleshooting Common 3D Printing Problems During the Print
If your print encounters issues mid-process, the first step is to accurately identify the root cause. Moist filament often leads to stringing, bubbling, and inconsistent extrusion because water in the filament vaporizes during printing. To address stringing or oozing, gradually increase the retraction distance and speed, and slightly lower the nozzle temperature in small increments—about 5°C at a time—while maintaining print quality. Increasing travel speed reduces the nozzle’s dwell time, which minimizes oozing. Enabling combing helps keep the travel paths within already printed areas, further reducing stringing. For under-extrusion or gaps, check for nozzle clogs and verify that the filament diameter setting in your slicer matches your filament. Adjust the flow rate gradually until extrusion becomes consistent. If you notice layer adhesion issues or warping, tweak the nozzle and bed temperatures—raising them slightly can improve bond strength. Slow down the print speed and ensure your print environment remains stable, with minimal airflow or temperature fluctuations. Inspect the belts, pulleys, and filament path for any looseness or obstructions, and fine-tune your print parameters accordingly to enhance overall quality. Additionally, proper filament storage is crucial, as filament exposed to moisture can significantly affect print outcomes and cause the common issues described. Being aware of the print environment conditions can also help prevent many thermal and adhesion problems. Incorporating moisture control techniques into your workflow can further improve print consistency and quality, especially when combined with regular filament maintenance.
Finishing Your 3D Print and Ensuring Great Results
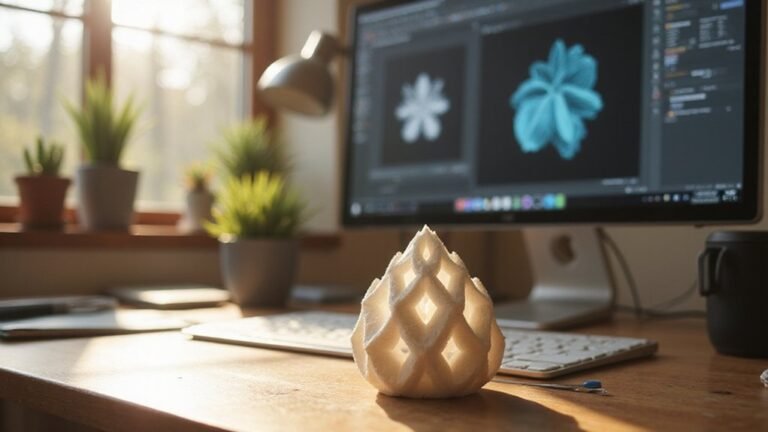
Finishing your 3D print effectively starts with carefully removing support structures and leftover material. Use side cutters or flush-cut tools to gently detach supports, handling the part delicately to prevent gouges or damage to thin features. Rushing this step can easily harm the details you want to preserve. Once the supports are removed, begin coarse sanding with 100 to 150 grit sandpaper to eliminate layer lines and major flaws. Progress through finer grits—220, 320, 400, and 600—using light, circular motions. This gradual approach reduces the risk of damaging the surface while improving smoothness. To keep the costs of printing manageable, understanding 3D printer costs and how to optimize material usage can greatly help reduce expenses. Additionally, applying surface finishing techniques can significantly enhance the quality of your print. Proper post-processing not only improves aesthetics but also can strengthen the overall print.
For a very smooth surface, apply filler primer in thin layers, sanding lightly between coats to fill gaps and smooth out imperfections. This step helps to create an even finish before further coating. You can also enhance the surface with coatings like epoxy or resin; apply these in thin, even layers and allow each layer to cure fully before sanding or proceeding. Once the finishing coats are set, clean the part thoroughly to remove any residue. Additional protective coatings can further improve durability and appearance. Final steps may include painting, polishing, or detailed cleanup to achieve a polished, professional appearance.
How to Improve Your 3D Prints and Save Time Next Time
To improve your 3D prints and save time, focus on reducing infill density, typically between 8% and 20% for lightweight parts where internal strength isn’t crucial. Using sparse infill patterns like lightning infill can significantly cut print time, and you can further optimize by applying variable infill settings—adding more material only in load-bearing areas. Material savings also come from decreasing wall count, especially if your part does not require high strength, and reducing the number of top and bottom layers when surface quality is less important. Adjusting part orientation to minimize support structures and designing parts with fewer overhangs can reduce both print time and support removal effort. Increasing layer height and line width accelerates extrusion, or switching to a larger nozzle can do the same, though it may affect detail. Lastly, fine-tune motion settings, such as increasing print speed and optimizing travel moves, to streamline printing without losing precision. Additionally, optimizing print settings like retraction and acceleration can further enhance efficiency. Incorporating knowledge about printing techniques and settings can help you make smarter adjustments for better results.