Thinking about using heat tape to prevent frozen pipes? The good news is, it can be safe when installed properly and with the right precautions. Knowing how to choose certified products and maintain them can make all the difference in keeping your home safe.
Keep reading to learn the essential tips for safe and effective heat tape use.
What Is Heat Tape and How Does It Work?
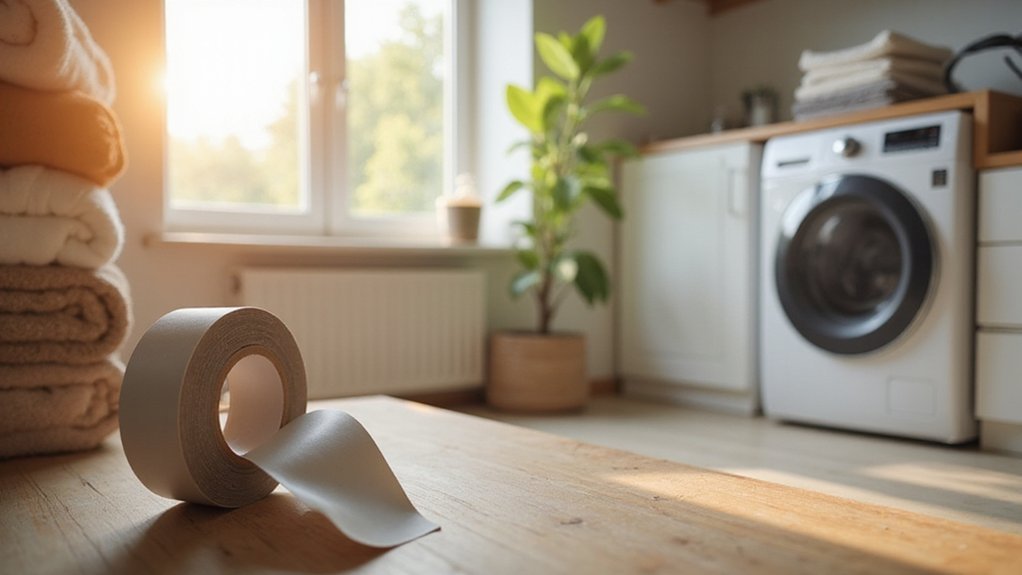
Heat tape is an electrical heating cable used to prevent pipes, gutters, and roof edges from freezing or accumulating ice. It is not adhesive tape but a specialized resistive heating element often called heat cable or heat trace. The operation relies on heat tape wiring, which connects the cable to your power source. Inside the cable, a conductive wire creates resistance when current flows through it, generating heat that warms the surface it contacts. Many models include an inline thermostat that turns the heat on or off depending on the temperature, helping to conserve energy. The electrical specifications like watt density and maximum temperature vary among products, so selecting the right heat tape wiring and installing it properly ensures consistent heat output, effectively preventing ice buildup safely. Proper installation is essential for safety and efficiency, reducing the risk of electrical fires or damage to pipes. Additionally, understanding the material properties of heat tape can help in selecting the best type for different environments and applications. It is important to consider the environmental conditions where the heat tape will be used to ensure durability and safe operation.
Is Your Heat Tape Safe for Home or Business Use?
Is Your Heat Tape Safe for Home or Business Use?
Choosing a heat tape that is safe for home or business use starts with verifying its certifications. Look for UL or CSA marks on the product packaging, as these indicate adherence to safety standards. Uncertified heat tapes carry a higher risk of fire and electrical hazards. Ensure the tape is labeled with the correct pipe diameter and length to match your specific application. Incorporate automatic thermostats to prevent overheating, which enhances safety by reducing fire risk. Use a ground-fault circuit interrupter (GFCI) outlet for extra electrical protection, and always plug the tape directly into a grounded outlet—avoid extension cords, which can cause overheating or damage. Regularly inspect the tape for cracks, melting, or other damage, and replace older or damaged heat tapes every few years to maintain safe operation. Proper safety precautions are essential to prevent accidents and ensure reliable performance. To further enhance safety, consider understanding heat tape safety standards and proper installation practices. Additionally, being aware of electrical safety guidelines can help you identify potential hazards and reduce risks associated with heat tape use.
What Are the Key Factors in Safe Heat Tape Installation?
Ensuring proper electrical safety is crucial when installing heat tape. Connect the heat tape to a properly grounded three-prong outlet to maintain a safe grounding path. Using GFCI protection is highly recommended, especially in moisture-prone areas, as it reduces shock risk and helps prevent electrical fires. Before turning on the heat tape, test the circuit for continuity and insulation resistance to confirm there are no faults. Protect the cables from damage by keeping them away from sharp edges and combustible materials. Use nonmetallic fasteners, such as PVC tape, to secure the cable at recommended intervals, avoiding metal fasteners that could cause electrical contact issues. Never wrap heat tape over itself unless the manufacturer explicitly approves it; improper wrapping can lead to overheating. Proper routing and fastening of the cables help prevent hot spots and electrical hazards, ensuring safety and reliable operation. Additionally, correctly sizing and choosing high-quality electrical components is essential to prevent overloads and equipment failure. Paying attention to heat-resistant tape properties can further enhance both safety and durability of the installation. Being aware of the proper installation techniques can help ensure compliance with safety standards and optimal performance. When in doubt, consulting the manufacturer’s instructions can help ensure compliance with safety standards and optimal performance.
How to Install Heat Tape Safely and Correctly
To install heat tape safely and correctly, start by carefully planning your layout and gathering all materials before you begin. Measure the entire length of the pipe or gutter section to ensure the heat tape matches its run. Proper measurement guarantees effective frost prevention and protects the pipe or gutter. When uncoiling the cable, do so slowly to prevent it from stiffening or twisting. Remove any twists or kinks to ensure even contact and optimal heat transfer. Leave extra length at the power cord and controller end so the plug can reach the outlet without tension or strain on the cable. Secure the heat tape using electrical or PVC insulating tape at regular intervals, typically every 12 to 18 inches. Avoid tightening the tape too much, as excessive compression can damage the cable insulation and reduce efficiency. Attach the sensor close to the pipe or gutter, usually within 6 inches, and connect it to an external thermostat. This prevents overheating by regulating the heat tape based on ambient temperature. It’s also important to consider the types of heat tape available to choose the safest option for your installation. Be aware that improper installation or the use of incompatible materials can lead to safety issues, which is why understanding the aspects of temperature regulation is essential. Proper installation is crucial, as selecting the right insulation materials can affect both efficiency and safety. This prevents overheating by regulating the heat tape based on ambient temperature. Proper insulation also helps maintain energy efficiency and prolongs the lifespan of your system. Over-insulating beyond what’s necessary can trap heat and cause safety issues. Use non-flammable insulation like fiberglass over the heat tape, sealing gaps tightly but avoiding compression that could damage the tape. After installation, turn the system on to test its operation. Confirm the heat tape warms evenly and the thermostat properly regulates the heat to maintain safe, frost-free conditions.
How Insulation and Moisture Impact Heat Tape Safety
Proper insulation and moisture management are critical for maintaining heat tape safety. Use insulation materials that are compatible with your heat tape to prevent overheating, which can lead to fire hazards. Non-flammable options like fiberglass are safer, especially when installed correctly and with sufficient spacing from the tape. Sealing around end-caps with moisture barriers prevents water from entering, which could cause short circuits or electrical arcing. Water ingress accelerates corrosion and damages the tape’s components, raising the risk of fire or explosions. Additionally, avoid using insulation that melts or ignites at the heat tape’s operating temperature, as trapped heat can worsen the situation. Ensuring insulation does not make direct contact with the heat tape and maintaining proper clearance improves thermal performance and reduces failure chances. Regularly inspect for signs of moisture intrusion and choose high-quality, appropriate insulation to keep your heat tape safe and efficient. Understanding SLA 3D printers and their benefits can help you select the right tools and safety measures for your projects. Incorporating proper insulation techniques ensures sustained safety and performance over time. Additionally, using proper spacing helps to prevent heat buildup and prolongs the life of your heat tape.
How to Inspect and Maintain Your Heat Tape for Safety
Regularly inspecting and maintaining your heat tape is crucial for safety and efficiency. Schedule inspections at least once per season—perform a thorough check-up in early fall before cold weather arrives, and another in spring when shutting down for summer. During each inspection, look closely for signs of damage such as discoloration, cracks, cuts, or exposed wires. Also, check for frayed insulation, which rodents can cause. Feel along the entire length of the tape to ensure it remains warm; if you detect any damage or the tape feels cool, unplug it immediately. Replace your heat tape every three years or sooner if damage is evident, and always follow the manufacturer’s instructions. Have a certified electrician handle replacements to ensure proper installation. Verify that the heat tape is properly grounded, use GFCI outlets, and avoid overlapping the tape or covering it with insulation that could trap heat and pose a fire risk. Proper inspection and maintenance are key to ensuring your heat tape operates safely and effectively. Understanding the safety hazards associated with heat tape can help prevent accidents and property damage.]
Self-Regulating vs. Constant-Output Heat Tape: Which Is Safer?
Self-regulating heat tape is safer than constant-output heat tape because it adjusts its heat output based on the surface temperature, reducing the risk of overheating and fire hazards. This automatic regulation helps prevent excessive heat buildup, especially in situations where installation or control might be less precise. It is particularly well-suited for materials like plastic pipes, including PVC or PEX, which can melt or become damaged at high temperatures. Additionally, some self-regulating tapes are designed to be energy efficient, decreasing overall power consumption. Because of these features, temperature regulation plays a key role in safer operation. Conversely, constant-output heat tape provides a fixed wattage, meaning it delivers the same amount of heat regardless of the surface temperature. Without proper control, this can lead to overheating, especially if cables are overlapped or not managed with a thermostat, increasing fire risk and potential damage. Overall, self-regulating heat tape offers a safer option for long-term use, thanks to its inherent temperature regulation capabilities. Additionally, understanding whether heat tape can get wet is crucial, as exposure to water can affect the safety and functionality of the tape if it is not rated for wet conditions.
When Should You Call a Professional for Heat Tape Installation or Repair?
You should call a professional for heat tape installation or repair whenever you encounter electrical issues or uncertain wiring conditions. Specifically, if you notice persistent breaker trips, a burning smell, visible sparks, or exposed damaged wires, these are signs of serious electrical problems that require expert evaluation. Attempting to fix these issues yourself can pose safety hazards and violate electrical codes.
Additionally, tasks that involve system sizing, circuit work, or installing new dedicated circuits should always be handled by a licensed technician. Proper sizing ensures the heat tape matches the pipe diameter and complies with manufacturer instructions, reducing the risk of malfunction or fire. Visible damage such as frayed insulation or melted cables signals the need for professional assessment or replacement rather than DIY repairs.
In cases where your property faces freeze risks or water damage, professional service becomes urgent to prevent further harm. For maintenance, replacement, or verification of correct installation, always seek a licensed electrician. This guarantees not only safety but also that your system adheres to local codes and standards.
Troubleshooting Common Heat Tape Problems
To troubleshoot common heat tape problems, start by ensuring electrical safety. Verify that the outlet is live by testing it with another device. Make sure the circuit breaker hasn’t tripped—reset it if necessary. Inspect the heat tape carefully for visible damage, such as frays, cuts, or exposed wires, which can compromise safety and performance. Look for signs of animal damage like chew marks or loose end caps that could allow moisture to enter or cause electrical issues.
Use a multimeter to check the resistance of the heat tape. An infinite reading indicates an open circuit, while a reading near zero suggests a short. Confirm that the installation is correct—ensure the heat tape is properly placed along the pipe or area and that insulation is secure and undamaged. Detecting these issues early helps prevent safety hazards and ensures your heat tape operates safely and effectively.