How to Operate a 3D Printer: Easy Step-by-Step Tutorial
Getting started with a 3D printer can seem overwhelming at first, but once you know the essential steps, it becomes much easier.
You’ll learn how to set up your printer, prepare your model, and start printing with confidence.
By the end, you’ll understand how to properly calibrate your machine, load filament, and troubleshoot common issues.
Keep reading to discover the key steps to turn your ideas into printed reality.
What You Need to Know About 3D Printers Before Getting Started
3D printing builds objects in layers from a digital file, making it an additive manufacturing process. Your choice of material—such as plastics, resins, or metals—directly influences the quality, strength, and durability of the final product. Different materials melt and extrude at varying temperatures, so ensuring compatibility with your printer is crucial. Print speed plays a significant role as well; printing too fast can lead to weak layer bonding and print defects, while printing too slow increases overall production time. Most printers create a path for the filament based on slicing software like STL or G-code files. Understanding these factors—materials, print speed, and supported files—forms the foundation for successful 3D printing and helps you avoid common mistakes from the outset. Additionally, it is important to note that print resolution directly impacts the surface finish and detail of your models, making it a key consideration when selecting settings for different projects. Being aware of material compatibility ensures that you select suitable filaments for your specific printer and project requirements. Moreover, understanding layer adhesion is essential for producing strong and durable prints. A solid grasp of filament properties can also aid in troubleshooting issues and optimizing print quality.
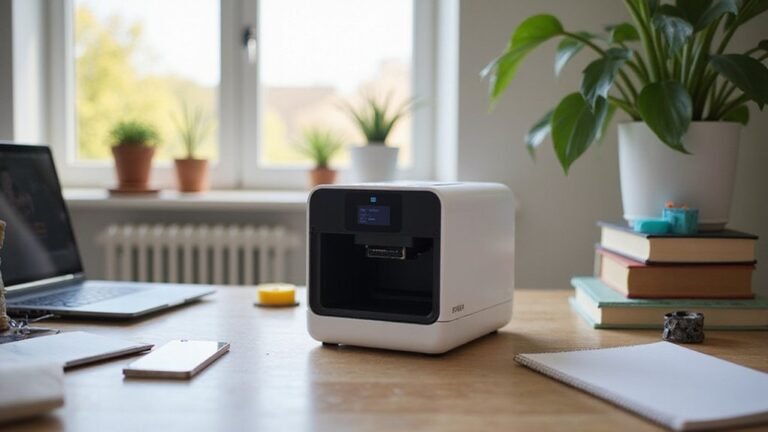
How to Set Up Your 3D Printer Safely and Correctly
Setting up your 3D printer safely and correctly begins with preparing a stable, level workspace. Ensure the printer sits on a sturdy, flat surface to reduce vibrations that can affect print quality. Keep the area well-ventilated, especially when using materials like ABS that release fumes, and avoid enclosed spaces with temperature fluctuations such as bedrooms or garages. Before starting, inspect the printer for transit damage, loose screws, and ensure all accessories are included. Confirm that the voltage matches your power supply, then connect cables securely, routing them away from moving parts to prevent entanglement or damage. Perform the initial calibration, load filament carefully, and run a test print to verify proper operation. Checking the belt tension and the smoothness of axis movements is crucial for consistent print quality and avoiding layer misalignment belt tension. Maintaining proper printer maintenance ensures optimal performance and safety during operation. Correct setup not only improves hardware efficiency but also helps prevent safety hazards during printing.
Leveling the Bed and Adjusting the Nozzle for Success
To ensure a successful first layer, proper bed leveling and nozzle calibration are essential. Begin by homing your axes to establish a known starting point. Move the printhead to each corner and the center of the bed. Use a sheet of standard printer paper and slide it between the nozzle and the bed; tighten or loosen the leveling screws until you feel slight friction when moving the paper. Repeat this process at all points, as adjusting one corner can influence others. Use the paper or a feeler gauge consistently for all points to maintain uniformity, aiming for gentle resistance rather than tight contact. Make small, gradual adjustments to avoid overshooting the correct height. After completing the leveling, run a test print to verify the first layer adheres well and appears even. Additionally, keep your filament dry and stored properly, as moisture can affect print quality and make initial setup more reliable. Proper calibration significantly increases the chances of success by ensuring the nozzle maintains a consistent distance from the bed, which is crucial for quality results. Paying attention to bed leveling techniques can further enhance your printing accuracy and reduce failed prints. Regularly cleaning and inspecting the nozzles can help prevent clogs and ensure smooth printing. Moreover, using appropriate filament drying methods can prevent moisture-related print issues, ensuring long-lasting and high-quality results.
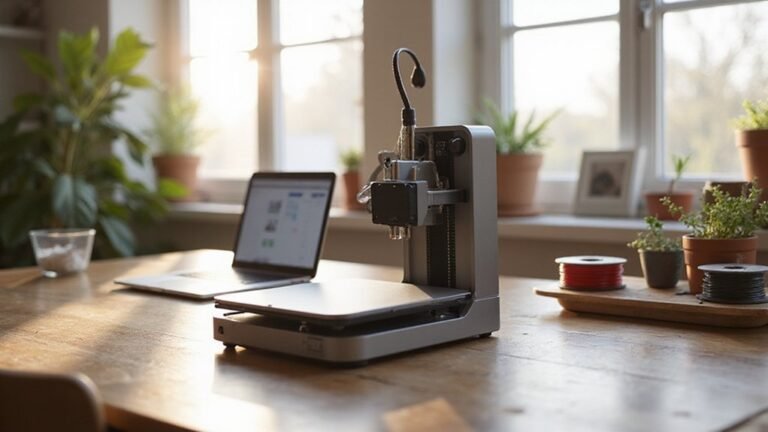
Loading Filament and Preparing Your Printer Material
Preheating the hot end to the recommended temperature for your filament type—around 200°C for PLA—is essential for smooth filament loading. This softens the filament, making it easier to feed through the extruder and helps with cleaning the nozzle. Cut the filament end at a 45-degree angle using flush cutters to create a clean, tapered tip that guides smoothly into the extruder. Straighten the first section of the filament to prevent catching or curling. Place the spool on the filament holder and guide it carefully through the filament path, especially if your setup includes a filament runout sensor or Bowden tube. Relax the extruder tension, insert the filament gently, and push until the drive gears engage. Keep extruding until melted filament flows cleanly, confirming proper material flow and effective nozzle cleaning. Proper filament loading promotes consistent print quality and reduces the risk of clogs or jams. Regularly inspecting the filament path and maintaining your extruder components can further ensure smooth operation and prevent issues during printing. Additionally, ensuring your print bed is properly leveled helps achieve optimal adhesion and reduces print failures.
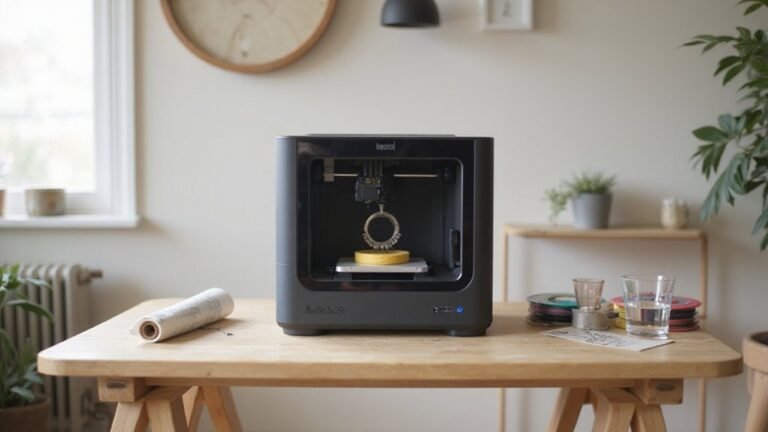
How to Create and Slice 3D Models for Printing
To create and slice a 3D model for printing, follow a clear process. Start by designing your model with suitable software, choosing based on your skill level and project complexity. Sketch your ideas first, paying attention to proportions and reference points, then build the shape using CAD or sculpting tools. During design, be mindful of printer limitations such as overhangs, thin walls, and part size to avoid print failures. Apply model optimization techniques like adding supports, chamfering sharp edges, or thickening walls.
Once your model is complete, export it in compatible file formats like STL or OBJ. Before slicing, verify the scale and dimensions carefully to ensure accuracy. Import the file into your slicer software, selecting the appropriate printer profile, and position your model properly on the virtual build plate. Adjust slice settings—layer height, print speed, infill density, and support structures—to match your desired print quality and efficiency.
Use the slicer’s preview feature to examine the layered view of your model. Check for potential issues like inadequate support, excessive overhangs, or misaligned layers. Making necessary adjustments ensures a smoother printing process and reduces material waste or failed prints. Once satisfied, generate the sliced file and transfer it to your printer, ready to start printing your 3D creation.
Additionally, understanding 3D printer types can help you select the right machine for your specific project needs.
Starting Your Print and How to Troubleshoot Common Issues
Once your sliced file is ready, start your print by preparing your printer carefully to ensure success. First, verify that your bed is level and the nozzle-to-bed distance is correct. Proper first-layer contact is crucial for good adhesion and overall print quality. Preheat the printer to the filament’s recommended temperature, usually around 200–210°C for PLA. Before starting the print, extrude about 50 mm of filament to check the flow and calibration. Transfer the G-code via SD card, USB, Wi-Fi, or network, then initiate the print from your interface.
Closely monitor the first layers; uneven extrusion or poor adhesion can signal setup issues. If needed, adjust the print speed or re-level the bed. Keep the print bed clean and free of debris. Maintaining a consistent bed level is essential because poor calibration can lead to failures or defects early in the process. If you encounter common problems such as filament flow issues or warping, pause or stop the print immediately. Double-check your profile and temperature settings before resuming to avoid further complications. Regularly inspecting the nozzle condition can help prevent print defects and ensure smooth extrusion, especially since consistent filament flow is vital for high-quality prints.
Post-Print Removal, Maintenance, and Tips for Better Results
To remove your 3D printed part safely and effectively, patience is essential. Wait until both the build plate and the part have cooled to room temperature to allow for natural contraction and reduced adhesion. For PLA, this cooling often causes the part to release from the bed without much force. Use a scraper or spatula angled low under an edge, applying steady, gentle pressure rather than prying. Start by removing supports at a corner or edge; detach external supports first, then carefully remove internal supports to avoid damaging the part. If the printed piece is stuck tightly, gentle pushing, pulling, or wiggling can help loosen it without deformation. Temperature-assisted methods, such as applying ice packs or lightly reheating the bed, can also facilitate removal. Always work slowly, utilize appropriate tools, and finish with sanding or polishing to achieve a smooth surface. Regularly cleaning the build plate and inspecting it for damage ensures consistent adhesion and high-quality prints over time. Additionally, understanding the adhesion properties of different materials helps improve removal techniques and maintain print quality. Knowing how different printing bed surfaces interact with various filament types can help prevent issues like warping or adhesion failure. Properly adjusting bed leveling and adhesion settings can also make print removal easier and more predictable.