Getting heat transfer vinyl off a shirt can feel tricky, but with the right techniques, it’s doable.
Whether you want to remove a design or correct a mistake, knowing how to safely soften and peel it away is key.
By the end, you’ll understand effective methods to loosen and lift the vinyl without damaging your fabric.
Keep reading to learn the step-by-step process that makes removal easier and less frustrating.
What Is Heat Transfer Vinyl (HTV) and How Does Its Adhesive Work?
Heat transfer vinyl (HTV) has a heat-activated adhesive backing that bonds to fabric when the right temperature, pressure, and time are applied. The adhesive remains inactive until heated, allowing you to position the design accurately before pressing. Once heated to the proper temperature, usually between 270°F and 320°F depending on the product, the adhesive melts and creates a strong, permanent bond with the fabric. After cooling, the adhesive solidifies, securing the design firmly in place for washing and wear. Proper application involves following manufacturer instructions closely—using the correct heat, pressure, and pressing time—to ensure a durable transfer. Understanding how HTV’s adhesive works helps you apply designs smoothly and remove or reposition them if needed, with minimal issues. Additionally, knowing whether heat or cold can influence adhesive activation can help optimize the removal process when needed. To fully understand the behavior of the adhesive, it can be helpful to explore how different SLA 3D printers utilize heat and light during printing, which can inform your approach to heat-activated applications.
How Do You Prepare Your Shirt for Vinyl Removal?
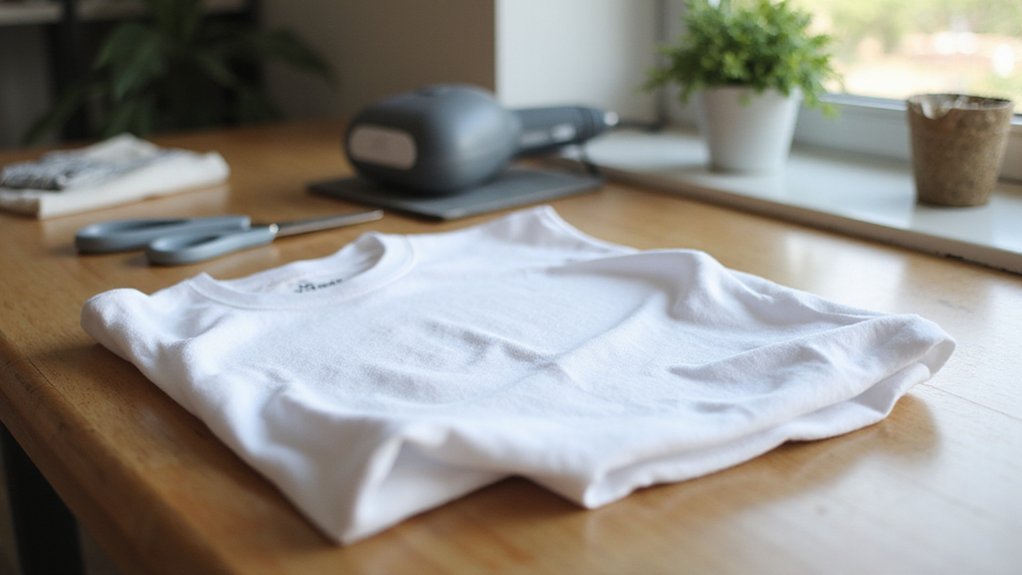
To prepare your shirt for vinyl removal, start by placing it on a flat, heat-resistant surface to ensure stability. Turn the shirt inside out, which helps protect the fabric and makes it easier to access the vinyl’s back side for solvent application if needed. Insert a barrier such as parchment paper or a pressing cloth between the heat source and the vinyl; this shields the fabric and prevents scorching. Gather your removal tools—tweezers, fingernails, or a plastic scraper—to gently lift the vinyl edges without damaging the fabric. Keep a soft cloth nearby for wiping away any residue after the vinyl is removed. Preheat with moderate heat using an iron, heat press, or hairdryer to soften the adhesive, making vinyl removal smoother. Proper drying techniques are also essential to ensure the fabric remains in good condition during removal. Also, using appropriate tools can help you remove the vinyl more effectively without damaging your shirt. These steps ensure your shirt remains intact and that the removal process is efficient.
What Are the Best Methods to Remove Heat Transfer Vinyl?
Chemical solvents like acetone or Goo Gone are effective for removing stubborn heat transfer vinyl. Apply a small amount to the vinyl and let it sit for a few minutes to soften the adhesive. Use tools such as tweezers or an X-Acto knife to gently lift the softened vinyl without damaging the fabric. Be cautious to avoid applying excessive force, which could tear the fabric or spread the vinyl further. After lifting, clean any residual adhesive with the solvent and a soft cloth. Always test the solvent on a hidden area first to check for fabric damage or discoloration. In addition, warm the vinyl with a hair dryer or iron to help loosen the adhesive, making peeling easier. Proper heat application can significantly improve the removal process and reduce damage to the fabric. Use a protective layer like parchment paper between the heat source and the fabric to prevent scorching. Repeating the process may be necessary, as some vinyl types respond differently, especially when layered or stubborn. Understanding vinyl types is helpful to choose the most effective removal method. Rinse the fabric thoroughly after removal to eliminate solvent residue and inspect for any damage. Proper cleaning methods can also prolong the fabric’s lifespan, ensuring long-lasting results. Patience is key, especially with stubborn or layered vinyl.
How Do You Use Heat to Loosen HTV Effectively?
To loosen HTV with heat effectively, aim to warm the vinyl just enough to soften the adhesive without melting or damaging the fabric. Use tools like an iron, heat press, or hair dryer, setting the heat to approximately 275°F (135°C) for irons or 250°F (120°C) for heat presses. Apply heat in short bursts of 10–15 seconds, then check if the vinyl starts to lift. Reheating over parchment paper or butcher paper helps reactivate the adhesive and makes removal easier. To prevent damage and achieve better control, place a cotton cloth or towel between the heat source and the shirt. Once the edges begin to loosen and wrinkle, gently lift the vinyl with tweezers or a craft knife. Reheating can help soften stubborn areas, especially when combined with proper heat application techniques. Using the right amount of heat for vinyl removal ensures the fabric is protected and the process is more effective. Additionally, understanding the adhesive properties of HTV can help tailor the reheating process for different types of vinyl. Repeat the process as needed, focusing on stubborn areas until the HTV becomes easier to peel away.
Which Chemical Solvents Are Safe and Effective for Removing HTV?
Chemical solvents can be safe and effective for removing heat transfer vinyl (HTV), but safety depends on proper handling and testing. AlbaChem VLR is specifically formulated for HTV removal, applied underneath the vinyl, then peeled after stretching. It is designed with fabric safety in mind, but good ventilation and protective gear are essential during use to avoid inhalation or skin contact. Testing a small, inconspicuous area before full application is recommended to prevent damage to your fabric, as some solvents may cause discoloration or weaken fibers. Acetone is a potent solvent that dissolves adhesives and can remove HTV from small areas. However, fabric testing is crucial because acetone may damage dyes or weaken fibers, especially with prolonged exposure. Rubbing alcohol or denatured alcohol offers a gentler alternative that can tackle light residue, though multiple applications might be necessary for complete removal. Stronger industrial solvents such as heptane, xylene, or mixtures like methyl ethyl ketone (MEK) and toluene are highly effective at removing stubborn vinyl. These solvents pose higher risks due to their volatility and flammability. Safe solvent selection is key, so ensure you work in a well-ventilated area, wear appropriate protective equipment, and perform spot tests on your fabric beforehand to avoid damage. Always follow manufacturer instructions and prioritize safety when working with chemical solvents.
How Can Freezing Make Vinyl Removal Easier?
Freezing makes vinyl removal easier by hardening the vinyl and weakening its adhesive. Cold temperatures cause the vinyl to become more brittle, making it easier to crack or scrape off. When the vinyl is firm, you can work more precisely, reducing the risk of damaging or stretching the fabric. To achieve the best results, wrap the garment in a sealed plastic bag before placing it in the freezer. This step helps ensure even cooling and protects the fabric from moisture. Additionally, understanding proper techniques for vinyl removal can enhance your success rate. Once the vinyl is chilled, flex and crack it immediately, starting from the edges and working inward. This technique allows you to lift larger sections without tearing the fabric. Keep in mind that the effectiveness of freezing can vary depending on the fabric type, vinyl thickness, and design size, so patience and gentle handling are essential. Knowing how adhesive properties react to cold can also improve your removal process. Additionally, using proper tools designed for vinyl removal can make the process more efficient and prevent damage.
How to Peel Off Heat Transfer Vinyl Step-by-Step?
To peel off heat transfer vinyl (HTV), start by reheating the area with a heat source like a heat gun or iron on low to soften the adhesive. Once warm, gently lift an edge or corner of the vinyl using tweezers or a weeding tool. Peel slowly at a low, consistent angle to prevent tearing or stretching the fabric. If the vinyl resists, reheat for about 10 to 20 seconds until it wrinkles or begins to loosen, then continue peeling. Be aware that different colors of HTV may have varying adhesive strengths, so some sections might come off more easily than others. Work in small sections, removing chunks of vinyl gradually. For stubborn spots, a plastic scraper can help lift the vinyl without damaging the fabric. Applying additional heat from behind the shirt can also assist with difficult areas. When removing heat transfer vinyl, it’s also important to consider mirror vinyl to ensure the design is correctly transferred during application and removal. Always handle the vinyl carefully and use tools that minimize the risk of fabric damage. Additionally, understanding the vinyl types and their specific properties can make the removal process more efficient and less risky to the garment. Proper cleaning and maintenance of your tools can also contribute to long-lasting results in vinyl removal and subsequent projects.
How to Clean Residual Adhesive and Finish the Shirt?
To clean residual adhesive after peeling off heat transfer vinyl, apply a small amount of isopropyl alcohol to the back of the sticky area. Let it sit briefly to loosen the residue, then gently wipe with a soft cloth. For stubborn spots, use an adhesive remover like Goo Gone, but always test on a hidden part of the fabric beforehand to avoid damage. After treating the adhesive, wash the shirt using a mild detergent in warm water to remove any remaining solvents and loosened residue. Rinse thoroughly to prevent chemical traces from staying on the fabric. Air dry or use low heat to avoid shrinking or damaging the material. Once dry, gently wipe the surface again and check for any remaining tackiness. Follow the garment’s care instructions carefully and avoid over-wetting, as excess moisture can harm fabric dyes and cause damage. Additionally, understanding the differences between heat transfer vinyl and sublimation blanks can help prevent confusion when working on your projects to ensure optimal results. Knowing the types of 3D printers available can also assist in managing related craft tasks more effectively. Being aware of the various writing techniques can contribute to clearer instructions when explaining craft steps.
What Precautions Prevent Damage During Vinyl Removal?
To prevent damage during vinyl removal, take careful precautions that protect both the fabric and the design. Check the care label first to determine appropriate temperature settings; use medium heat to soften the vinyl without risking damage to heat-sensitive fabrics. Applying no-steam iron helps reduce moisture stress and preserves the fabric’s integrity. Place a barrier such as parchment or wax paper over the vinyl to distribute heat evenly and prevent direct contact. To further safeguard the material, position a towel inside the shirt to shield the fabric from heat and stretching. Work on a flat, hard surface to maintain control and ensure steady removal. Begin peeling from an edge with tools like tweezers, and if resistance occurs, reapply gentle heat to loosen the vinyl. Always test removal methods on a hidden area beforehand to check for adverse reactions, and handle chemical removers sparingly to avoid damaging the fabric. Following these steps minimizes the risk of tearing, stretching, or other damage during vinyl removal.
Final Tips: Washing and Caring for Your Shirt After Removal?
After removing the heat transfer vinyl, proper washing and care are crucial to preserving your shirt’s appearance and durability. Wash the shirt in cold water to prevent color fading and fabric bleeding, which can occur with warmer temperatures. Use a mild detergent to gently clean the fabric, avoiding harsh chemicals that could weaken the remaining adhesive or damage the fabric over time. Turn the shirt inside out before washing to protect the vinyl area from friction and abrasion, helping to maintain the residual design and prevent peeling.
For drying, opt for low heat settings or air drying to avoid weakening the vinyl or adhesive bond. Keep your shirt out of direct sunlight during drying, as UV rays can cause color fading. Avoid dry cleaning, as the chemicals used may affect the residual adhesive or vinyl. Do not iron directly over the vinyl area; if pressing is necessary, place a cloth over the design and use the lowest heat setting to prevent melting or lifting of the vinyl. Following these care steps will help ensure your shirt stays looking its best for as long as possible.