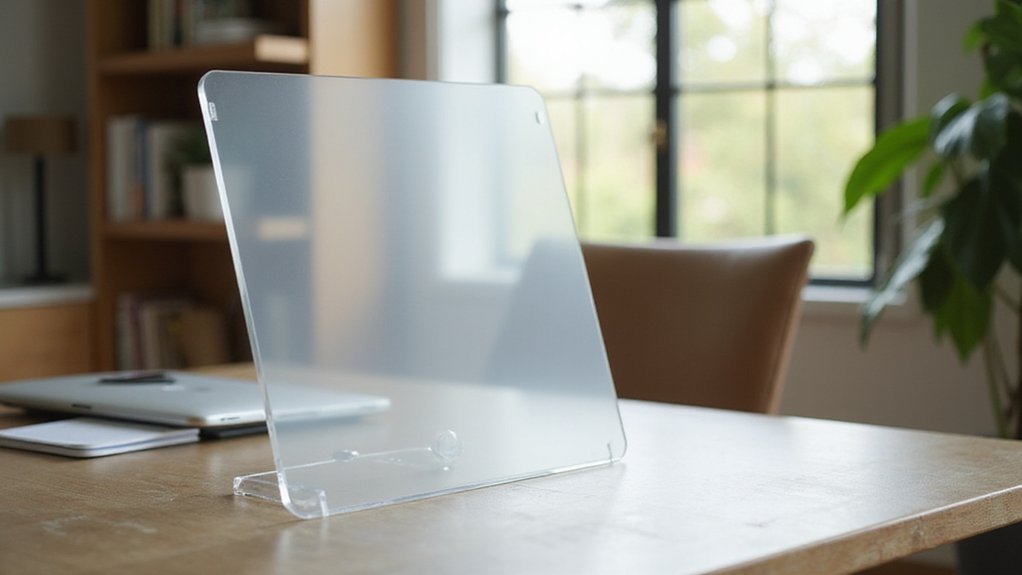
Bending acrylic sheets might seem tricky, but with the right technique, you can achieve smooth, professional curves. The key is heating the acrylic evenly until it becomes soft and pliable, then carefully shaping it before it cools.
By mastering this process, you can create custom shapes for your projects with precision and ease.
The following steps will guide you through the complete process from start to finish.
When and Why to Bend Acrylic Sheets
Bending acrylic sheets is ideal when your project requires a curved, angled, or shaped surface instead of a flat panel. This process is especially useful for creating return lips, formed edges, or custom curves in display cases, signage, or protective shields. You should consider bending when a single-piece form is preferred over the use of joints or fasteners, as this results in a cleaner appearance and stronger structural integrity.
Achieving successful bends requires controlled heating. Even, consistent heat softens the acrylic without causing bubbles, haze, or deformation. The appropriate heating method depends on the shape and size of the curve—broader heating is suitable for gentle, large arcs, while oven bending can accommodate more complex forms. You must wait until the acrylic reaches a uniform, pliable temperature before bending, which ensures a smooth, precise, and durable curve. Proper cooling afterward is equally important to maintain the shape and prevent cracking or stress fractures. Understanding acrylic sheet types and how they respond to heat can help you choose the right material for your specific bending needs. Additionally, knowing the thermal properties of acrylic can improve your bending results by helping you control the heat application more effectively. It’s also essential to be aware of temperature control techniques to avoid overheating and damaging the material.
Measuring and Preparing Acrylic for Bending
To ensure precise bends in acrylic sheets, accurate measurement and thorough preparation are critical. Start by confirming the material’s thickness, as this affects the bend radius and the bend allowance needed. Use a ruler, tape measure, or template to mark the exact bend location, making sure the line is clear and straight. Proper marking with pencil, marker, or masking tape helps guide the heating process and reduces the risk of crooked bends. Measure the sheet’s length, width, and thickness to determine the correct placement of the bend and to incorporate the bend allowance into your layout. Before heating, clean the surface with a lint-free cloth and keep the protective film in place until after marking. Secure the sheet with clamps, aligning the marked line accurately along the jig or edge to ensure consistent results. Additionally, understanding thermal properties of acrylic can help optimize the bending process and prevent cracks or deformation. Being aware of thermal conductivity can help in choosing the right heating technique for a clean bend. Knowing how brayer rollers work and their benefits can also assist in preparing a smooth, even press if you’re applying pressure during the shaping process.
Getting Your Workspace Ready for Bending Acrylic
Getting Your Workspace Ready for Bending Acrylic Sheets, start by organizing the area to minimize clutter. Ensure tools like clamps, jigs, and heat sources are easily accessible to save time and maintain safety. Use a sturdy workbench with ample open space, positioning the sheet so the bend line extends over the edge for unrestricted bending motion. Good ventilation is essential to safely disperse fumes released during heating; position airflow to move fumes away from your face without disturbing the acrylic sheet. Protect your work surface with a heat-resistant mat or barrier, and support the sheet on a stable jig or mold to prevent slipping during heating and bending. Before starting, clean the surface thoroughly, clearly mark the bend line, and equip yourself with safety gear like gloves and goggles to stay protected throughout the process. Additionally, if you plan to dye or decorate the acrylic, consider how waterproof qualities might impact your design choices. Being aware of the cutting mats used in various projects can help ensure your workspace remains organized and your materials are properly supported throughout the bending process.
Choosing the Best Heating Method for Your Project
A strip heater is the best choice for straight, precise bends. It concentrates heat along a narrow line, making it ideal for repeatable and clean bends, especially on thicker sheets. These heaters typically operate around 165°C plus or minus 5°C, or about 220°C. Using slow passes prevents overheating and ensures even heating. This method is particularly effective when consistent, accurate bends are required across multiple parts. Additionally, proper temperature control is crucial to avoid overheating and warping the acrylic during the process. Maintaining an appropriate heat application prevents deformation and ensures a smooth bend. Understanding PLA filament composition can also help optimize the heating process, as different materials respond uniquely to heat and influence the overall outcome. For example, knowing whether the filament is food safe or not can be important when considering the final use of 3D printed or molded parts.
How to Apply Even Heat for a Smooth Bend
Apply heat evenly across the entire bend line to achieve a smooth, controlled bend in acrylic. Move the heat source steadily at a slow, consistent pace along the marked area, ensuring the heated zone stays just in front of the jig’s straight edge for optimal support. Using a clamp-and-jig setup helps confine the heat and prevents hot spots that could cause surface imperfections or inconsistent color. Whether you use a heat gun or strip heater, maintain continuous movement to promote uniform softening. For thicker sheets, heat from both sides carefully, avoiding scorching or overheating. Proper positioning and support are essential to maintaining a clean, uniform bend and preventing irregularities that could compromise surface quality or lead to color variations.
Step-by-Step Technique for Bending Acrylic Sheets
Begin by clearly marking your bend line on the acrylic sheet using a ruler and a marker, ensuring the measurement is precise. Only remove the protective film from the area where you will be heating or bending to prevent debris from getting underneath and affecting the finish. Before starting, wipe the sheet with a lint-free cloth to eliminate dust, debris, or residues that could impact the final appearance. Set up a stable workspace with a straightedge, jig, or clamping guide aligned along the marked line, then secure the acrylic firmly to prevent any shifting during the bending process. Apply even, consistent heat along the bend line with a heat gun or strip heater, moving the heat source steadily to avoid uneven heating. Once the area becomes pliable, gently bend the acrylic against your guide, ensuring the curve is smooth and uniform. Understanding sublimation can help you achieve professional-looking results by knowing how the heat interacts with the material. Hold the shape until the material cools and hardens, then inspect the bend for smoothness and consistency.
Cooling and Finishing Your Bent Acrylic for Strength and Clarity
Cooling gradually over 10 to 30 minutes after bending helps improve shape stability and reduces the risk of warping. Avoid rapid cooling methods like fans or water, as these can cause internal stress and lead to stress cracking. Keep the acrylic sheet in a jig or mold until it begins to solidify, which typically takes from around 20 seconds to several minutes depending on thickness. Allow the piece to cool naturally at room temperature for best results. Proper cooling prevents residual stresses from forming, which can compromise the strength and clarity of the finished piece. Finishing by smoothing the edges with sandpaper and polishing enhances clarity and appearance, especially since scratches or haze can affect acrylic’s color options. Be mindful of environmental factors such as dust or temperature fluctuations, as these can impact the final strength and transparency of your bent acrylic.
Troubleshooting Common Acrylic Bending Problems
Even with careful control during the bending process, problems like uneven shaping, cracking, or distortion can still occur. Uneven heat distribution is a common cause of uneven bends. To prevent this, ensure your heat source is applied evenly along the bend line. Using the appropriate heat source, such as a strip heater or dual-sided heating if necessary, helps avoid internal stress and distortions. Overheating can lead to acrylic discoloration, bubbling, or surface damage; keep the heat gun at a safe distance of about 5 to 15 centimeters and move it constantly to distribute heat evenly. Cracking often happens when bending starts before the sheet is fully softened or when force is applied abruptly. To mitigate these issues, mark the bend clearly, utilize jigs for controlled shaping, and hold the sheet until it is completely cooled. Controlling heat application is essential for achieving clean, professional bends without damage. Additionally, understanding laser engraver performance and specifications can help you select the appropriate heat source and settings for your project. Proper heat source choice based on material thickness and type is crucial for successful acrylic bending.
Safety Tips for Bending Acrylic Sheets
To ensure safety while bending acrylic sheets, follow these essential precautions. Always wear protective gear such as heat-resistant gloves and safety goggles to shield against hot material splashes and flying debris. Work in a well-ventilated area to minimize exposure to fumes and odors caused by overheating. Use a steady, moving heat source to distribute heat evenly, which helps prevent localized overheating, bubbling, or scorching of the material.
Preheat your tools and maintain heat levels around 300°F to 340°F for consistent results. Keep your work area clear of obstructions and secure the acrylic sheet with clamps or jigs to avoid slips and unwanted movement during heating. Handle the softened acrylic gently to prevent cracking or distortion, and allow it to cool gradually while still restrained to retain the desired shape.
Always prioritize safety by staying alert for signs of overheating, such as excessive fumes, bubbling, or discoloration. Keep your workspace dry and free of clutter to minimize hazards and ensure a smooth bending process.
Tips for Consistent Bends in Repeat Projects
To achieve consistent bends in repeat projects, precise marking and setup are crucial. Use a steel ruler along with a fine-tip permanent marker or wax pencil to clearly mark your bend line. This ensures the line remains visible during setup and prevents misalignment. Secure the acrylic sheet firmly on a heat-resistant surface, in a jig, or with a brake to maintain proper alignment throughout the bending process. Consistent positioning of attachment points, stops, or molds is key to uniform results.
Even heating is essential; move your heat gun steadily at a calibrated temperature around 165°C, adjusting based on the sheet’s thickness. Uniform heat application prevents warping or uneven bends. For repeatability, utilize dedicated bending jigs or molds that match the desired curves or angles. Replicating cooling methods and verifying angles with precision tools like a protractor or angle gauge helps maintain consistency across multiple bends. When switching materials, options like polycarbonate can be considered, but it is important to keep heating and setup methods consistent to ensure reliable, uniform results each time.