Wondering how to wrap meat with butcher paper for smoking? The right technique helps lock in moisture and flavor without damaging the bark.
You’ll learn the ideal size, wrapping method, and timing to get it just right. Keep reading for a simple, step-by-step guide to mastering this essential smoking skill.
What Is Butcher Paper and Why Is It Used in BBQ?
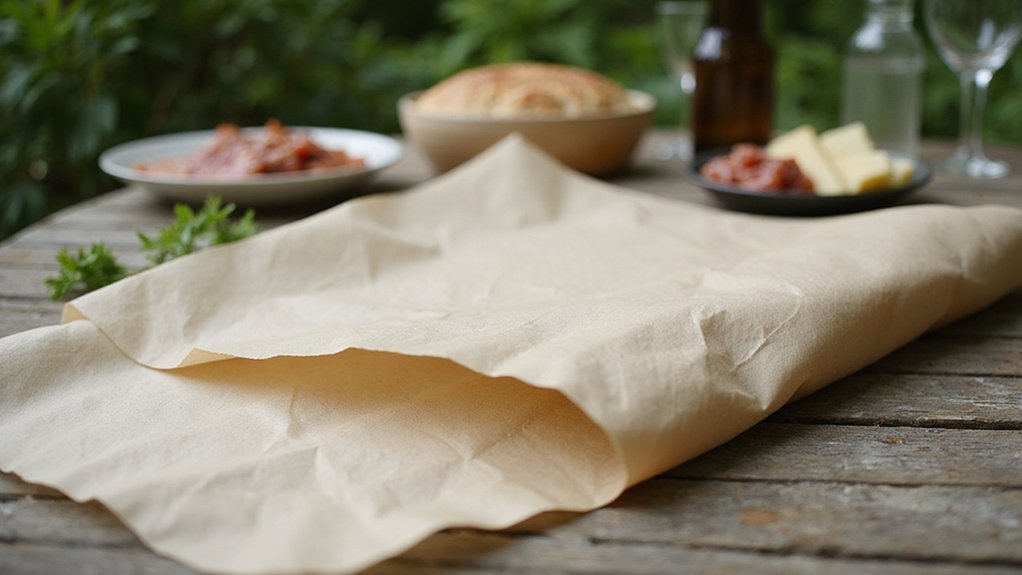
Butcher paper is a thick kraft paper traditionally used by butchers and fishmongers for wrapping meat and fish. In BBQ, it’s valued for its breathable structure that allows smoke to penetrate the meat, enhancing flavor and tenderness. Unlike foil, butcher paper strikes a balance between moisture resistance and airflow, helping keep the meat moist without trapping too much steam. This breathable structure also prevents the meat from becoming soggy and preserves the crispy bark. Usually available in white, brown, tan, or pink, butcher paper acts as a durable, permeable wrap that supports the smoking process. Its toughness minimizes tearing during long cooks, making it a practical choice for handling smoked meats. Additionally, the permeable nature of butcher paper promotes consistent smoke absorption, resulting in better flavor development. A proper wrap with butcher paper can optimize these smoking processes further, enhancing overall results. Overall, using butcher paper can improve both tenderness and flavor in your smoked dishes.
How to Choose the Best Food-Grade Butcher Paper for Smoking
To choose the best food-grade butcher paper for smoking, focus on labels like “FDA approved” or “compliant” to ensure the paper is safe for direct contact with meat. Select paper specifically designed for smoking meats rather than craft or freezer paper, which may contain chemicals that can affect flavor or safety. Unbleached, unwaxed, and uncoated options are preferred because they prevent off-flavors and melting during smoking. Brown kraft paper is a popular natural choice, offering better sustainability and fewer additives. Opt for heavy-duty, tear-resistant paper that can withstand heat and moisture without tearing or leaking. For size, an 18-inch roll works well for most briskets, while larger cuts like pork shoulders benefit from 24-inch rolls. Choosing brands that market their paper explicitly as butcher paper for meat curing helps ensure top performance during smoking sessions. Additionally, seeking out certifications and quality marks on packaging can provide further assurance of the paper’s safety and suitability. It’s also helpful to verify that the paper is free from any harmful chemicals that might compromise flavor or safety during use.
How to Prepare and Cut Butcher Paper for Large Cuts
To prepare and cut butcher paper for large cuts, you should estimate about 2.5 times the meat’s width to determine the length needed. This ensures full coverage and allows for seam overlap, which is essential to prevent leaks and maintain the meat’s moisture. For very large cuts, like briskets or pork shoulders, this often means using 30 or more inches of paper, while smaller cuts such as a ribeye require around 18 to 20 inches. When working with larger pieces, consider using two sheets or double-wrapping to ensure secure coverage. Always leave extra paper to accommodate overlaps and avoid short wraps that might expose the meat. Stabilize the butcher paper roll on a flat surface—using a paper dispenser or clamps can help maintain proper tension and control during cutting. To make clean, straight cuts, mark your measurement line with a ruler or straight edge first. Cut smoothly and steadily in one continuous motion to produce a neat edge—avoid jagged or uneven cuts that can complicate wrapping. Proper preparation of your butcher paper speeds up the wrapping process and ensures a tidy, protective wrap for large cuts. Additionally, applying gentle pressure during cutting can help achieve a cleaner, more precise edge, making handling easier. Using waterproof paper can also be beneficial for certain types of meat or when extra protection is needed against moisture. Choosing the right type of paper can sometimes depend on the specific cut and moisture retention needs of your meat. Moreover, practicing consistent cutting techniques can improve efficiency and make the whole process more manageable.
What’s the Right Way to Wrap Meat in Butcher Paper? A Step-by-Step Guide
Wrap meat in butcher paper by choosing a sheet about 2.5 times the width of the meat to ensure full coverage. Cut two lengths if necessary, overlapping the edges by about 2 inches to secure the wrap. Place the meat near one end of the paper on a clean surface, leaving enough margin for a complete fold.
Keep the paper tight and tensioned while wrapping to prevent air pockets that could dry out the meat or compromise the seal. Fold the bottom edge snugly over the meat, then tuck the sides inward like wrapping a gift, creating clean, secure tucks. Roll the meat forward while maintaining tension to keep the wrap firm, ending with two to three tight folds. Proper tensioning helps to maintain freshness and keeps the wrap secure during storage.
Secure the seams firmly by pressing them down to create a compact shape that promotes tenderness and effective storage. For the best results, label your package and store it promptly, protecting the meat from exposure and spoilage. Additionally, choosing the right butcher paper can help prevent leaks and maintain the meat’s quality. Considering the performance of different wrapping materials can further ensure freshness during storage.
How to Smoke and Cook Wrapped Meat for the Perfect Bark and Moisture
To smoke and cook wrapped meat effectively, start by smoking the meat unwrapped until it reaches the stall, typically around 160–170°F. This stage allows the bark to develop while moisture loss slows, helping prevent the meat from drying out. Keep a steady cooking temperature throughout the process and monitor the duration of smoke exposure carefully, as excessive smoke after the stall can lead to a bitter flavor and a less desirable bark. Using proper storage methods ensures that the meat retains quality and flavor during the process. Once the meat hits the stall, wrap it tightly in butcher paper, making sure there are no gaps or air pockets that could trap moisture or heat. Wrapping with butcher paper helps retain moisture while still letting the meat breathe, resulting in a tender, juicy interior. If applicable, place the meat with the fat side up so rendered fat naturally bastes the meat during the final cooking phase. Proper wrapping techniques also contribute to maintaining ideal temperature and moisture levels while cooking. It’s also important to monitor the internal temperature to avoid overcooking or undercooking the meat. Continue cooking until the meat reaches an internal temperature of about 200–205°F, which ensures it is tender and fully cooked. This technique strikes a balance, allowing smoke penetration and bark formation while maintaining optimal moisture inside the meat.
Resting and Storing Meat Wrapped in Butcher Paper
After cooking and wrapping your meat in butcher paper, allowing it to rest is essential before storage. Let the meat cool at a safe temperature, ideally around 140°F, for at least 20 to 30 minutes. This resting period allows the juices to redistribute, ensuring the meat stays moist and flavorful when stored. Proper resting helps improve overall texture and flavor. When wrapping for storage, make sure the paper conforms tightly to the meat with minimal air pockets. Fold the edges flat and press them secure to prevent air exposure, which can cause spoilage and freezer burn. If you’re refrigerating the meat for short-term storage, place the wrapped meat on the coldest shelf of your refrigerator, such as the lower shelf, and consume it within two days for the best quality. For freezing, double wrap the meat using freezer-safe materials or add a moisture barrier like vacuum sealing. Label the package clearly with the date and contents so you can monitor freshness. Using proper storage methods is crucial to maintaining quality and preventing spoilage. Understanding preservation techniques can further enhance how well your meat maintains its flavor and texture during storage. Additionally, temperature control during storage plays a vital role in preventing bacterial growth and extending shelf life. Before reheating or cooking again, check the meat for any off odors, discoloration, or slimy texture. Proper handling during resting and storage preserves flavor and prevents spoilage.
Common Mistakes When Using Butcher Paper for BBQ and How to Avoid Them
Using butcher paper correctly involves avoiding common mistakes that can ruin your BBQ. One of the biggest errors is wrapping the meat too early. Doing this before the bark has formed traps moisture inside, which prevents the crust from developing properly and can lead to a soggy texture. To avoid this, wait until the meat passes the stall, usually between 150°F and 170°F, and ensure the bark looks good before sealing it in the paper. Choosing the right paper is also crucial. Stay away from waxed, coated, or chemically treated white butcher paper, as these can release harmful substances when heated. Instead, opt for FDA-approved, uncoated, food-grade pink or peach butcher paper. These papers allow vapor transfer, which helps keep the meat moist and promotes a better bark. Furthermore, wrapping too loosely or with poor coverage reduces moisture retention and can cause the meat to dry out or cook unevenly. Keep your wrap snug and secure to maximize moisture control. Be cautious when handling the paper—improper handling can cause tears or safety hazards, and reusing paper is not recommended as it can harbor bacteria and lead to safety issues. Proper timing, correct paper selection, and careful technique are key to achieving tender, flavorful BBQ with a delectably crispy bark. Additionally, pink butcher paper’s breathability allows heat and air to penetrate, preventing steam buildup that could soften the bark and trap moisture effectively. Understanding the breathability of different paper types can further help you select the optimal material for your smoking process. Recognizing the importance of paper permeability aids in ensuring an even cooking environment, which is essential for consistent results.
FAQS: Wrapping, Cooking Tips, and Best Practices With Butcher Paper
Proper wrapping of butcher paper involves overlapping two sheets, folding them tightly around the meat to eliminate air pockets, and tucking in the sides to secure the package. To infuse flavor and keep the meat moist, add liquids such as beef broth, tallow, or beer before wrapping. Avoid wrapping too tightly to prevent crushing the bark, as maintaining some airflow helps preserve its texture. Unlike foil, butcher paper allows the meat to breathe and retains moisture better for short-term storage or refrigeration. If you prefer different materials, foil or specialty butcher papers are available, designed to enhance flavor infusion and reduce steaming. Always label your wrapped meat to monitor freshness and ensure optimal results. For optimal results, consider using enclosed 3D printers for quality, which can help in creating custom packaging or enhancements.