How to Make Sublimation Shirts: Easy Step-by-Step Tutorial
Thinking about creating your own sublimation shirts but not sure where to start? The key is choosing the right fabric and understanding the heat transfer process.
With just a few steps, you can turn a blank polyester shirt into a vibrant, custom design. Keep reading to learn the simple, straightforward method to make professional-looking sublimation shirts at home.
Understanding How Sublimation Works for Shirts
Sublimation works for shirts by using special inks printed onto transfer paper. When heat and pressure are applied, the ink converts from a solid to a gas and penetrates the fabric surface. This process embeds the design within the fibers, making it a permanent, full-color transfer. Ink infiltration is essential because it ensures the design isn’t merely sitting on the surface but integrated into the fabric, which enhances durability. The quality of the fabric also plays a crucial role in how well the sublimation process works, with 100% polyester shirts providing the best results. This embedding process also allows the colors to remain vibrant, making images appear vivid on polyester-based shirts. Proper heat, pressure, and timing are crucial to activate the ink effectively. If these parameters are off, the design may appear blurry or fade over time. Consistently maintaining optimal temperature helps ensure consistent results and prevents the design from cracking or peeling. Additionally, sublimation paper is specifically designed to hold the sublimation inks and transfer them efficiently during the heating process, which is vital for achieving high-quality prints. Using appropriate pressing techniques can further improve the transfer quality and durability of your design. When done correctly, sublimation results in a seamless, long-lasting design that’s resistant to cracking or peeling, giving your shirt a professional, high-quality finish.
Picking the Right Materials and Shirts for Sublimation
Choosing the right materials and shirts is essential for vibrant and long-lasting sublimation prints. Starting with fabric color, white shirts offer the highest color vibrancy and clarity because they reflect all ink colors well. Light gray, pastel pink, and baby blue are viable alternatives that still produce decent results, but black fabrics tend to block the design transfer due to ink absorption limitations.
When selecting fabric blends, aim for at least 65% polyester to ensure bright, vivid colors. Pure polyester fabrics provide the best quality, with 100% polyester being ideal. Blends with 65% polyester and 35% cotton are suitable if you seek a vintage look but do not expect the same vibrancy as fully polyester options. Fabrics with less than 50% polyester are not recommended because they tend to produce duller results and inconsistent color transfer. A polyester percentage significantly influences the overall print quality and vibrancy, making it an important factor to consider.
For optimal ink saturation and sharp details, choose lightweight fabrics around 130 grams per square meter (gsm). Smooth, tight-knit textures facilitate better dye absorption and crisp image reproduction. Avoid heavy or rough materials, as they hinder dye penetration and can cause blurry or uneven prints. Polyester and high-percentage blends are your best bet for consistent, vibrant sublimation outcomes. Additionally, understanding the resin used in fabric coatings can help improve dye adhesion and overall print quality, as coatings can influence how well the ink bonds with the fabric.
Preparing Your Design for Perfect Printing
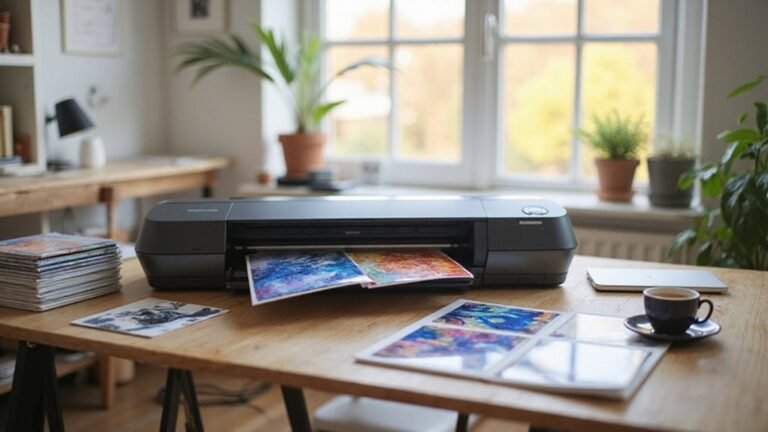
Ensure your design file is correctly set up before printing. Confirm that your canvas matches the exact print dimensions in inches or millimeters to prevent scaling errors. Measure the printable area accurately and keep your artwork within the safe zone to avoid cropping issues. Add bleed if necessary to account for shifting during the transfer process, typically around 0.125 inches. Prepare your artwork in RGB color mode because it softens color shifts in sublimation printing, though CMYK may be suitable if your workflow requires it. Maintain a resolution of at least 300 DPI to keep edges sharp and details clear. Save your file in high-quality formats like PNG to preserve transparency and image integrity. Before printing, double-check the image orientation, paper size, and file placement to ensure everything transfers perfectly. Additionally, sublimation printing relies heavily on the quality of the ink and paper used, so selecting the appropriate materials is crucial for achieving vibrant, durable results. Being aware of printing quality factors can help optimize your results and reduce costly mistakes.
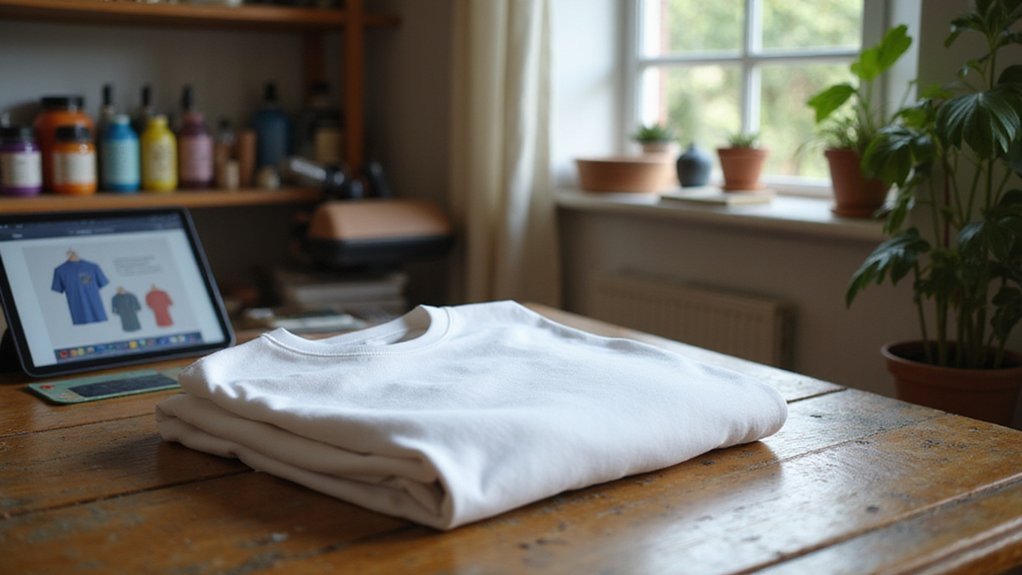
Setting Up Your Shirt and Equipment Before Pressing
To ensure a clean, vibrant transfer, you should properly prepare your shirt before pressing. First, verify that the fabric has a consistent stretch and is a polyester blend, ideally between 4.0 and 5.0 oz/yd², to prevent heat damage. Light-colored shirts, such as white or pastels, are preferred for better color vibrancy. Remove any creases and lint to avoid ghost images or light spots in your design. Then, calibrate your heat press to a temperature between 380°F and 400°F and allow it to heat up for at least 5 minutes to ensure even heat distribution. Adjust the pressure to medium or firm, depending on the fabric’s thickness. Confirm that the heat press closes evenly, with no gaps, to prevent uneven transfer. Set the timer for 45 to 60 seconds to optimize the transfer quality and reduce the risk of fabric stretching during pressing. Additionally, understanding the heat transfer process can help you troubleshoot and improve your results. Knowing how heat sources impact heat distribution can make a significant difference in achieving consistent results. Proper pressing techniques can further enhance the durability and vibrancy of your sublimation shirts.
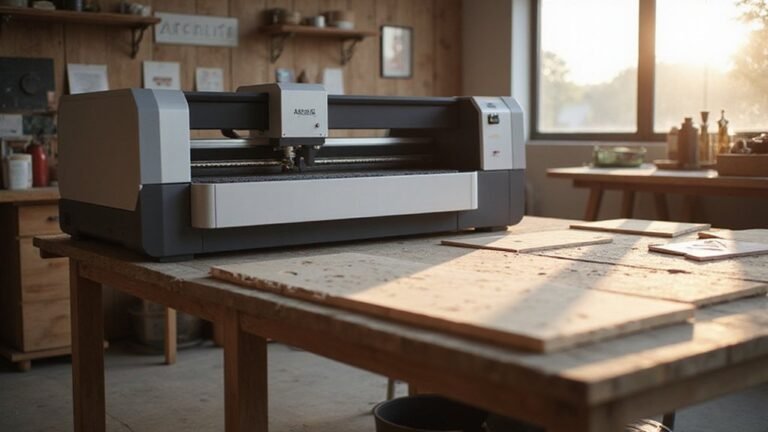
How to Perform the Heat Transfer: Settings and Technique
To perform effective heat transfer, you need to set your heat press to the correct temperature, time, and pressure. For 100% polyester shirts, aim for a temperature range of 385 to 400°F, with a pressing time of 45 to 60 seconds and medium pressure. Ensuring your heat press is properly calibrated is crucial for consistent results. Use the appropriate transfer paper—brand instructions vary—and keep the press closed until it reaches the target temperature to prevent uneven transfers. Apply a Teflon sheet or parchment paper over the transfer as a protective barrier, and secure the transfer with heat-resistant tape. Regularly adjust your settings based on test results, increasing time to improve faded prints or lowering temperature if colors bleed or fabric scorches. Proper calibration of your heat press is essential to avoid issues like yellowing or uneven image transfer, ensuring professional-looking results every time. Additionally, understanding heat transfer techniques can help optimize your results and prevent damage to your shirts. Being aware of fabric types and properties can also guide you in choosing the best settings for different garments. Appropriately drying your shirts before transfer can also contribute to successful sublimation and eliminate imperfections.
Finishing Your Shirt and Tips for Long-Lasting Prints
After completing your pressing, let the shirt cool briefly before handling it. Waiting about 10 seconds allows the ink to settle into the fibers, which helps improve the durability of the print and maintain vibrant colors. When lifting the heat source, do so straight up to prevent ghosting or double images on the design. Remove transfer paper once the project has cooled enough to handle safely, and handle the shirt carefully during reveal to avoid smudging or shifting the design. Only remove heat-resistant tape, protective layers, and the internal barrier inside the shirt after everything has cooled. Check for even coverage and proper placement at this stage. To ensure your print lasts, wash the shirt inside out with a mild detergent and avoid using high-heat dryers. Store the shirt away from direct sunlight to prevent fading and help preserve the vibrancy of your sublimation design. Proper handling and cleaning are essential for maintaining the quality and longevity of your sublimation projects. Additionally, being aware of printing conditions, such as temperature and pressure settings, can significantly influence the final result and its durability. Understanding compatible printers and their specific settings can help produce the best possible results during the sublimation process. Being familiar with performance and durability differences in materials like basswood versus plywood can help you select the best surface for your project needs.
Troubleshooting Common Sublimation Issues
Common sublimation issues can impact your print quality despite careful finishing. Faded or dull prints usually result from poor ink compatibility or improper color management. Ensure you are using a sublimation printer, ink, and paper specifically designed for sublimation. Set your print driver to the highest quality, disable fast printing, and select the correct media setting to enhance color density and prevent banding issues. Proper maintenance of the printer, such as running cleaning procedures regularly and inspecting for debris, is essential for consistent results. Lines, streaks, or spots are often caused by dust, dirt, or contamination within the ink system. Run cleaning procedures regularly, inspect for debris, and use high-quality paper loaded correctly into the printer. Maintaining printer calibration helps improve the overall print quality and reduces color inconsistencies. Additionally, being aware of material compatibility ensures the sublimation process proceeds smoothly, avoiding issues like poor adhesion or color bleed. Ghosting or double images tend to occur if the transfer shifts during the process. To prevent this, secure the design with heat-resistant tape and make sure the transfer remains motionless during the cooling phase.