Wondering how to cut acrylic sheets by hand without cracking or chipping? The process involves a few simple tools and careful steps to get a clean, precise cut.
With the right technique, you can easily score and snap acrylic for your project. Keep reading to learn exactly how to do it the right way.
What Tools and Materials Do You Need for Cutting Acrylic by Hand?
To cut acrylic sheets by hand effectively, you need specific tools and materials to ensure clean cuts and safe handling. Start with a quality acrylic scoring tool or utility knife for thin sheets, and use a fine-toothed hacksaw or saw for thicker acrylic. Keep your blades sharp by maintaining your tools regularly; dull blades tend to produce rougher cuts and can cause cracking. Safety precautions are essential: wear safety glasses to protect your eyes and work gloves to safeguard your hands from sharp edges and debris. Use a sturdy metal ruler or straightedge to guide your cuts precisely, and apply masking tape along the cut line to minimize chipping. Secure the acrylic sheet with clamps to prevent movement, and work on a stable surface where the sheet overhangs for easier control. Proper maintenance of your tools and attention to safety measures are key to achieving smooth, accurate cuts with minimal risk. Additionally, understanding the properties of acrylic materials can help you select the best cutting techniques and prevent damage during your project. Being familiar with material properties can also guide you in choosing the most appropriate tools and techniques for your specific sheet thickness and type. Recognizing material limitations can further help you avoid unintended breakage or cracking during the process.
How to Measure and Mark Your Acrylic Sheet for Precise Cuts
Keeping the protective film on during measurement is essential because it prevents scratches and keeps the surface clear, making your markings easier to see. For color contrast when marking, choose a pencil or marker that stands out against the film or acrylic surface. Use precise measuring tools like a ruler or measuring tape and double-check your dimensions to avoid mistakes. The rule “measure twice, cut once” is key to minimizing waste. Mark your cut line clearly with a pencil or tape, ensuring it is straight and visible. If needed, apply masking tape for added visibility. Before cutting, align a straightedge precisely along the mark and clamp it securely to prevent shifting during the cut. This careful setup, combined with safety precautions, ensures clean, accurate cuts that fit perfectly. Additionally, understanding cutting mats and how they function can help you choose the right tools and prevent damage to your work surface. Being aware of the types of acrylic sheets available can also assist in selecting the most suitable material for your project needs. Recognizing the best tools for acrylic can further improve your cutting accuracy and safety during the process.
How to Score Acrylic for a Clean, Accurate Cut
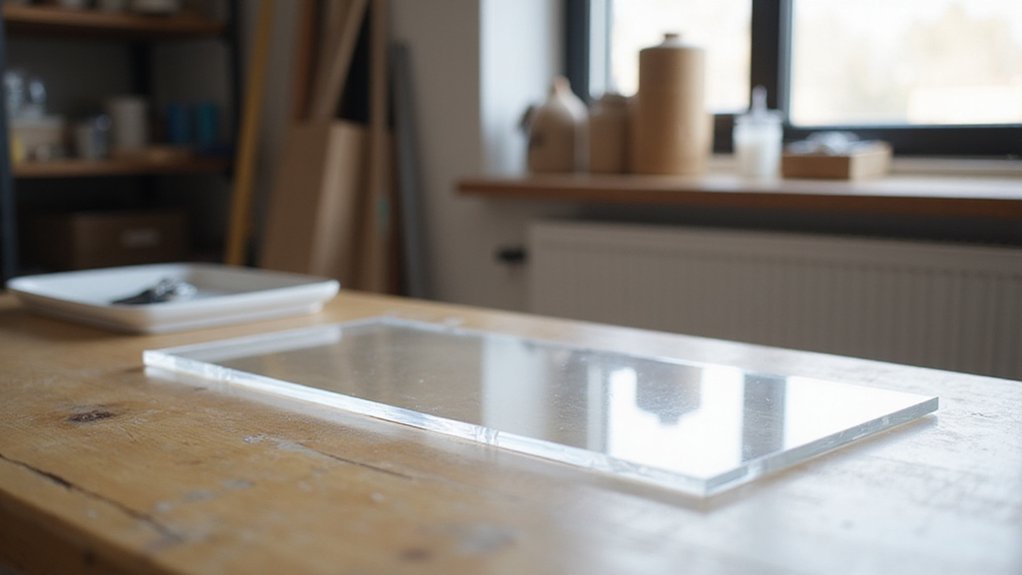
To score acrylic for a clean, accurate cut, start by placing the sheet on a flat, stable surface like a workbench and securely clamp it to prevent movement. This ensures your score line will be straight and even, which is essential for a smooth break. Use a scoring knife specifically designed for acrylic to avoid damaging the material—these knives typically have a hardened blade that can withstand repeated passes. Keep your tool sharp and apply consistent pressure at a steady angle against a straightedge or metal ruler to guide your cut. Always wear safety goggles to protect your eyes from any potential flying debris during scoring. Score slowly and methodically, making around five to ten passes until the groove is sufficiently deep. Multiple shallow passes are better than a single aggressive one, reducing the risk of chipping or uneven breaks. For more precise results, double-sided scoring is effective: flip the sheet and align the second pass directly over the first, creating an even deeper groove. This technique helps produce a clean, straight score line, which is crucial for achieving a neat break and preventing rough edges.
How to Snap Acrylic Along a Score Line Smoothly
Once you’ve scored the acrylic sheet properly, snapping it along the line involves applying controlled, firm pressure. For different thicknesses, a deep, even score is crucial—use a specialized acrylic cutter or utility knife, applying steady pressure and making multiple passes to create a clean groove. Place the sheet on a flat, stable surface with the score line aligned at the edge. Support the larger section fully while hanging the waste side over the edge for better control. When snapping, quickly apply smooth downward pressure on the overhanging part, holding the supported section steady to prevent jagged breaks. Ensure your hands are clear and the sheet is stable to stay safe during the process. After snapping, you can smooth the sharp or uneven edges with sandpaper or a file for a polished finish. Using the right cutting technique can help prevent cracking or uneven edges and result in a cleaner break. Additionally, understanding the proper scoring method is essential for achieving professional-looking results and reducing the risk of chipping.
When Should You Use a Saw for Cutting Thicker Acrylic Sheets?
Use a saw for cutting thicker acrylic sheets when manual scoring and snapping become unreliable, typically at thicknesses over 1/4 inch (6 mm). Industrial equipment like band saws, jigsaws, table saws, and panel saws are best suited for these larger or heavier sheets, especially when precise straight cuts are required. Sawing is a good choice when the sheet’s size or thickness makes snapping difficult or imprecise, and the quality of cut justifies the extra effort, even if it results in rougher edges that need finishing later. Proper setup is essential: use high tooth-count blades designed for plastics, support the sheet fully to prevent binding, and control heat buildup to avoid melting or chipping. Safety precautions include securing the sheet firmly and wearing protective gear. Employing coolant or a light lubrication helps achieve cleaner cuts on thicker acrylic sheets, reducing the risk of damage and ensuring a safer, more accurate process.
How to Finish and Smooth Acrylic Edges for a Professional Look
To finish and smooth acrylic edges for a professional appearance, follow a careful, step-by-step process. Start with coarse grit sandpaper, such as 120 to 180, to remove saw marks, roughness, and surface imperfections. Use light, even pressure and sand in one consistent direction to prevent scratches. Progress to medium grit, like 320 to 400, for further refinement, ensuring the surface becomes more uniform. Finish with fine grit, ranging from 600 to 2000, to enhance clarity and achieve a highly polished, clear look. Always employ a progressive grit sequence—moving from coarse to fine—and avoid skipping steps. After sanding, inspect the edges under good lighting to check for smoothness and uniformity. To achieve a glossy, professional finish, you can use a soft buffing wheel combined with an acrylic-specific polishing compound, applying light pressure and keeping the edge moving steadily. Alternatively, flame polishing with a controlled but steady torch can produce a high-gloss, polished edge. Proper edge finishing techniques can also help prevent further edge cracking or damage, especially when using appropriate tools and methods. Achieving a smooth and even surface is crucial for a seamless appearance. Once the edge feels smooth to the touch and looks even under good lighting, and the dust has been thoroughly cleaned away, you can consider the process complete.
Common Mistakes When Cutting Acrylic and How to Avoid Them
Careful finishing and smoothing are crucial for a professional appearance, but avoiding common cutting mistakes is equally essential. Using the wrong tools, such as aggressive blades or saws, results in rough edges and reduces control, especially when cutting thicker acrylic sheets. Dull blades generate excess heat and friction, which can cause melting, warping, or rough edges. Accurate measurement and clear line marking are vital because acrylic cuts are difficult to correct once made, preventing inaccuracies. Inadequate support or improper clamping can lead to flexing or slipping during cutting, often producing jagged or uneven edges. Cutting too quickly or with excessive force creates heat that can affect the acrylic’s clarity and UV resistance. To ensure clean cuts, use steady, controlled motions with appropriate tools, such as fine-tooth saw blades. Always support and clamp your material securely to avoid slipping. Remember, patience and precision during cutting—like in delicate craftsmanship—are key to preventing mishaps and achieving a polished final product. Proper technique and the right equipment are critical for maintaining the acrylic’s pristine quality throughout the process. Being mindful of appropriate tools for acrylic can make a significant difference in the ease and quality of your cuts.
Troubleshooting Chipping, Cracks, and Difficult Breaks in Acrylic
Proper support during cutting is essential to prevent chipping, cracking, and difficult breaks in acrylic. Always support the sheet evenly on both sides to minimize bending, which creates stress points and weakens the material. Use a stable, flat surface and a clamp or temporary supports to hold the acrylic securely. Avoid bending or flexing the sheet during the cutting process, as this can cause unexpected cracks or chips. When scoring or scoring multiple times for a clean break, deepen the groove gradually with several gentle passes instead of trying to cut through in one go. Keep the blade sharp and use a fine-tooth blade to reduce vibration and edge tear-out. Maintaining a consistent, moderate cutting speed prevents excess heat buildup, which could weaken the acrylic. Cooling breaks and water-based lubricants during extended cuts help disperse heat and preserve the material’s integrity. By following these support and handling techniques, you will achieve cleaner cuts with minimal chips, cracks, or breaks.
Tips for Achieving the Best Results When Cutting Acrylic by Hand
To achieve precise cuts in acrylic by hand, careful preparation is essential. Keep the protective film on the sheet during marking and cutting to prevent surface scratches, which is especially important if you plan to add coloring or decorative finishes later. Use a flat, stable work surface and secure the sheet with clamps to prevent shifting during cutting. Measure twice to ensure accuracy, then mark your cut lines gently with a pencil or marker on the film or masking tape; light, visible lines are best to avoid damaging the surface. Score the acrylic with a scoring tool, applying steady pressure and making multiple passes to deepen the groove. If necessary, score both sides of the sheet for cleaner breaks. When snapping the acrylic, do so firmly along the scored line for a clean break. Finish by smoothing the edges with sandpaper, starting with a coarse grit and progressing to finer grits. Proper technique is crucial for achieving clean, accurate cuts. For a professional appearance, consider polishing the edges to improve clarity and shine. Additionally, understanding the tools used in acrylic cutting can help makers select the most suitable equipment for their project.
How to Correct and Prevent Common Cutting Problems
To correct and prevent common cutting problems in acrylic, focus on the blade, speed, and support during cutting. Use a fine-toothed blade specifically designed for plastics to minimize chipping and cracking. Keeping the blade sharp and clean is also vital for clean cuts. A straightedge or guide helps ensure accurate, straight lines and consistent cuts. Cutting too quickly can lead to heat buildup, causing the acrylic to melt and resulting in rough or uneven edges. Maintain a steady, moderate cutting pace, and pause to cool the blade if it gets hot. Fully support the acrylic sheet on a flat surface and clamp it securely to prevent vibrations. Vibrations can cause cracks and damage to the edges. For smoother edges, consider using fine-grit sandpaper or applying tape along the cut line to reduce chipping. Always work with controlled force, support both sides of your cut, and avoid rushing to ensure precise, clean results. Being aware of material properties can help you choose the proper tools and techniques for a better cut. Additionally, understanding cutting techniques tailored to acrylic can significantly improve your results. Paying attention to proper blade selection can also minimize issues like melting and cracking during cutting.