If you’re wondering how to get started with printable vinyl, you’re in the right place. It’s a versatile craft material that lets you create custom decals, labels, and more with your printer.
The key is choosing the right type, designing carefully, and following a few essential steps to ensure your project turns out vibrant and durable.
Keep reading to learn the full process.
What Is Printable Vinyl and How Does It Work?
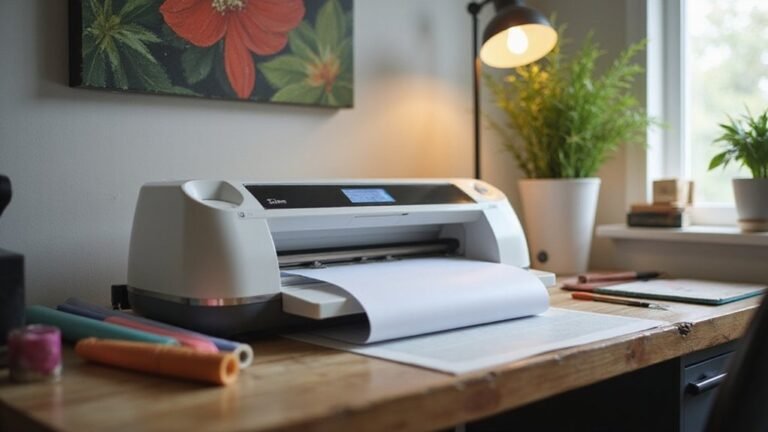
Printable vinyl is a plastic-based adhesive sheet designed for use with home inkjet printers. One side has a print-receptive coating that absorbs and holds ink, creating vibrant and detailed designs. The other side features a sticky backing that allows you to attach the vinyl to smooth surfaces like glass, plastic, or metal. This material comes in various adhesive options, including permanent and removable types, giving you flexibility depending on your project needs. After printing your design and allowing the ink to dry completely, you can cut out the shape and apply it to your chosen surface. Its water resistance and durability make it perfect for creating stickers, decals, labels, or personalized decor that can withstand handling and weather exposure. Using printable vinyl with a sublimation printer can further enhance the vibrancy and longevity of your designs, especially on polyester surfaces. Additionally, proper handling of printable vinyl ensures the best adhesion and appearance for your finished project. And while printable vinyl is not typically ironed on, understanding iron-on techniques can be useful if working with other types of vinyl materials.
How to Choose the Best Printable Vinyl for Your Project
Choosing the right printable vinyl depends on understanding your project’s specific needs and how different options perform under various conditions. Consider vinyl stability to ensure it withstands environmental factors such as water, UV rays, and high wear. If your project will be outdoors or exposed to moisture, select a vinyl with high stability and water resistance. Adhesive properties are also critical: some vinyls adhere strongly for outdoor use, while others are better suited for indoor applications where removability might matter. Always check if the vinyl is compatible with your printer—whether it’s designed for inkjet or laser printers—and confirm the correct print side orientation to ensure crisp, clear images. Finish and appearance influence the final look; matte vinyl offers a non-reflective surface, glossy adds shine and vibrancy, while clear vinyl complements light-colored or transparent surfaces. Durability may require choosing thicker, more rugged vinyl, especially for projects subject to frequent handling, and lamination can be added for extra longevity. For flexible, intricate designs, cast vinyl is usually preferable because it conforms better to curves, whereas calendered vinyl is suitable for broader, less detailed applications. Proper vinyl selection can significantly impact the overall success and longevity of your project. Additionally, understanding the specific Adhesive properties helps ensure your project stays secure or remains removable, depending on your goals. Knowing the vinyl stability helps you select the best material for different environmental conditions, ensuring your project remains intact over time. It’s also helpful to consider the printability of the vinyl, as some surfaces may require special handling for optimal results.
Preparing Your Design File for Printing and Cutting
To prepare your design file for printing and cutting, start by using a vector-based master file. This ensures precise and scalable cut lines, maintaining clarity regardless of size. Keep all vectors within the document canvas and set the document width to your final design size, matching the vinyl material width—typically up to 28 inches—for proper compatibility. Switch your units to inches to keep the dimensions consistent throughout the process. Convert all text to outlines and outline strokes to avoid font and line interpretation issues during cutting. Remove fills from cut lines to distinguish them clearly, and verify that all paths are closed with no gaps or overlaps, which could cause miscuts. Organize your design into layers—separating print and cut sections—and hide any objects not relevant to the current step to prevent confusion during export. Make sure your design fits within the printable and cuttable bounds, adjusting as needed. Add bleed areas where necessary to account for slight color matching or trimming inconsistencies. This ensures your final product will match your intentions without unexpected cutoffs or misalignments. Additionally, proper file preparation includes ensuring your images are optimized and correctly aligned for the Print Then Cut process to achieve the best results. Understanding the properties of vinyl can help prevent issues like adhesion problems or peeling. Properly managing file elements and understanding print and cut settings can significantly improve the quality of your final product. To enhance accuracy, consider testing your design with small samples before full production.
How to Print Your Design Safely and Achieve Quality Results
To print your design safely and achieve professional quality results, start by verifying your printer setup. Ensure you select the correct media type, such as Normal Paper or Photo Paper, depending on your printable vinyl. Using the appropriate media setting helps the printer apply the right amount of ink and prevents smudging or misalignment.
Next, set your printer to high-quality print settings. Load your printable vinyl with the printable side facing the ink entrance to ensure sharp, vibrant images. Stick to single-sheet feeding to avoid jams or damage to your vinyl or printer mechanisms.
Calibrating ICC color profiles is essential for accurate color reproduction. Match the profiles to your printer and vinyl media to maintain color consistency and vibrancy. Also, opt for eco-friendly inks if available—these are safer and reduce environmental impact.
Always preview your layout before printing to verify placement, size, and orientation. Once printed, let the vinyl dry for at least five minutes to prevent smudges or fingerprints. If you plan to apply lamination, wait longer if needed to ensure the ink is fully set.
Finally, keep your printable vinyl surfaces clean and handle the printed material carefully. Proper care extends the durability of your designs and ensures the best, long-lasting results.
Cutting and Trimming Printable Vinyl for Precise, Clean Edges
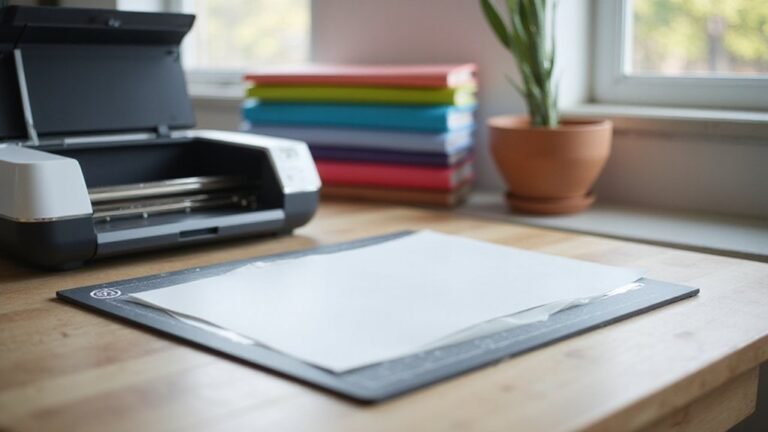
Ensuring precise, clean edges when cutting printable vinyl depends on proper material alignment and margin control. Feed the vinyl straight and square through the cutter to prevent skewing and edge distortion. Maintaining a 1-inch margin helps with smooth feeding and facilitates easier edge trimming. Verify that your machine’s usable cutting area matches your measured vinyl width to avoid off-edge cuts. Use a shallow blade depth and lower pressure settings, especially with thinner vinyl, to prevent tearing and improve trim accuracy. Running test cuts at slower speeds allows you to fine-tune the blade settings before increasing speed for larger jobs. A sharp blade is essential; dull blades lead to jagged edges and poor finishing. After cutting, trim the vinyl cleanly using a paper trimmer or X-Acto knife, following the design’s outline to achieve crisp, professional results. Proper machine calibration and regular maintenance of your cutter and blade sharpening help prevent issues with cut quality and ensure accurate cuts and clean edges. Additionally, understanding the properties of sublimation ink can help prevent bleeding or smudging during printing and cutting processes.
Applying Printable Vinyl to Fabric and Other Surfaces
Applying printable vinyl to fabric and other surfaces begins with proper surface preparation. Wash and dry the fabric thoroughly to prevent shrinking or distortion after application. Preheat or pre-press the fabric briefly to remove wrinkles and moisture, ensuring it stays flat on a heat-safe surface. When positioning your design, keep the carrier sheet attached and use measuring tools to align it accurately for perfect centering and straightness. If necessary, secure the material with heat-resistant tape to prevent shifting during pressing. Cover the design with parchment or Teflon sheets to protect it from direct heat, following the manufacturer’s specified temperature, pressure, and pressing time. After pressing, allow the fabric to cool completely before peeling the carrier sheet gently at an angle. Inspect the design and re-press if needed to achieve maximum durability and a crisp, professional look.
Optimal Heat Press Settings and Techniques for Perfect Transfers
The optimal heat press temperature for printable vinyl is between 280 and 300°F. Setting your heat press within this range ensures proper adhesion without damaging the material. Some brands or substrates like polyester or glitter vinyl may require slightly higher or lower temperatures, so always check the manufacturer’s recommendations. Accurate calibration of your heat press is essential because display readings can be misleading; use a surface probe or heat strips to verify the actual platen temperature. Proper temperature control is crucial to prevent scorching or incomplete transfers. Press durations for printable vinyl typically range from 15 to 20 seconds at about 300°F. This longer press time compared to standard heat transfer vinyl (10–15 seconds) helps ensure the printable layer bonds firmly to the substrate. Medium pressure, around 15 to 20 PSI, is recommended to provide consistent heat transfer across the surface. Applying uniform pressure prevents uneven adhesion or ghosting. Pre-press the material for a few seconds to remove moisture and prepare the surface, which can significantly improve transfer quality. Consistent pressure application is key to achieving a smooth, professional finish. Additionally, understanding Cricut transfer tape can help you achieve cleaner and more precise transfers by providing a reliable means to lift and reposition intricate designs. Remember that temperature calibration may vary between machines and environments, so periodically checking your heat press’s accuracy can save you from potential issues later. After pressing, allow the material to cool before peeling away the carrier to avoid distortion or incomplete transfer. Remember, precision in timing, temperature, and pressure makes the difference between a perfect transfer and a disappointing result.
Troubleshooting Common Printable Vinyl Problems and Fixes
To fix common printable vinyl issues, start by ensuring your settings match the type of vinyl you’re using. If your print has smudges or dull colors, switch to high-quality or glossy paper settings to increase ink saturation and compatibility with your printer. Always give the ink enough time to dry fully—waiting at least 15 to 20 minutes—before handling or laminating to prevent smudges. If colors appear overly wet or bleed, reduce ink saturation by 10 to 20 percent and perform test prints to dial in the right balance. Using the correct type of ink, such as pigment-based instead of dye-based, can also greatly improve the longevity and vibrancy of your prints, especially on glossy or holographic vinyl for more durability. Peeling or poor adhesion often results from a dirty surface. Clean your application area thoroughly, removing any dust, grease, or moisture. Use a clean cloth and mild soap if necessary, then dry completely before applying the vinyl. For stubborn adhesion issues, consider switching to a higher-adhesion vinyl product suited for your surface, which can enhance vinyl adhesion and longevity. To minimize air bubbles or wrinkles, smooth the vinyl from the center outward as you apply it, and use a needle or pin to carefully pierce and release any trapped air bubbles. For those tricky, persistent bubbles, gently lift the vinyl and reapply, using a squeegee for smoothness. Additionally, paying attention to vinyl storage and handling can help prevent many common problems. Proper storage of your vinyl rolls in a cool, dry place, away from direct sunlight, helps maintain their quality and prevents handling issues during application. Maintaining your cutting tools and ensuring correct settings also prevents issues like inaccurate cuts, preserving the quality of your projects.