Struggling with getting your vinyl designs perfectly in place? Cricut transfer tape is your solution. It’s a clear adhesive film that helps you position intricate or small designs accurately without shifting or tearing.
With the right type and proper technique, you can achieve professional-looking results every time. Keep reading to learn how to use it effectively and troubleshoot common issues.
What Is Cricut Transfer Tape & How Does It Work?
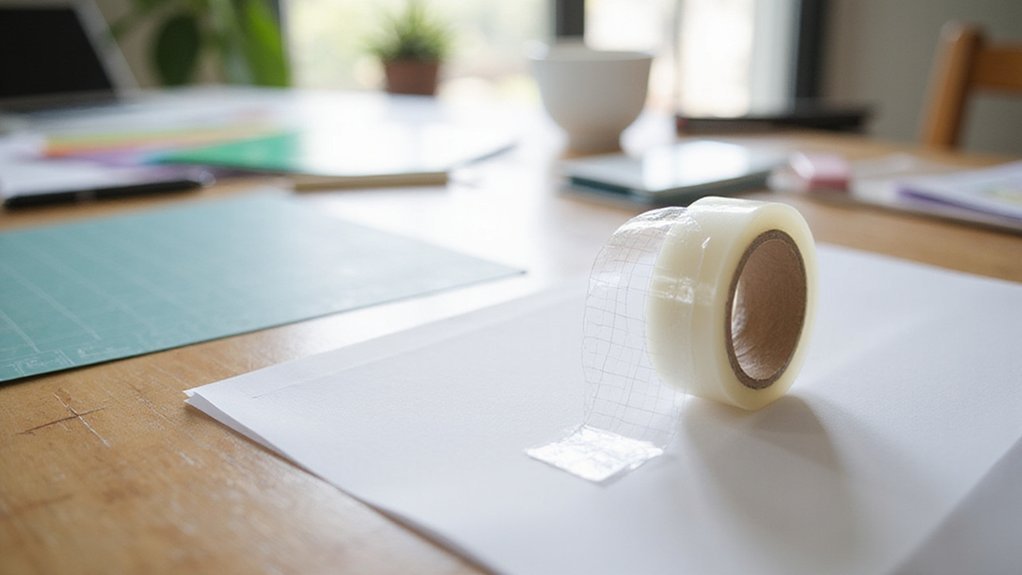
Cricut Transfer Tape is a clear film designed to move your vinyl designs from their backing paper onto your project surface with precision. It helps maintain the accuracy and cleanliness of your layout, making the application process smoother. The tape adheres securely to the vinyl, which is especially important for delicate or intricate designs, ensuring they stay intact during transfer. It also prevents stretching, bending, or losing small pieces, keeping your vinyl piece durable and well-formed. Using the right transfer tape type is essential to prevent issues such as lift or tearing, especially when working with textured or specialty vinyls. To use Cricut Transfer Tape, start by cutting a piece slightly larger than your design. Smooth the tape over your weeded vinyl, applying gentle pressure to burnish it and secure the adhesive. Carefully peel away the backing paper, leaving the vinyl adhered to the tape. Position the design on your project surface, then burnish again to ensure proper adhesion. Properly preparing your surfaces and choosing the correct type of transfer tape materials can significantly improve your results. Finally, peel away the transfer tape, leaving your vinyl design perfectly placed. This method results in neat, professional-looking projects every time.
Which Types of Cricut Transfer Tape Are Available?
Cricut offers three main types of transfer tape, each suited to different vinyl projects and materials. StandardGrip transfer tape, identified by its gray grid, is best for smooth vinyls like permanent or removable vinyl and works well with holographic or metallic finishes. StrongGrip transfer tape, featuring a purple grid, provides a firmer hold for textured or heavier vinyls such as glitter and thicker designs, making it ideal for detailed or stubborn adhesives. Linerless transfer tape has no backer and sports a gray grid, offering a specialized solution for those seeking a liner-free transfer process. Additionally, some crafters opt for transfer tape alternatives—like clear, paper-like, or masking tapes—based on project needs, especially when a different tack level or easy removal is prioritized. Understanding transfer tape materials and how they perform can help you choose the most effective option for your specific materials and project requirements. Recognizing transfer tape compatibility is also key to ensuring your project proceeds smoothly without issues. Cricut also provides value packs and multi-packs designed for larger projects, lowering the cost per sheet. While compatibility varies, some crafters opt for transfer tape alternatives—like clear, paper-like, or masking tapes—based on project needs, especially when a different tack level or easy removal is prioritized. Additionally, understanding the performance differences between these tapes can help you choose the most effective option for your specific materials and project requirements.
When Should You Use Cricut Transfer Tape?
Transfer tape is essential when you need maximum flexibility for intricate vinyl designs. Use it whenever your project involves delicate details, small letters, or complex shapes that require precise placement. Transfer tape helps keep tiny components in the correct position, preventing shifting or tearing during application. It’s especially helpful for designs with narrow cutouts or lots of small parts, ensuring the layout stays intact from your cut file. Proper technique during transfer reduces tearing, ripples, and bubbles, which is crucial for achieving a smooth, professional-looking finish. This tape is also ideal for applying adhesive vinyl to surfaces like mugs, signs, and tumblers, where exact positioning can make a big difference in the final look. By pressing the transfer tape over the vinyl design before sticking it onto your surface, you reduce the risk of bubbles and wrinkles, resulting in a cleaner, more professional finish. Additionally, if you want decals to be placed straight and evenly spaced, using transfer tape gives you more control and allows for adjustments before the final adhesion. Understanding material properties and how they respond during application helps ensure your project remains flawless from start to finish. Proper application techniques also minimize material waste, making your crafting process more efficient.
How to Apply Cricut Transfer Tape Step-by-Step
To apply transfer tape correctly, start by selecting a piece slightly larger than your design to ensure full coverage and easier handling. Trim the tape so the adhesive extends beyond the edges, providing a secure bond when applied. Use a transfer tape with a contrasting color for better visibility, especially on intricate designs, and choose a material suitable for your surface to avoid durability issues. Position the tape over your vinyl design with the sticky side down, starting from the center and pressing outward to eliminate bubbles and wrinkles. Burnish thoroughly using a squeegee or credit card to ensure good adhesion, paying close attention to small details. Carefully peel the backing at an angle, keeping the vinyl adhered to the transfer tape. Using proper tension during application, which helps prevent air bubbles and creases for a cleaner, more professional finish. Next, align and press the design onto your surface, applying firm, even pressure. Finally, peel back the transfer tape slowly and at an angle, ensuring the vinyl stays in place and results in a smooth, professional finish.
Troubleshooting Common Transfer Tape Problems
Transfer tape problems can often be fixed with some straightforward troubleshooting. If the tape feels too sticky, try de-sticking it by pressing it onto a piece of fabric like denim, which can help weaken the adhesive. Alternatively, switch to a transfer tape with a less aggressive adhesive if sticking is persistent. When vinyl isn’t adhering well to the transfer tape, ensure you’ve burnished thoroughly using a scraper or brayer, especially with small or intricate designs. If the vinyl isn’t releasing onto your project surface, clean the surface thoroughly and peel the transfer tape back slowly at a sharp angle. For detailed cuts or tiny pieces, extra burnishing and careful peeling are essential. Inspect the tape for tears or wrinkles, as damaged tape can compromise transfer quality. Additionally, conditions during transit can affect the adhesive strength of transfer tape, making troubleshooting even more necessary. Lastly, consider adjusting your color options and adhesive strength to match your material, which can lead to a smoother transfer process.
Tips for Reusing and Storing Cricut Transfer Tape
Proper storage and handling are key to extending the lifespan of your Cricut transfer tape. Always store the tape back onto its clean backing sheet after each use to preserve the adhesive. Keep the tape flat to prevent curling, which can make application more difficult, and avoid contact with dusty or textured surfaces that can reduce tackiness. When reusing the tape, peel it at a low angle to minimize stretching or tearing. If vinyl begins to lift, gently roll the tape back to reattach, and burnish the vinyl-tape stack to boost adhesion. If the tape feels less sticky, lightly de-stick it by pressing it onto a soft cloth or surface to restore some of its tackiness. Typically, you can reuse the tape three to four times as long as it remains sticky. Once it loses its grip, replace it to ensure successful transfers each time. Understanding the differences in materials can also help you choose the best surface for your project needs.
Additionally, paying attention to adhesive consistency can significantly impact your results and prolong the usability of your transfer tape. Maintaining consistent adhesive quality ensures reliable application and helps avoid frustration during projects.
How Does Cricut Transfer Tape Compare to Other Transfer Methods?
Cricut transfer tape provides superior control and precision when transferring vinyl designs onto your project surface, making it easier to achieve accurate placement compared to other methods. Its adhesive strength is specifically calibrated to lift intricate or multi-piece designs without causing tearing or excessive bonding, ensuring a clean release. Unlike contact paper, which is intended for shelf lining or temporary coverings, transfer tape is formulated for vinyl transfer, offering better material compatibility and cleaner separation from the backing. In comparison to transfer paper, transfer tape typically maintains a more consistent tack, simplifying handling and positioning. When stacked against direct vinyl transfer, it minimizes misalignment and preserves the integrity of layered or detailed designs. Overall, transfer tape enables better control, predictability, and compatibility for precise vinyl application, especially on complex or layered projects. Additionally, transfer tape’s adhesive properties are specifically designed to optimize the transfer process, reducing frustration and improving the final result. Using the right transfer tape can also prevent damage to delicate designs, ensuring that your vinyl remains intact during application. Furthermore, understanding the material compatibility of transfer tape helps avoid issues like residue or sticking, which can compromise your project.
Essential Tools for Perfect Vinyl Transfers
Having the right tools at each stage of vinyl transfer is essential for a professional finish. First, weeding tools, such as fine-point hooks, are necessary for removing excess vinyl. These tools are especially important when dealing with designs that have multiple colors or intricate surface textures, as they allow you to carefully clear small letters and detailed shapes without tearing the vinyl. Sharp weeding tools reduce the risk of leaving behind unwanted fragments, which can affect the appearance of your final surface. Additionally, selecting the appropriate cutting tools can help ensure clean, precise cuts that match your design specifications. Transfer tape plays a crucial role in keeping your design aligned during application. It ensures your vinyl stays in the correct position, particularly on surfaces with uneven textures or finishes. Burnishing tools like squeegees help press the transfer tape firmly onto the vinyl and surface, improving adhesion and reducing bubbles or wrinkles, especially on complex or textured surfaces. Proper measurement of your design and transfer tape helps prevent misplacement and ensures consistent results. Using these tools supports a clean, accurate transfer every time, preventing misalignment or uneven edges that can spoil the overall look of your project. Paying close attention to tool maintenance can also extend their lifespan and maintain optimal performance.