If you’re just starting out with 3D printing, choosing the right beginner projects can make all the difference in building confidence and learning quickly.
Focus on simple designs that are easy to print, need minimal supports, and match your printer’s capabilities.
Small, practical items like keychains or coasters are great first projects.
The tips and advice below will help you get started and steadily improve your skills.
Why Start With Easy 3D Printing Projects for Beginners?
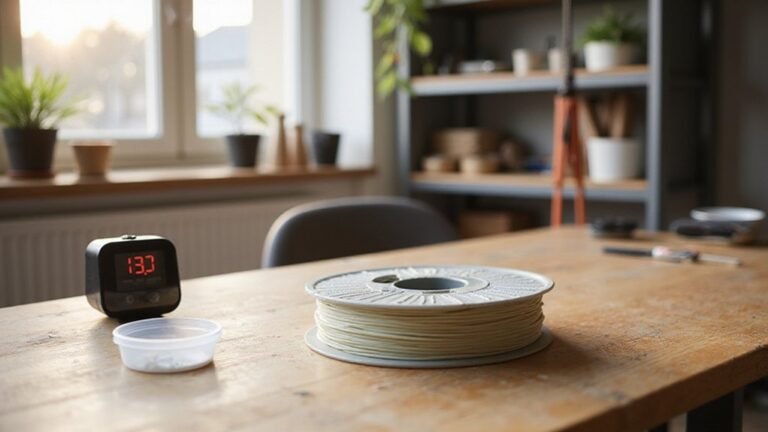
Starting with simple 3D printing projects is crucial because they allow you to build confidence early on. These projects are quick to print, often taking less than an hour, and require minimal support structures, making success more manageable. They also feature straightforward geometries, which reduces the chance of errors and wasted material. Successfully completing these models helps you verify that your printer, slicer settings, filament quality, and bed adhesion are functioning correctly before moving on to more complex tasks. Additionally, focusing on easy 3D printer projects can help beginners familiarize themselves with printer calibration and troubleshooting, which are essential skills in 3D printing. To ensure your filament stays in optimal condition for these projects, knowing how to dry filament without a dryer can be very beneficial, especially if you’ve stored it in humid environments.
How to Find the Best Beginner-Friendly 3D Print Projects
To find the best beginner-friendly 3D print projects, focus on models that are simple, well-documented, and have plenty of positive community feedback. Look for designs with fewer parts, minimal supports, and straightforward geometry, as these features reduce potential print failures and cleanup time. Community feedback, especially user photos and comments, provides insight into how well a project prints in real-world conditions and highlights common issues to watch for. When evaluating models, check for clear print settings and technical details, such as recommended filament types and printer parameters, which make adjusting for your specific setup easier. Popular libraries like Thingiverse and MyMiniFactory host a wide range of beginner projects, making them excellent starting points. Additionally, exploring advanced techniques and material comparisons can help you understand your options better, especially regarding print quality and material compatibility, ensuring you select projects that match your skill level while also offering opportunities to learn new skills. Being aware of the printability considerations of different projects can further enhance your success rate and overall learning experience. Moreover, considering easy-to-print designs can boost your confidence and help you build foundational skills more effectively.
What Features Make a Great First 3D Printing Project?
A great first 3D printing project features simple geometry that minimizes complexity and reduces the risk of failure. Flat or low-overhang designs are ideal because they prevent unsupported spans and help you master print bed adhesion. Clear shapes make it easier to identify issues like poor filament selection or uneven layers, ensuring consistent results. Short print times—under an hour—are recommended because they keep feedback loops quick and learning efficient. Small items such as cable clips or phone stands maximize utility while using minimal filament, helping to reduce wasted material and costs. These projects also serve as a hands-on way to learn core skills like calibration, support management, and improving print quality. Additionally, choosing food-safe filament can be important for projects that involve contact with consumables. Focus on easy, straightforward models to build confidence, deepen your understanding, and create a solid foundation for more complex projects ahead.
How to Choose Projects That Match Your Printer and Skill Level
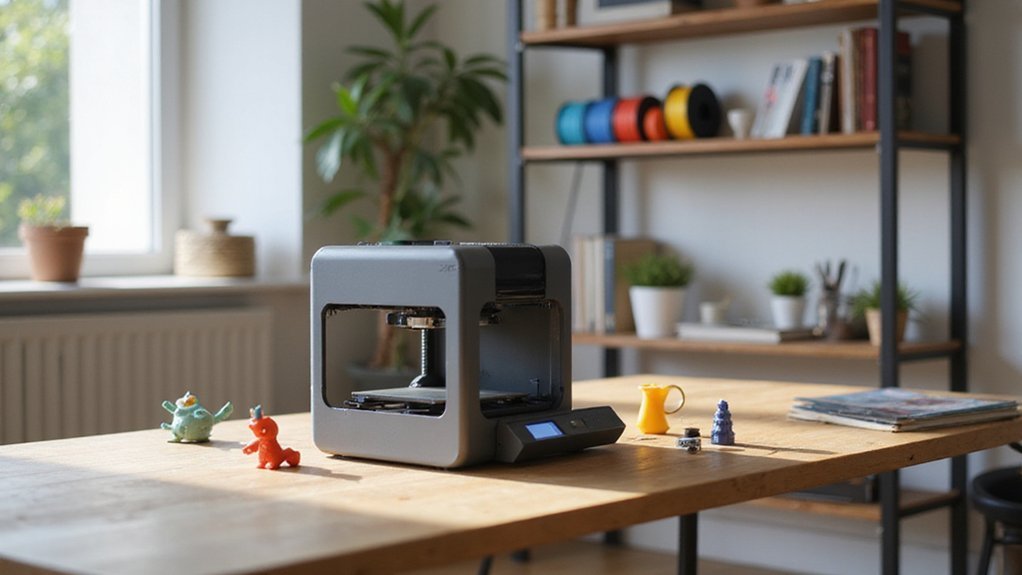
Choosing projects that match your printer’s capabilities and your skill level is essential for a smooth 3D printing experience. Start with small, manageable projects that fit within your build volume and can be completed quickly. For example, objects like keychains, test cubes, or coasters typically take less than an hour to print and require minimal supports, reducing the chance of failure.
Opt for designs with simple geometry—simple shapes are easier to print successfully and don’t demand complex support structures. Basic forms like cubes or flat discs are ideal starting points. Keep your initial projects practical or decorative, depending on what boosts your confidence. For example, printing a simple container or a decorative figurine helps you learn and stay motivated.
Always choose your filament and materials carefully. Match the material to your printer’s specifications, focusing on filament types that are compatible, require suitable bed adhesion, and operate within your printer’s temperature range. This reduces common issues like warping, poor adhesion, or stringing, ensuring smoother, more successful prints.
Where to Find Free and Simple Designs for Your First Prints
There are plenty of free and simple designs to kickstart your first 3D printing projects. Websites like Thingiverse, Printables, MakerWorld, and MyMiniFactory host extensive collections of STL files that are perfect for beginners. These platforms often categorize models into easy-to-print groups, such as phone stands, small organizational tools, figurines, and test prints, making it straightforward to find suitable projects. Additionally, search engines like Thangs and Yeggi aggregate models from various sources, helping you quickly locate designs that match your needs. Before downloading, always verify that the files are complete and include printing notes, which can save you time and reduce errors. Proper calibration of your printer and selecting beginner-friendly models will lead to more successful prints, boosting your confidence with each project. Using these resources, you can easily find functional and fun items to learn and explore 3D printing without spending money. Exploring printability considerations and understanding material limitations can further improve your success rate. Recognizing printability as a key factor ensures your projects are more likely to turn out as expected.
Tips for Making Your First 3D Prints a Success
To ensure your first 3D print turns out well, focus on precise setup and attention to detail. Start by thoroughly verifying your printer assembly, making sure all components are securely fitted and free of shipping restraints like zip ties. Set the correct voltage for your local power supply to avoid any electrical issues. Place the printer on a stable, vibration-free surface to avoid wobbling during printing. Run the initial calibration process, especially bed leveling, to ensure the print bed is perfectly flat relative to the nozzle.
After loading filament, manually check extrusion flow to confirm smooth filament coming out of the nozzle. For filament choice, stick with PLA because it’s straightforward and forgiving for beginners. Match the filament profile in your slicer software to optimize print settings such as temperature and speed.
Calibrating your print involves setting the layer height to 0.2 millimeters for a good balance between detail and speed. Orient your model strategically to maximize stability during printing. Ensure the bed is leveled thoroughly using a piece of paper to gauge contact; if adhesion is weak, add a brim around your print’s base. During the first layer, watch closely and adjust the z-offset if needed to ensure good bed contact, which greatly increases overall print success.
How Community Support Can Help You Improve Your 3D Printing Skills
Community support is essential for improving your 3D printing skills. Engaging with online forums, such as Reddit’s r/3Dprinting, allows you to access expert advice, share your projects, and get practical feedback. Active participation helps you troubleshoot issues faster, refine slicer settings, and find printer-specific solutions. Asking targeted questions in public forums bridges the gap between hobbyists, beginners, and professionals, offering real-world solutions that save time and reduce frustration. Sharing progress photos invites constructive critique, leading to better print quality and more informed design choices. Exploring file repositories like Thingiverse exposes you to a wide array of successful models, encouraging experimentation and accelerating your learning curve. Understanding resin 3D printers can further expand your knowledge, opening up new possibilities for intricate and highly detailed prints. Overall, community involvement transforms individual efforts into valuable learning opportunities, boosting your confidence and skills more effectively than working alone. Community support fosters collaboration, providing additional ideas and resources that can help you tackle complex projects and learn new techniques. Recognizing the importance of 3D printing resources can further enhance your educational journey and expose you to diverse techniques and innovations.
What to Do After Mastering Simple Projects: Next Steps in Your 3D Printing Journey
After mastering simple projects, focus on developing more advanced skills by designing your own models and creating functional parts. Start with beginner-friendly CAD tools like Tinkercad to learn how to create and modify basic shapes. Once comfortable, explore more complex software such as Fusion 360 or Blender to build detailed and precise models. Practice by customizing existing designs or experimenting with 3D scanning real objects to deepen your understanding of spatial relationships and design logic. 3D modeling and slicing software play a crucial role in preparing your designs for successful prints, allowing you to fine-tune settings for optimal results. Understanding how a 3D printer works can also help you troubleshoot issues and improve your printing accuracy.
Prioritize functional projects like keychains, phone holders, or small utility parts. These types of prints allow you to experiment with key parameters such as support material, infill density, and layer height, helping you optimize both strength and surface finish. Material experimentation should also be part of your progression: begin with PLA, then explore different filaments like PETG or ABS. Adjust printing temperatures, drying techniques, and cooling settings to improve print quality and material properties. This step-by-step approach boosts your confidence and prepares you for more complex, innovative projects ahead.
Common Mistakes Beginners Should Avoid
Moving beyond basic projects requires avoiding common mistakes that can derail your progress. Calibration errors, particularly with the first-layer setup, are one of the most frequent issues. A misaligned nozzle height prevents proper adhesion, leading to failed prints early on. To get this right, use the paper test: the paper should slide with slight resistance when you adjust your Z-offset. Bed flatness and cleanliness are also crucial—residue, dust, or uneven surfaces compromise adhesion and cause print failures. Filament quality plays a significant role; poor or wet filament can lead to weak prints, jams, and inconsistent extrusion. Moisture quickly absorbs into filament, so always store it in a dry, airtight container. Proper calibration and regular maintenance, such as leveling the bed and lubricating moving parts, can greatly improve print quality. Regularly monitoring your first few layers helps catch adhesion problems early, saving you from unnecessary failures. Additionally, paying attention to filament storage and handling can prevent moisture absorption and ensure consistent results. Proper bed leveling is essential to avoid issues that can cause print failures and uneven surfaces. Lastly, skipping routine maintenance like cleaning the print bed or checking hardware can cause avoidable issues.