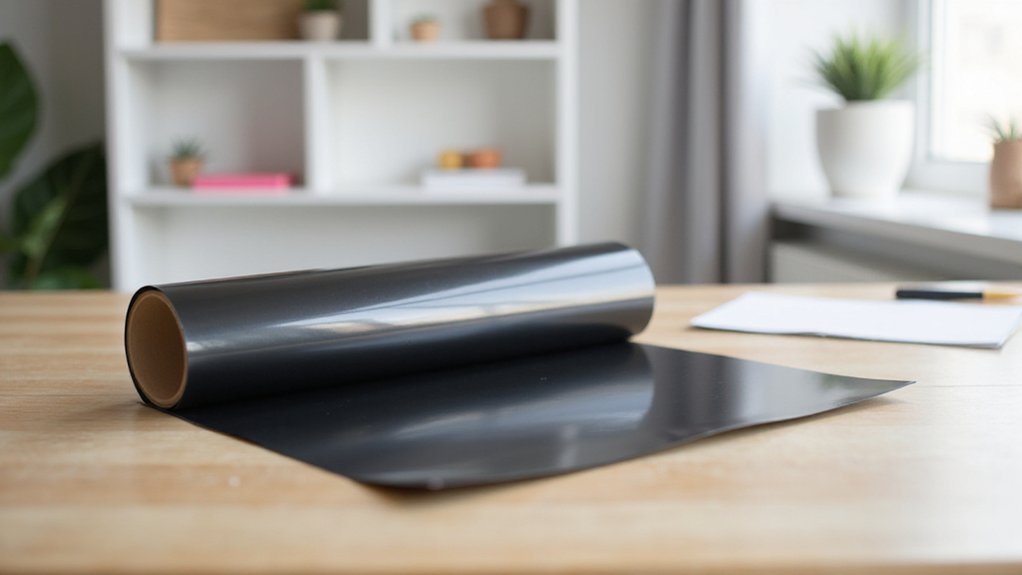
Wondering if you need to mirror permanent vinyl before applying it? The short answer is usually no, since it’s made to stick with the design facing outward on solid surfaces.
However, you’ll want to mirror if you’re working with transparent surfaces like glass or acrylic, especially if your design includes text or directional images.
Knowing your vinyl type helps you avoid mistakes. Keep reading for tips to make your project durable and error-free.
What Is Permanent Vinyl and Why Is Mirroring Not Necessary?
Permanent vinyl is a durable adhesive material that sticks securely to surfaces for the long term. It comes in a wide range of colors, giving you the flexibility to create vibrant or subtle designs. Its adhesive strength is higher than that of removable vinyl, making it ideal for outdoor projects like signs and decals that need to withstand weather, moisture, and sunlight. Since permanent vinyl uses a pressure-activated adhesive instead of heat, you do not need to mirror designs before cutting. The visible side, which carries the design, is the side that adheres directly to your surface, simplifying the application process. This means you can cut and apply it without reversing your artwork, saving you time and effort. Additionally, best home 3d printers can help you create custom designs or prototypes for your projects.
It’s important to understand that mirroring designs is only necessary when working with materials that require heat activation, such as heat transfer vinyl, and not with permanent vinyl.
Should You Mirror Permanent Vinyl Before Cutting? Yes or No?
You should mirror your permanent vinyl design only when applying to the back of transparent surfaces like glass or acrylic. In most cases, there is no need to mirror the design because permanent vinyl is typically cut face up and applied with transfer tape. This method works well across various colors and tools. However, if your project involves transparent or clear materials where the design will be viewed from the front, reversing the image ensures it reads correctly after application. Understanding the surface and how the vinyl is viewed is key. Always check your design’s orientation before cutting, and use application tools carefully to avoid mistakes. For standard applications on solid surfaces, a no-mirror approach is usually best. Backings also play a crucial role in ensuring the vinyl adheres properly and remains aligned during the transfer process, making correct orientation essential. Being aware of material properties can help you decide when mirroring is necessary to achieve the desired outcome. Additionally, knowing how cutting techniques impact the final design can prevent costly errors during the application process. It’s also important to consider design complexity, as intricate images may require different handling when mirroring.
How to Prepare Your Surface for Permanent Vinyl Application
To ensure your vinyl adheres properly and lasts, surface preparation is crucial. Start by selecting a non-porous surface such as glass, metal, or plastic, which provides the best bonding surface. If your material is porous or textured, thoroughly clean it using mild soap and water, then rinse well to remove dirt, dust, or oils that could interfere with adhesion. For painted surfaces, confirm the paint is fully cured before application, and avoid harsh cleaners that might damage it. After cleaning, wipe the surface with isopropyl alcohol on a lint-free cloth to remove residual oils and allow it to dry completely. Before applying the vinyl, inspect the surface closely for any flaws, scratches, or debris. Smoothing out imperfections helps ensure better adhesion, while a clean, dry, and smooth surface supports color consistency and minimizes issues like lifting or bubbles. Additionally, ensuring the surface is completely dry can be facilitated by drying the surface effectively, which prevents any moisture from compromising the adhesion process. Incorporating appropriate surface preparation techniques and understanding adhesion properties can significantly enhance the durability of your vinyl application.
Step-by-Step: Applying Permanent Vinyl Without Mirroring
Applying permanent vinyl without mirroring is straightforward because the design is cut in its natural orientation. Begin by cutting and weeding the design as usual, ensuring the contrast between the vinyl and backing remains clear—using darker vinyl on a lighter background helps. Keep the backing sheet in place until you’re ready to apply transfer tape, which should be slightly larger than the design itself. Firmly burnish the transfer tape to secure the vinyl, then carefully lift it to maintain the correct orientation. Proper handling of the vinyl ensures a flawless application and efficient workflow. When positioning the design on your surface, use guides or marks to align it properly. Pay attention to the surface texture; smooth, dry surfaces promote better adhesion. Use a squeegee to press the vinyl from the center outward, taking your time to work out air bubbles. Once the vinyl is securely applied, peel back the transfer tape slowly and carefully. This ensures the decal remains in the right orientation without mirroring, resulting in a vibrant, correctly placed design. Being mindful of the adhesion surface can significantly improve the longevity and appearance of your vinyl application, especially since proper heat transfer techniques help prevent peeling.
Common Mistakes When Using Permanent Vinyl and How to Avoid Them
Many common mistakes with permanent vinyl stem from simple oversights that can cause project failures or diminish the final look. One major issue is surface contamination; dust, grease, or residue can reduce adhesion and lead to peeling or failure. Always clean surfaces thoroughly with rubbing alcohol to ensure proper bonding. Proper heat press settings are essential to prevent improper adhesion or damage during application. Misalignment and placement errors are also frequent. Using transfer tape, grid lines, or laser guides can improve accuracy, especially on larger or curved designs. Additionally, rushing during application can trap air bubbles; applying vinyl slowly and using a squeegee helps eliminate trapped air. Properly working with layering heat transfer vinyl techniques can also help avoid misalignment and ensure a seamless final look. Additionally, selecting incompatible vinyl types or incorrect file formats can result in color inconsistency or printing issues. It’s also crucial to understand permanent vinyl types to choose the right one for your project needs. Always consider adhesion properties when selecting vinyl to match your project surface and expected durability. To avoid these mistakes, verify that surfaces are clean and ready, choose the appropriate vinyl, and work with high-quality files for best results.
When Do You Need to Mirror Heat Transfer Vinyl Instead?
You need to mirror heat transfer vinyl (HTV) whenever your design includes text, logos, or directional images that need to read correctly after application. Since HTV is applied face-down on the mat and pressed onto fabric from the front, flipping your design ensures it appears correctly once transferred. Most cutting software, like Cricut Design Space, provides a Mirror toggle to make this process easy. Failing to mirror these types of designs will result in a reversed image, which can ruin the final look. This step applies to all varieties of HTV, including metallic, glitter, and holographic finishes. Always double-check your settings before cutting to avoid mistakes; forgetting to mirror could mean having to start over or end up with an unintended backward design. Proper identification of vinyl type is crucial because some materials, like self-adhesive vinyl, do not require mirroring, whereas HTV clearly does.
Choosing Durable Permanent Vinyl for Outdoor and Long-Term Use
[Cast-grade vinyl offers the best outdoor durability, typically lasting 7 or more years. It resists color fading and maintains strong adhesive properties over time, making it ideal for long-term outdoor applications. In comparison, monomeric vinyl usually lasts only 1 to 2 years before showing significant signs of wear. Polymeric calendered vinyl provides a middle ground, lasting about 3 to 5 years, balancing flexibility and longevity.
Environmental factors play a crucial role in vinyl performance. UV exposure can cause colors to fade and lead to material embrittlement, especially on surfaces facing south or directly sunlight. Moisture, temperature fluctuations, and waxing and waning weather conditions can weaken adhesives, resulting in cracking or peeling over time. Thicker, waterproof, UV-resistant high-tack permanent vinyl (2 to 3 mil thick) offers stronger adhesion and better resistance to these environmental stresses. Understanding vinyl durability helps in choosing the right type for specific outdoor conditions. Additionally, selecting appropriate vinyl based on environmental exposure ensures the longevity and appearance of your outdoor decals. Recognizing the importance of vinyl adhesion can further improve the performance and lifespan of your outdoor graphics.
Proper surface preparation before application enhances longevity. Cleaning the surface thoroughly removes dirt, oils, and contaminants that could weaken adhesion. Applying overlaminates adds an extra layer of protection against UV rays, moisture, and physical abrasion. Careful installation and regular maintenance can extend the life of outdoor vinyl decals, ensuring they stay vibrant and securely adhered for as long as possible.
How Long Does Permanent Vinyl Last? Tips to Maximize Longevity
Permanent vinyl can last between five to ten years when applied correctly. The actual lifespan depends heavily on factors like environmental exposure, surface preparation, and the quality of the vinyl itself. To ensure maximum longevity, start with a clean, smooth, and dry surface, removing any grease or dust that might hinder adhesion. Applying the vinyl at a consistent temperature and avoiding stretching during application also helps prevent premature peeling or bubbling.
Environmental conditions play a significant role; outdoor applications are more vulnerable to UV rays, moisture, and temperature fluctuations. Choosing darker or transparent vinyl options can help resist color fading caused by UV damage. Additionally, allowing the vinyl to cure for 48 to 72 hours before exposing it to heavy use or outdoor elements can greatly enhance its resilience. Being aware of the cost factors involved can help you select the best quality vinyl within your budget. Proper application techniques are crucial for achieving a durable finish that lasts.
Routine cleaning with gentle, non-abrasive solutions keeps the surface and adhesive in good condition, whereas harsh chemicals can accelerate deterioration. Proper storage of unused vinyl in a cool, dry place, protected from sunlight and humidity, can preserve its quality for up to two years. Understanding vinyl quality and how it impacts longevity can also help you make more informed purchasing decisions. By following these practices, you can extend the effective lifespan of your permanent vinyl and enjoy a longer-lasting, appealing finish.
Troubleshooting Problems Like Bubbles, Lifting, or Fading
Troubleshooting bubbles, lifting, or fading involves precise steps to restore your vinyl application. For bubbles, use a low heat setting on a heat gun or hairdryer to soften the vinyl, making it easier to work with. Small bubbles can be released by piercing them with a fine pin and pressing out the trapped air. Larger bubbles may require a slit through the vinyl to access the adhesive beneath, allowing you to smooth out the area and reapply adhesive if necessary.
To fix lifting edges, clean the surface thoroughly with isopropyl alcohol to remove any dirt or oils. Apply gentle heat to soften the vinyl and press it firmly back onto the substrate, ensuring a smooth bond. Moisture beneath the vinyl causes lifting or bubbling and should be addressed by drying the area completely. Repair any leaks or damage to the underlying surface to prevent future issues.
Fading from sunlight or heat exposure can be minimized by using UV-resistant materials and applying UV-protective coatings. Storing projects away from direct sunlight preserves color vibrancy. Regular maintenance of your tools, such as blades and squeegees, guarantees clean cuts and smoother application, reducing the risk of damage during repairs.
Final Tips for Perfect, Long-Lasting Permanent Vinyl Projects
To ensure your permanent vinyl projects last for years, focus on proper surface preparation and drying. Clean the surface thoroughly with isopropyl alcohol to remove oils, dirt, and dust, then make sure everything is completely dry before applying the vinyl. This prevents adhesive failure and bubbling. Accurate layout, alignment, and cutting are critical for a professional look; use design software to match colors precisely and keep vinyl textures consistent across multiple projects.
When applying the vinyl, press transfer tape firmly onto the design and work from the center outward to minimize air bubbles and achieve better adhesion. Peel the transfer tape slowly at a 45-degree angle to prevent lifting or stretching the vinyl. Allow the applied vinyl to cure for at least 48 to 72 hours before washing. During this time, avoid exposing your project to moisture or vigorous cleaning.
Hand wash with mild soap and water, avoiding harsh cleaners or abrasives that could damage or lift the vinyl. For extra durability, follow the manufacturer’s instructions carefully and consider applying a compatible protective coating or sealant. Only use coatings recommended for your specific vinyl type and surface to prevent damage and ensure longevity.