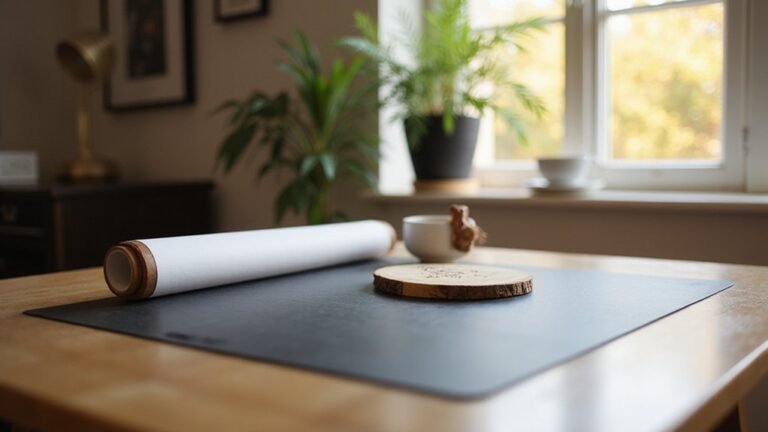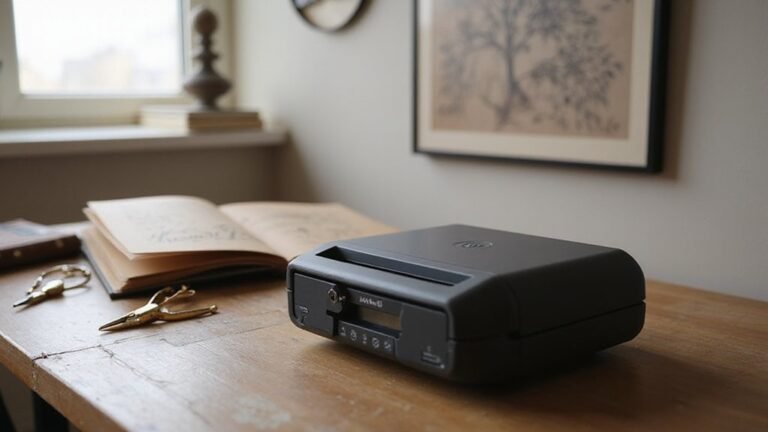
If you’ve ever wondered how to turn your ideas into custom signs, decals, or apparel designs, a vinyl cutter might be just what you need. It’s a handy tool that uses a sharp blade to precisely cut shapes, text, and graphics from materials like vinyl and heat transfer film.
By the end of this, you’ll understand how vinyl cutters work and how to choose the right one for your projects. Keep reading to learn all the details.
What Is a Vinyl Cutter and How Is It Different From a Printer?
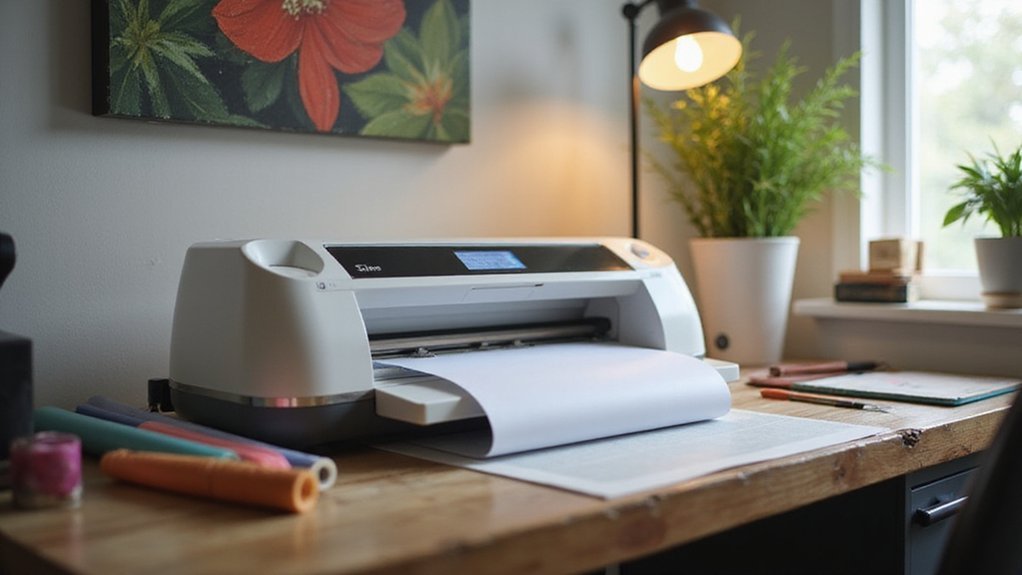
A vinyl cutter is a machine that uses a sharp blade controlled by a computer to cut shapes, letters, and graphics from thin materials like vinyl. Unlike a printer, which applies ink to produce images, a vinyl cutter physically slices around outlined designs. This makes it ideal for creating solid shapes, text, and logos with clean edges. To ensure precise cuts, matching the colors of your vinyl with your design is important, especially when working with multiple colors for complex projects. Proper maintenance—such as keeping blades sharp and regularly cleaning the machine—helps achieve neat cuts and extends the equipment’s lifespan. Vinyl cutters are best suited for producing durable graphics, signs, and decals, while printers excel at producing full-color photographic images. Understanding these differences helps you choose the right tool for your specific project. Additionally, cutting precision depends heavily on the quality and maintenance of your vinyl cutter, impacting the final appearance of your designs. Regularly checking and adjusting the blade depth ensures consistent results across different materials. Employing the correct material settings also plays a crucial role in achieving professional-quality cuts.
How Do Vinyl Cutters Work: From Design to Cutting
To work a vinyl cutter from design to cut, follow these steps:
First, create your design in vector software such as Adobe Illustrator or CorelDRAW. Make sure to convert your artwork into compatible formats like EPS, AI, or SVG. Prepare your file by converting all text to outlines, removing any overlaps, and merging disconnected shapes to ensure clean cuts.
Next, import the prepared design into the cutter’s software. Check the preview to confirm that the design is correctly positioned on the virtual workspace and make adjustments if needed. Proper media alignment is crucial—load your vinyl straight into the machine, and set the media tracking to keep the material steady during cutting. Additionally, media alignment plays a vital role in preventing miscuts and wastage.
Calibrate the blade depth carefully based on your vinyl’s thickness, typically around 0.5 to 0.75 millimeters. An improper blade depth can result in incomplete cuts or damage to your vinyl. Ensuring proper blade calibration is essential for achieving quality cuts. Once everything is aligned and calibrated, initiate the cutting process. The machine’s motors precisely control the blade’s movement along the X and Y axes, following the vector outlines of your design to produce a clean, accurate cut on the vinyl surface. Proper machine settings also help optimize cutting speed and pressure for different types of vinyl.
Which Materials Can You Use With a Vinyl Cutter?
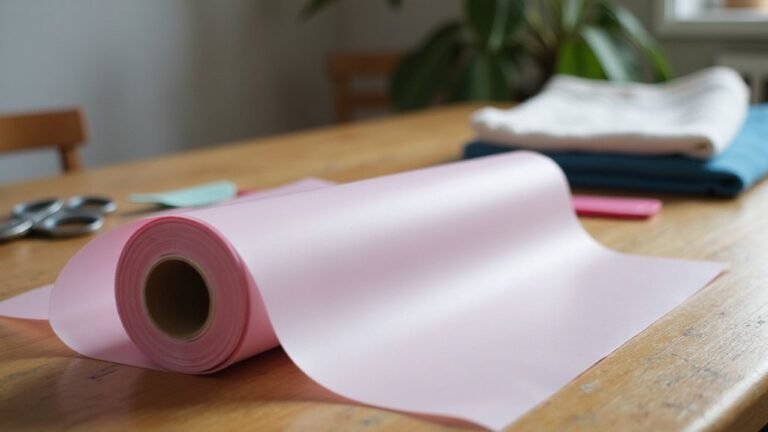
Vinyl cutters can work with a wide variety of materials beyond standard adhesive vinyl. You can cut heat transfer vinyl (HTV) used for fabric decoration, allowing you to create custom apparel and textiles. Reflective and specialty films are also compatible, making them ideal for signage and safety applications. With precise cutting, you can produce detailed designs on holographic, fluorescent, or etched glass films, perfect for decorative projects or signage that needs to stand out. Some cutters are capable of handling advanced materials, such as thin plastics and even wood, broadening your project possibilities significantly. For instance, materials compatibility is an important consideration when choosing a cutter to ensure it meets your specific needs. It’s essential to verify whether your cutter can manage the material thickness required for your projects, especially with thicker or denser materials. Materials like masking paint mask vinyl are suitable for applying intricate paint masks, useful in spray painting or lettering. Paper-based options such as cardstock, stickers, and specialty papers are easily cut, opening up possibilities for crafts, invitations, and scrapbooking. For industrial or signage needs, materials like window film, backlit film, and vehicle graphics film are common choices, enabling vibrant, durable displays.
What Are Common Uses of Vinyl Cutters?
Vinyl cutters are used for a variety of applications, making them highly versatile tools. They excel at creating custom signs, banners, and promotional graphics through precise blade-driven cutting and a wide selection of materials. Whether for business advertising or vehicle wraps, you can produce bold letters, detailed logos, and eye-catching decals that grab attention. They are also popular for decorating apparel, allowing you to craft intricate T-shirt designs, heat-press transfers, and personalized accessories with clean, sharp edges. Home décor projects benefit as well, with options for wall decals, window graphics, and custom items. Craft enthusiasts rely on vinyl cutters for making stencils, paper crafts, magnets, and educational tools. Their ability to handle different materials makes them suitable for both professional signage and creative DIY projects. When working with heat transfer vinyl, understanding the shiny side is crucial for achieving the best results. Additionally, knowing the material compatibility helps ensure precision and durability in all your projects. Using the correct vinyl orientation ensures that your designs align properly and last longer.
Why Choose a Vinyl Cutter for Your Projects
Choosing a vinyl cutter for your projects offers a perfect balance of affordability and flexibility. It lets you create custom designs without the need for costly full print-and-cut systems. The digital precision of these cutters allows you to produce intricate shapes, detailed lettering, and complex contours reliably and with consistency. They are equipped with advanced sensors and calibration features that ensure accurate cutting performance over time. Many models handle a variety of materials, including vinyl, heat-transfer, fabric, and more. This versatility gives you the freedom to explore different artistic expressions across various projects. Proper calibration and maintenance are essential to keep the machine performing accurately over time, especially when working with multiple materials. Separating the cutter from the printer can boost productivity for high-volume tasks, and compatible design software streamlines your workflow, ensuring quick turnarounds. Whether you’re making signs, decals, apparel, or stencils, a vinyl cutter supports your creative aspirations with accuracy, cost-effectiveness, and adaptability.
Tips for Picking the Right Vinyl Cutter and Troubleshooting
Selecting the right vinyl cutter depends on understanding your workload and material needs. Focus on matching the cutter’s cutting force and tracking ability to your typical projects. For high-volume jobs, choose a machine capable of handling wider media and offering reliable tracking, which prevents media from slipping or skewing.
Determine the main material you plan to work with, such as vinyl, heat transfer vinyl (HTV), or specialty media. Testing the cutter with sample materials before purchasing helps ensure it produces clean, consistent cuts, reducing the need for rework. Additionally, understanding the sublimation compatibility of your equipment is crucial if you plan to expand into different mediums. Proper maintenance practices, including regular inspection of blades and tracking mechanisms, will extend your machine’s lifespan and performance.
Regular maintenance is key to keeping your vinyl cutter functioning smoothly. Check blades frequently for dullness and replace them when needed. Keep tracking mechanisms clean and aligned to prevent material feeding issues. Incorporating proper calibration practices can also help maintain cutting accuracy and efficiency over time.
For troubleshooting, start by reducing the cutting speed if your cuts come out ragged or incomplete. Confirm that your software is compatible with the cutter to avoid workflow disruptions. Evaluating the machine’s build quality, support options, and upgrade potential will help you select a model that can grow with your skills and project demands. Investing in a quality cutting machine, which includes reliable software and good customer support, can significantly improve your workflow and output quality.