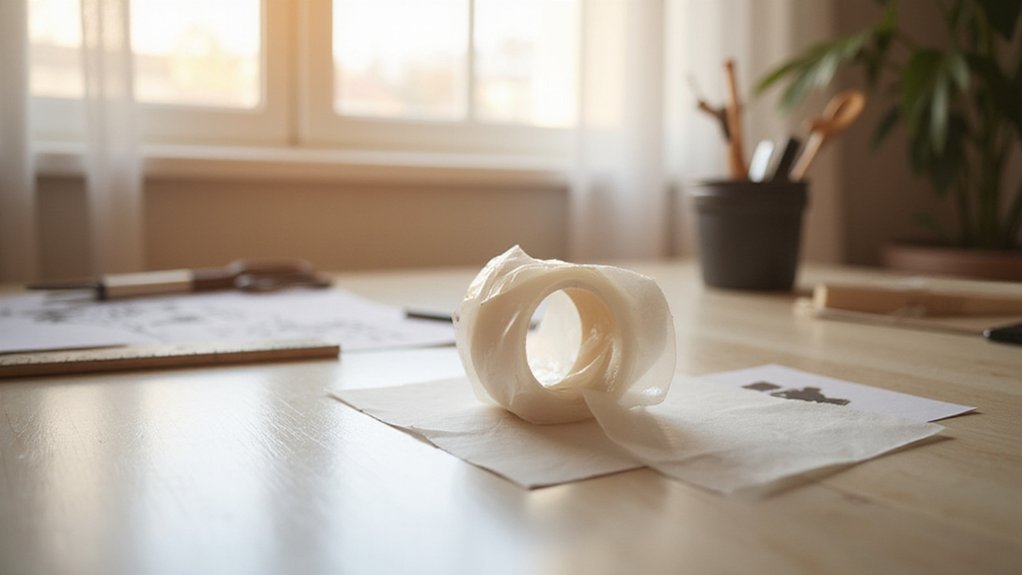
If you’re struggling to transfer a vinyl design smoothly onto a surface, you’re not alone. Transfer tape makes this process easier by helping you keep your design aligned and free of bubbles.
It’s a thin, adhesive strip that comes in different types to suit various projects, ensuring your final result looks professional.
Keep reading to learn how to choose and use it effectively.
What Is Transfer Tape and How Does It Work?
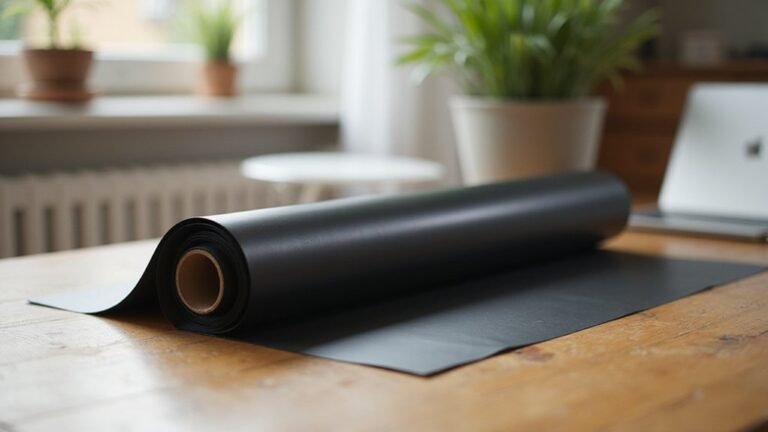
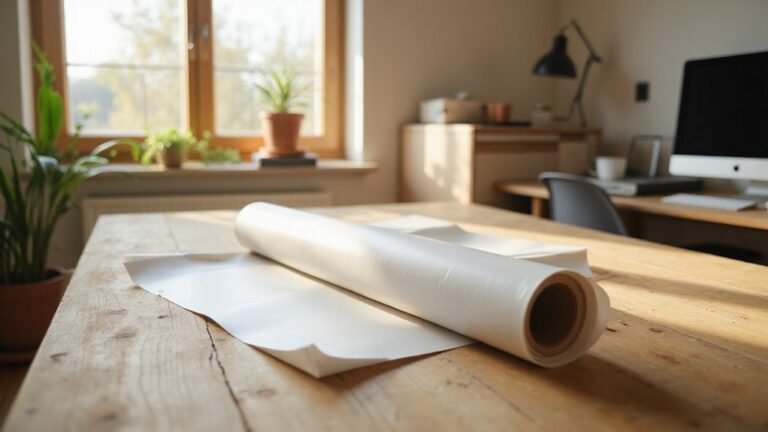
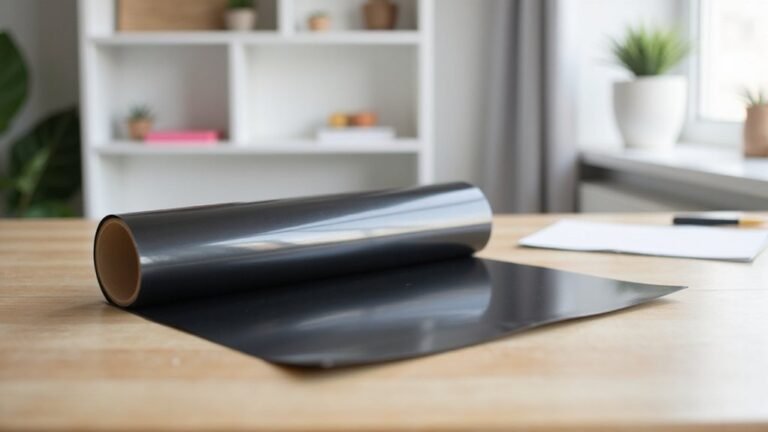
Transfer tape is a thin strip of pressure-sensitive adhesive bonded to a release liner, not your typical double-sided tape. It comprises two main parts: the adhesive layer and the backing material, usually silicone-coated paper or film. The adhesive is specially engineered to have precise tack, temperature resistance, and environmental stability. During application, you press the tape onto your design or material, then peel away the backing, leaving the adhesive behind to act as a carrier. Once positioned on the intended surface, applying pressure ensures a strong bond. When you peel away the transfer tape afterward, the design or material stays firmly in place. It facilitates transferring adhesive from liner to target surface, making it an essential component in adhesive bonding processes. Properly choosing the right adhesive layer is crucial for achieving clean transfers and preventing failures during the process. Additionally, selecting the proper transfer tape can impact the ease of application and overall success of your project. Understanding the sticking characteristics of different tapes can help you select the best type for your specific needs.
What Are the Different Types of Transfer Tape?
There are several distinct types of transfer tape, each tailored for specific applications and surfaces. Unsupported adhesive transfer tape, also called free film tape, features a very thin adhesive layer with a backing release liner. This type is ideal for bonding irregular surfaces where minimal thickness and high conformability are essential. It’s especially beneficial when working with 3D printer extruders, as the tape can adapt to complex geometries and ensure a secure bond. Double-coated tape has adhesive on both sides of a central carrier, providing added structure and handling strength. It’s suitable for projects that need extra durability, such as mounting or laminating. Self-wound tape combines a carrier and a release coating, functioning similarly to packaging tape. It unwinds smoothly and allows for clean transfers, making it popular in packaging and craft work. Vinyl craft transfer tapes come in various tack strengths: medium for standard vinyl, and high for thicker or glitter vinyl. This variation affects how easily the design transfers and influences the final application. Additionally, options like clear, gridded, and colored tapes support different creative techniques and precise alignment, improving accuracy during application. Understanding cutting mats and their role in crafting can help optimize the use of transfer tapes, especially when working with delicate or complex projects. Properly selecting the right type of transfer tape can also help prevent adhesive residue issues, making the process cleaner and more efficient.
Why Use Transfer Tape? Benefits for Crafts and Industry
Transfer tape offers several key benefits that make it invaluable for both craft projects and industrial applications. It ensures precise positioning of designs and labels, helping you achieve professional-looking results. Its transparency enables you to see exactly where you’re placing your design, which is particularly useful for intricate details. The low-tack adhesive gently releases the design onto surfaces, reducing the risk of tearing or damaging delicate elements like fine lines or small dots.
Due to its thin profile, transfer tape creates a clean, seamless appearance without adding extra bulk, which is important for surfaces where fit or aesthetics matter. Its flexibility allows it to conform easily to irregular shapes and fragile surfaces, making complex or delicate assemblies easier to handle. By speeding up the application process and improving bonding quality, transfer tape enhances workflow efficiency in both craft settings and industrial environments. Additionally, understanding sublimation materials can help ensure compatibility and optimal results when working with transfer tape. Recognizing adhesive types is essential for selecting the right transfer tape for specific applications.
How to Apply Transfer Tape for Precise Results
To apply transfer tape precisely, start with thorough surface preparation. Clean and dry the substrate, removing dust and grease to ensure ideal adhesion. Rubbing alcohol is effective, but avoid moisture because dry contact is essential for good bonding. Measure the placement area beforehand for better accuracy, especially when color matching decals or vinyl lettering. Confirm that your transfer tape type is compatible with your material. Cut the tape slightly larger than your design to allow for easy handling. Ensuring proper adhesion is crucial for a smooth transfer. Proper surface preparation supports optimal substance bonding, which is essential for a professional-looking finish. Peel the backing carefully and align the tape precisely over the design. Use a squeegee to burnish the tape from the center outward, pressing firmly but evenly. This reduces the risk of bubbles and wrinkles. Applying firm, even pressure helps achieve better heat transfer results, making the process more efficient. Peel back the tape slowly at a 45-degree angle, pressing down any lifted pieces. This careful removal helps ensure a clean, professional transfer and prevents damaging the vinyl or decal.
Common Applications of Transfer Tape in Signs, Vehicles, and More
Transfer tape is essential for ensuring vinyl graphics and printed films stay securely in place during application. It allows you to lift and position designs, maintaining their alignment and shape as you apply them to various surfaces. This tape’s strong adhesive grip helps prevent shifting or bubbling, especially on complex curves or textured backgrounds. Its conformability enables it to adapt to uneven surfaces like vehicle contours or rough signage. Transfer tape works well with a variety of materials, including cut vinyl, decals, and digital prints. Additionally, proper application techniques make handling large or intricate graphics easier and more precise. The formulation of transfer tape also affects its adhesion properties, which are critical for different types of projects. Environmental considerations are increasingly influencing transfer tape formulations. Some tapes are designed with eco-friendly adhesives that reduce chemical impact without sacrificing adhesion strength. Overall, transfer tape’s versatility and reliability make it a staple in signage, vehicle graphics, and many other applications where precision matters.
Troubleshooting Transfer Tape Adhesion and Removal Problems
If transfer tape fails to stick or is tough to remove, the cause usually lies in surface contamination or incorrect application. Start by inspecting the surface for dust, oil, or moisture, which can hinder adhesion. Cleaning the surface thoroughly with rubbing alcohol and allowing it to dry completely is often enough to improve grip. For rough or uneven surfaces, light sanding will create a smoother area for the tape to adhere better. If the tape is overly sticky, reducing its tackiness can help; sticking it to fuzzy surfaces, like a cloth, or applying a light dusting of baby powder can loosen its grip. Chilling the tape in a freezer for a few minutes can also temporarily diminish its adhesiveness. Proper surface preparation can significantly improve transfer success, which is crucial for achieving clean and precise results. Applying proper adhesive techniques can also make a notable difference in the effectiveness of the transfer. On the flip side, if you find vinyl isn’t lifting easily, the tape might be too low-tack. Applying firm pressure with a squeegee during application can enhance contact, and warming the vinyl slightly can improve pickup. When removing stubborn transfer tape, peel it back slowly at about a 45-degree angle to reduce stress on the vinyl and avoid tearing. If the tape resists removal, gently reapplying it or scoring the surface with a craft blade can help loosen it without damaging the transfer. Additionally, understanding adhesion properties can help in selecting the right tape for specific surfaces and projects. Recognizing the proper surface conditions for each type of transfer tape can prevent many common issues.
How to Choose the Right Transfer Tape for Your Project
Choose transfer tape based on your project’s size and complexity. Match the tape width to your design: 12-inch tape works best for large decals or banners, while 6-inch tape is ideal for smaller projects. Using the correct width reduces waste and seams, ensuring a cleaner finish. Consider the tape material too; clear transfer tape offers visibility for precise placement and small details, making it suitable for detailed or multi-layered decals. Paper tape, on the other hand, handles wet applications and indoor use well, especially when you need an adhesive that peels away easily. Pay attention to tack strength—low-tack tapes are better for large surfaces to prevent stretching, while higher-tack tapes provide a stronger hold for detailed or multi-layered designs. Proper storage in cool, dry conditions preserves the tape’s adhesive quality, helping you achieve smooth transfers and professional results. Understanding transfer tape qualities and how they interact with different types of heat transfer vinyl can make a significant difference in the outcome of your project.