If you’ve ever wondered how laser engravers create such detailed designs, you’re not alone. These machines use focused laser beams to precisely remove material from surfaces like wood, metal, or plastic, leaving permanent marks.
By controlling digital files, you can turn your ideas into intricate engravings. Keep reading to learn how the process works and how to make the most of your laser engraver.
What Is a Laser Engraver and How Does It Work?
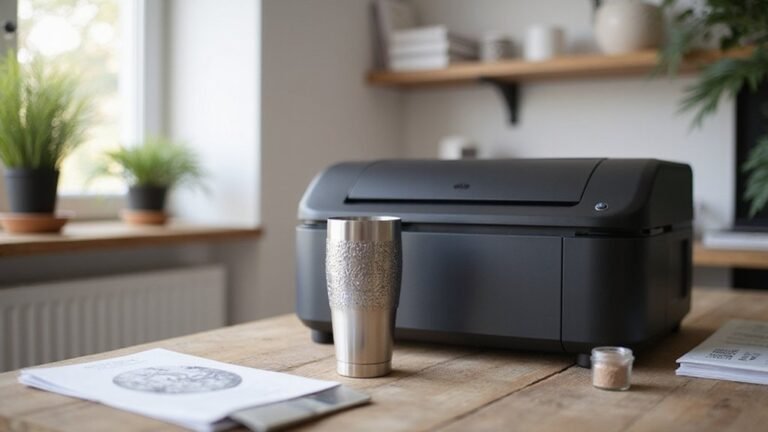
A laser engraver creates permanent marks and designs on various materials using a focused laser beam. It works by directing a concentrated laser over a digital pattern, removing material through vaporization, melting, or burning. This process produces clean, precise, and durable marks on surfaces such as metal, wood, or plastic. Because the laser operates without physical contact with the workpiece, it allows for highly detailed and accurate engravings at different speeds. Laser engravings can be customized to meet specific design requirements, providing versatility for different projects. Safety is crucial when operating a laser engraver since the high-energy beam can be harmful if mishandled. The engraving speed depends on factors like laser power and the type of material being used, influencing how quickly your design is completed. For example, higher laser power can reduce engraving time but also increases the risk of burning or damaging delicate surfaces. Additionally, understanding laser power settings is essential to achieve optimal results without compromising the material quality. Properly managing material and thickness can also enhance engraving efficiency and quality. Being aware of laser energy levels helps to prevent damage and ensures a consistent finish across different materials.
Main Components of a Laser Engraving Machine
The main components of a laser engraving machine include the laser source, beam delivery system, motion control system, control electronics, and supporting systems. The laser source generates the beam, with common types like CO₂, fiber, or diode lasers, each influencing material compatibility and engraving depth. The beam delivery system uses mirrors, lenses, or fibers to guide the laser beam precisely to the work surface, making optical alignment essential; misaligned optics can compromise accuracy and image clarity. The motion control system directs either the laser or the workpiece, controlling movement, speed, and laser power to ensure the pattern is accurately produced. Control electronics and software translate digital designs into machine instructions, coordinating laser operation with precise movement and power levels. Proper maintenance of these components is crucial for ensuring the longevity and consistent performance of the machine. Additionally, system calibration helps maintain accuracy over time and optimizes engraving quality. Supporting systems provide cooling, exhaust, and safety features to maintain optimal performance, prevent overheating, remove fumes, and ensure safe operation within the workspace.
How the Digital Design Turns Into Laser Movement
Once your digital design is complete, converting it into machine instructions involves several key steps. You start with a design created in vector graphics or CAD software, saved in formats like DXF, AI, or SVG. Before sending it to production, you clean up the file by checking line thickness and verifying that the shapes accurately represent your intended design, ensuring the laser’s path will be precise. Additionally, understanding the laser beam movement is crucial, as it directly influences the accuracy and quality of your engravings. The optical system within the laser engraver plays a vital role in directing the laser beam onto the material, ensuring focused and precise cuts or engravings. Next, engraving software interprets this cleaned-up design, translating it into movement commands that control the laser’s actions. These commands are often in G-code or other vector data formats and serve as a map for the machine. The software guides the laser’s motion system, whether it moves the beam via mirrors or motors, ensuring that the digital design translates into exact physical movements on your material.
How Focused Laser Beams Precisely Remove Material
Focusing the laser beam into a small, intense spot is essential for precise material removal. Lenses or mirrors concentrate the light, narrowing it into a tiny, high-energy point at the work surface. This concentrated energy creates a localized area with a much higher energy density, ensuring that material is removed accurately rather than spreading heat broadly. Proper adjustment aligns the beam waist at the desired depth, giving you better control over the line width and depth of cut or engraving. 2 way mirror acrylic sheets can be used to enhance effects by selectively reflecting or transmitting light, which can be beneficial in certain laser engraving applications. Maximizing energy absorption by the material is equally important. When the material absorbs the laser’s energy instead of reflecting or transmitting it, heat stays confined to a small area. This high local temperature causes melting, vaporization, or ablation, which effectively removes material without damaging surrounding regions. Achieving precise focusing and ensuring good energy absorption are key to clean, detailed engravings or cuts.
Choosing Materials and Settings for Best Results
Choosing the right materials and settings is crucial for optimal laser engraving results. Compatibility between the laser wavelength and the material ensures effective engraving without damage. Diode, infrared, and fiber lasers each have specific wavelengths suited for different materials—diode lasers are often ideal for plastics and wood, while fiber lasers work well with metals. Start with the manufacturer’s material guide, but be prepared to adjust settings for thickness, surface texture, and desired finish. For example, wood typically responds well at full power, with adjustments to speed controlling engraving depth. Plastics may require multiple passes or specific parameters to prevent melting or warping. Glass and acrylic often need special handling, such as wet masks or defocusing the laser beam to avoid cracking. Properly matching materials with appropriate laser settings not only enhances quality but also reduces waste and material spoilage.
Tips for Perfect Engraving and Staying Safe
Careful preparation is key to achieving perfect engraving results. Start with high-resolution source images, ideally at 300 dpi, to capture fine details and ensure clarity. Use images with strong contrast so that features remain visible after engraving. Converting photos to grayscale provides better control over tonal variations, making your engravings more precise. For logos or sharp lines, utilize vector files to guarantee crispness and accuracy.
Always conduct test engravings on scrap material first. Record the settings—speed, power, and dpi—that give the best results so you can replicate them accurately later. Regularly check that your laser is properly focused; an out-of-focus laser reduces detail quality. Confirm that the machine bed is level to prevent uneven engraving. Use the preview tools in your software to verify placement before starting. Ensuring your laser equipment is properly calibrated can help improve engraving consistency overall. Additionally, understanding the mechanics of laser motion can assist in troubleshooting and achieving uniform results.
Protect delicate surfaces by applying masking tape where necessary, reducing the risk of damage. Keep your workspace organized and your equipment clean to prevent debris from affecting the process. Proper maintenance of your laser equipment ensures consistent performance and prolongs its lifespan. Safety is essential: ensure proper ventilation and use protective enclosures to avoid hazards like fumes or laser exposure. Following these detailed preparation and safety steps will help you achieve the best possible engraving results while keeping your workspace safe.
Common Laser Engraving Uses and Material Differences
Laser engraving responds differently depending on the material used, affecting both compatibility and speed. For example, wood produces dark, high-contrast marks, with softer woods engraving faster but at the risk of overburning. Hardwoods create sharper edges and clearer details. The grain, resin content, and surface finish of the material also impact the quality of the engraving, requiring adjustments in laser settings for optimal results across different materials. Additional factors such as material properties can influence the overall outcome and efficiency of the process. Metals and plastics used in industrial marking provide permanent identification like QR codes and safety labels that withstand harsh environments. In personalized items, laser engravers can create detailed logos, jewelry, or home décor with high contrast and precision. Overall, your choice of material influences not only the appearance of the engraving but also the speed and safety of the process. Additionally, understanding the materials compatibility ensures you select the right settings for optimal results, considering factors like burning risk.
Troubleshooting Common Laser Engraving Problems
When issues arise during laser engraving, quickly identifying and addressing the root causes can save you time and prevent material waste. Regular maintenance routines are crucial for fixing common problems such as weak or uneven engraving, misalignment, or excessive heat. To troubleshoot power failures, start by checking the power supply, fuse, and breaker, and verify that the voltage input matches your machine’s rating. For weak engravings, tweak the speed and power settings, clean the laser lens thoroughly, and confirm the laser’s focus is accurate. Misalignment or fuzzy details often stem from loose mechanical parts; tighten these components and verify the beam is properly aligned. Ensuring the proper laser filament is used can improve engraving quality and consistency. To prevent burning or charring, reduce the engraving speed, lower the power density, or increase air assist pressure to keep heat levels manageable. Proper laser mode setting, such as `$32=1`, is essential for achieving clean passes and preventing unintended connecting lines. Maintaining appropriate machine calibration is also vital for consistent results. Additionally, operating within the correct laser parameters helps ensure the depth and detail of the engraving stay precise. Always follow safety precautions during inspection and maintenance to avoid injuries and ensure your machine performs consistently.