How Do I Use a 3D Printer: Easy Step-by-Step Tutorial
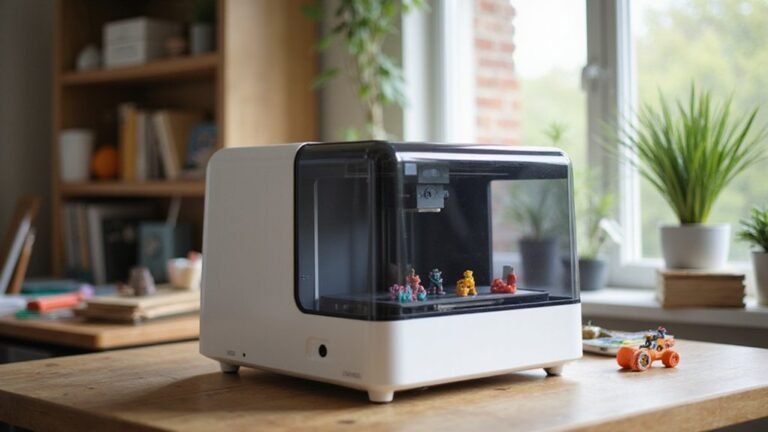
Wondering how to get started with your 3D printer? It might seem complicated at first, but once you know the basic steps, it becomes much easier to produce your own models at home.
From choosing the right filament to troubleshooting common issues, you’ll learn how to turn your ideas into printed objects seamlessly. Read on for a straightforward guide to mastering 3D printing.
Getting Started With 3D Printing: What You Need to Know
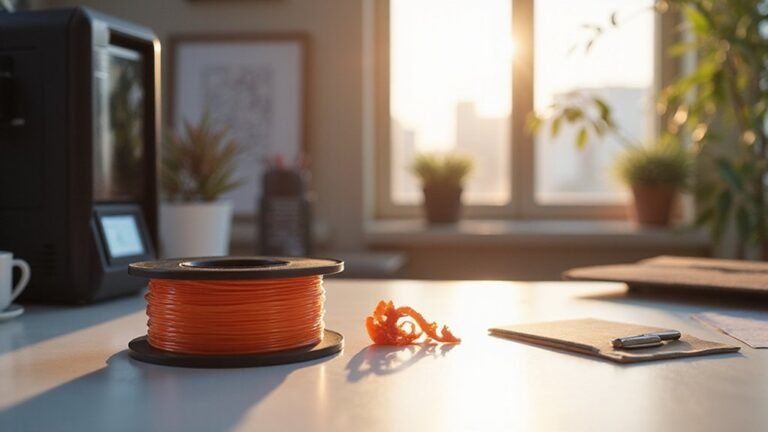
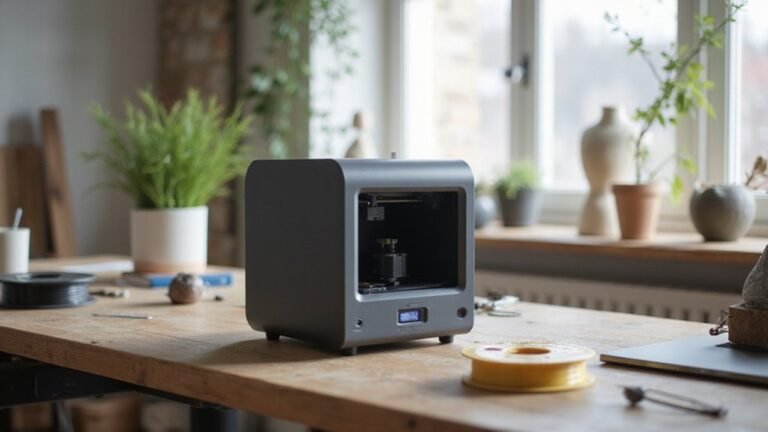
Getting started with 3D printing involves several essential steps. First, choose the right filament; beginners should start with PLA filament, especially with a 1.75 mm diameter. It’s user-friendly, easy to work with, and supports a wide range of printers. Ensure your printer is on a sturdy, level surface, which helps produce stable prints and makes maintenance easier. A stable foundation is crucial for consistent print quality. Regular maintenance is key. Clean the nozzles often and check for worn or damaged parts to prevent print failures. It’s also helpful to familiarize yourself with different 3D printing materials to understand their properties and appropriate uses. Additionally, understanding print settings such as temperature, speed, and layer height can significantly improve your results. Monitoring the cost factors associated with 3D printing, such as filament and maintenance, can help you manage your budget effectively. You’ll also need access to a computer or smartphone to prepare your models, download files, and control your printer during the printing process. Always follow your printer manufacturer’s instructions for setup, calibration, and initial testing. If you master filament selection and keep your printer well-maintained, you’ll build a solid foundation for successful 3D printing projects.
Set Up Your Printer and Level the Bed for Perfect First Layers
To set up your 3D printer and level the bed for perfect first layers, start by ensuring the printer is placed on a sturdy, level surface. Power on the machine and verify that all hardware parts, including screws and components, are secure and undamaged. Remove any transit locks or shipping restraints to allow free movement. Test the axes by manually moving them to confirm smooth operation and correct limits. Verify that the belt tension is appropriate to prevent slippage or overly tight movement. For bed leveling, manually adjust the corner knobs so that the nozzle maintains a consistent gap, typically checked with a sheet of standard printer paper. The ideal gap is usually enough to lightly drag the paper when moved under the nozzle. After completing manual adjustments, run an auto-home process and recheck the level to ensure accuracy. Additionally, it’s helpful to understand bed leveling techniques to achieve the best adhesion and print quality. Proper bed leveling is crucial for obtaining good first layer adhesion, which greatly influences the success of your print. Clean the build surface and nozzle thoroughly to promote good adhesion. Incorporating bed leveling methods into your routine can help maintain consistent print quality over time. Finish with calibration or test prints to verify that the first layer adheres well and the surface quality meets expectations.
Load Filament and Begin Printing: Step-by-Step Guide
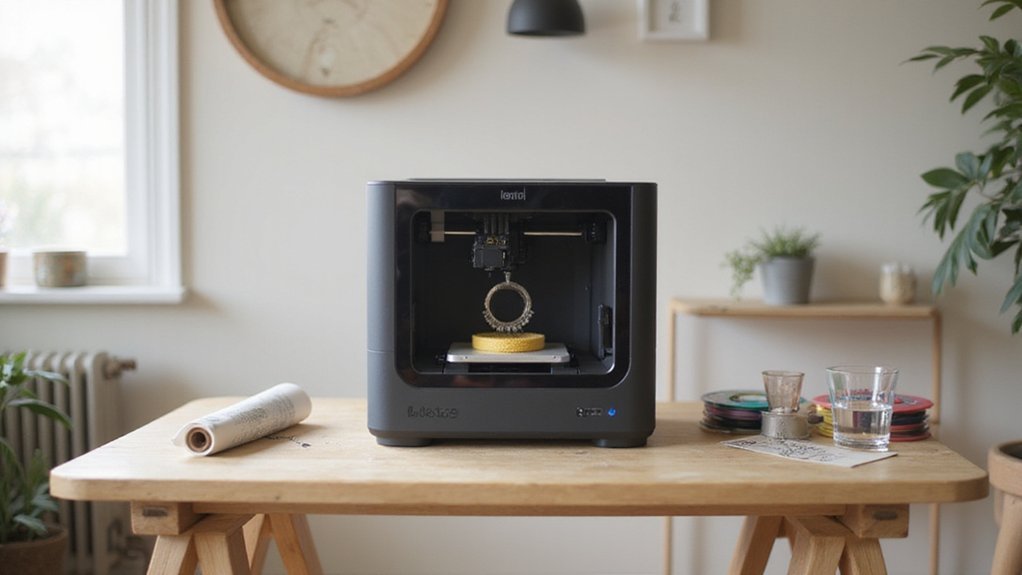
To load filament correctly, start by preheating the hot end to the recommended temperature for your filament, such as around 200°C for PLA. Ensure the filament type matches the nozzle temperature setting in your printer menu or software. Wait until the temperature stabilizes before proceeding. Cut the filament tip at a 45-degree angle or use flush cutters to make a clean, tapered end. Straighten the filament and dispense a short length, then guide it through the spool holder and, if applicable, through the filament runout sensor. Insert it into the extruder entry point and push it through the Bowden tube until molten plastic emerges from the nozzle, confirming proper loading. Additionally, ensure the filament is compatible with your printer’s technology, such as vinyl sheets, to prevent jams and ensure quality prints. It’s also helpful to regularly check and clean the nozzle to maintain optimal print quality and avoid potential clogs.
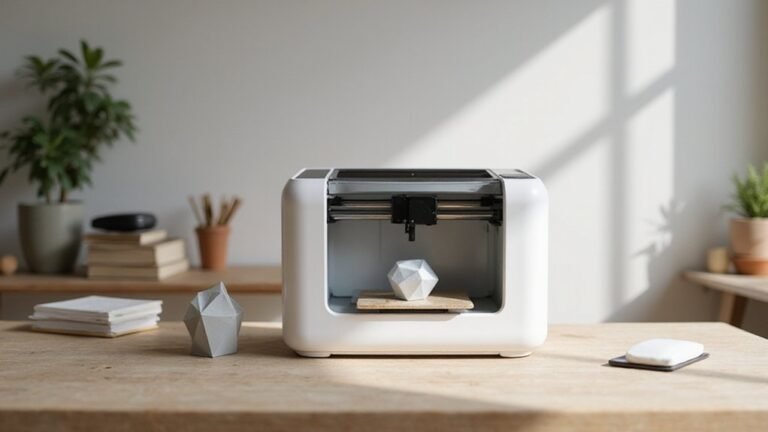
Prepare Your Model: Slicing Tips and G-Code Best Practices
Preparing your model for slicing starts with correct orientation and placement on the build plate. Position the flattest and largest face directly on the bed to enhance stability, improve layer bonding, and reduce overhangs. Many slicers offer a “lay on face” feature, which automatically orients the model for optimal placement. Adjusting the model’s orientation can also minimize the need for support structures, saving material and cleanup time. Ensuring your model has proper orientation can also prevent warping and improve adhesion during printing. Proper orientation helps achieve better surface quality and reduces the chances of print failure. Layer height is a key setting that balances print quality and speed. For a 0.4 mm nozzle, a typical layer height is about 0.2 mm, roughly 50% of the nozzle diameter. Using smaller layer heights increases detail but also extends print time, while larger layers — around 0.3 mm or 75% of the nozzle size — speed up the process at the cost of finer resolution. Always review your slicing preview carefully to ensure the model’s orientation, support placement, and internal structure are correct before exporting G-code. Proper preparation here helps guarantee a successful, high-quality print. Additionally, paying attention to filament settings can further improve print quality and consistency.
Troubleshoot Common 3D Printing Problems and Finish Your Print
If your 3D print faces issues like poor adhesion, stringing, or misalignment, there are targeted steps you can take to fix them quickly. Begin by assessing your filament quality; it should be dry and free of debris because moisture and dirt can disrupt flow and adhesion. To fix nozzle blockages, heat the nozzle to about 250°C and feed filament until it streams smoothly, then clean the interior with a wire or brush. Improving bed adhesion can be achieved by reorienting the model for better contact, increasing the bed temperature to enhance sticking, or adding a brim around the print to prevent warping. To reduce stringing, focus on retraction settings—adjust the retraction distance and speed—and consider lowering the nozzle temperature by a few degrees to minimize oozing. Cooling your print also helps; during the first layers, reduce fan speed to prevent warping but increase it afterward for better detail. Keep your mechanical parts in good condition, and always calibrate your print settings to maintain proper extrusion flow, ensuring higher quality and cleaner finishes in your prints. Regular maintenance and proper calibration are essential for consistent, high-quality results.