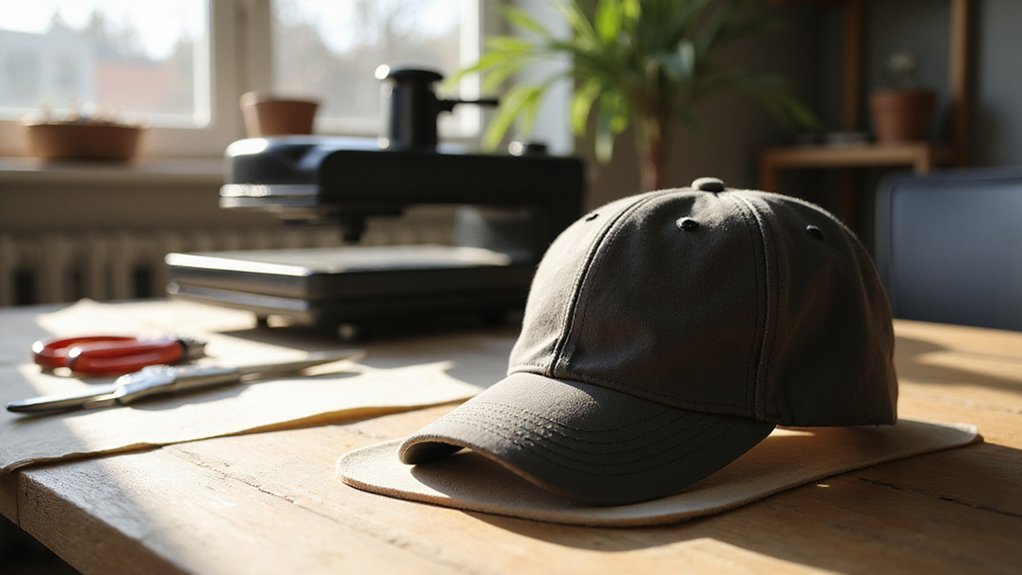
If you’ve ever wondered how to get a perfect design on your hat without it bubbling or peeling, you’re not alone. Pressing a hat requires a bit of technique to ensure your artwork stays smooth and lasts long.
By the end of this, you’ll know how to prep your hat, position your design, and apply heat just right for the best results. Keep reading for all the tips to become confident in hat pressing.
How to Prepare Your Hat for Heat Pressing
To prepare your hat for heat pressing, start by thoroughly cleaning the surface to remove dust, lint, and debris. Use a lint roller or soft cloth, paying close attention to seams, sweatbands, and front panels, since dirt in these areas can prevent proper adhesion. Ensure the surface is dry to avoid wrinkles and transfer issues. Pre-press the hat for 5 to 10 seconds to eliminate moisture and smooth out fabric wrinkles. This step is especially helpful for hats made from different materials. Remove internal obstructions like cardboard inserts and lift decorative cords or braids to create a flat, even surface. Proper preparation guarantees your transfer adheres smoothly, regardless of fabric type or design details. Additionally, understanding the die cutting process can help you create precise designs to enhance your heat pressing projects. Knowing how different 3D printing techniques can produce custom accessories may also inspire unique embellishments for your hats. Moreover, familiarity with vinyl application techniques, such as mirroring designs when necessary, ensures your final product looks professional and polished.
Choosing the Right Support Surface for Your Hat
Choosing the right support surface for your hat is crucial for a successful heat transfer. A hat-specific platen or curved cap form provides a stable, curved surface that mimics the shape of the hat, ensuring consistent contact during pressing. This helps achieve a clean, even transfer. Using a firm support reduces gaps caused by irregular surfaces or seams, preventing uneven pressure that can lead to patchy results. For hats with prominent seams or curves, a heat press pillow or rubber pad fills in gaps and smooths out variations, maintaining uniform contact across the entire design. Tensioned supports on unstructured hats keep the fabric taut, reducing wrinkles and shifting during the press. When other forms are insufficient, internal fill materials like towels or foam can gently fill gaps and encourage even contact. Proper support minimizes movement of the hat, resulting in a professional, high-quality transfer. Additionally, understanding the composition of the fabric helps in selecting the appropriate pressure and temperature settings for optimal results. Recognizing the different fabric types is essential, as some materials require specific heat transfer techniques to prevent damage. Ensuring the type of fabric is compatible with heat transfer techniques further enhances the overall appearance and durability of the transfer.
Creating and Positioning Your Design Correctly
Your design placement can make or break the final look of a hat heat press. Keep graphics small and proportioned to the front panel because curved surfaces limit full crown coverage. Center-front designs should be narrow and compact to ensure a proper fit, especially on structured caps. Use placement guides to check both width and height before cutting or printing, as final dimensions must be set prior to pressing to prevent damage. Proper placement is crucial for a professional appearance. Align the artwork using the seam as a primary reference, and measure precisely for consistent results. Position the design about ½ inch above the brim to account for crown curvature. Properly prepared, secured, and aligned designs help ensure a clean, professional finish. Incorporating knowledge about transfer tape can also assist in achieving precise placement and smooth application during the process. Additionally, understanding the principles of weeding pens can help in accurately removing excess material during design prep, ensuring crisp edges.
Setting the Perfect Temperature, Time, and Pressure
Getting the temperature, time, and pressure right is essential for a successful hat heat press. For cotton or cotton-blend hats, set the press to 300–320°F and apply firm, even pressure for 10–15 seconds. Use enough force to ensure good contact but avoid excessive pressure that could distort the hat’s shape. Polyester and synthetic hats require lower temperatures of around 260–280°F, with shorter pressing times of 8–12 seconds to prevent scorching. Trucker hats with mesh or foam brims usually need about 8–10 seconds at even lower temperatures to avoid damage. For patches and different transfer types like sublimation or heat transfer vinyl (HTV), set the press between 305–320°F and press for 10–15 seconds. Always start with the manufacturer’s recommended settings and perform test presses to fine-tune the temperature, time, and pressure for optimal adhesion. Proper weeding techniques can make a significant difference in achieving professional-looking results. Additionally, understanding heat transfer materials can help you choose the right settings for different projects.
Applying Heat Evenly and Pressing Your Design
To apply heat evenly and press your design properly, start by pre-pressing the empty hat for 5 to 10 seconds. This step removes wrinkles and moisture that can cause hot spots during transfer. Use hat wrapping methods, such as aligned tape or fabric markers, to keep the design in perfect position and ensure a uniform heat transfer across the surface. Stretch unstructured fabric taut with the press tensioner to minimize slack, and make sure the hat is centered on the form for consistent contact. Ensuring the hat is completely dry is also crucial to prevent issues during pressing, especially when working with damp or wet fabric. Support the crown with a foam or dome pad, and fill gaps around the sweatband with a mini pillow. These supports help distribute pressure evenly and prevent areas from being under- or over-pressed. Applying appropriate pressure distribution ensures more consistent results. Apply firm, steady pressure, starting from the center of the design and pushing outward. Cover your design with a Teflon or silicone sheet to protect the surface from direct heat and prevent sticking or scorching. Proper surface preparation and consistent application are essential for a professional-looking transfer.
Cooling Your Hat and Checking Adhesion
After applying heat and pressing your design, let the hat cool completely before handling or peeling. The cooling time typically ranges from 30 to 60 seconds, or until the material is no longer warm to the touch. Some hats may require a shorter initial cool of about 30 seconds. Proper cooling allows the adhesive to fully bond, preventing lifting, distortion, or shifting during removal. Consistent cooling time ensures optimal adhesion. Always check the adhesion only after the hat has fully cooled. Handling the hat too early can cause stretching or damage to the design. To confirm proper adhesion, gently peel back the backing with steady, even pressure. Look for signs of good adhesion such as no lifting, bubbles, or wrinkling. If the edges feel loose, perform a quick re-press with a protective sheet to reinforce the bond. Heat transfer process is crucial for achieving a durable, professional-looking result. Understanding the differences between HTV and permanent vinyl can help you choose the right material for your project to ensure longevity. Keeping track of the correct temperature during pressing can also improve adhesion and durability. Handle the hat carefully to avoid damaging the design or causing burns. Proper cooling and gentle removal are key to achieving a durable, professional-looking result.
Solving Common Heat Pressing Problems on Hats
To prevent common heat pressing problems on hats, start by using proper tools and techniques. Use a mini heat press pillow or foam cushion inside the sweatband to support and protect the fabric, especially on structured caps. Employ a curved platen or cap attachment to evenly distribute pressure across the crown, reducing the risk of distortion. Keep the fabric taut during pressing and avoid exerting excessive force, which can deform the cap’s shape. Fabric characteristics influence heat absorption and melting points, so understanding the material helps in adjusting your pressing parameters accordingly. Proper layering of glitter heat transfer vinyl can help achieve vibrant, durable designs without damaging the fabric. For temperature-related issues like scorching or shiny marks, lower the heat setting by about 10 to 20°F and always place a Teflon sheet between the press and the hat to shield the surface. Poor adhesion is often caused by dirt, oils, or debris on the hat, so thoroughly clean the surface beforehand. Adjust the pressing temperature, pressure, or dwell time if needed, as these factors influence transfer bonding. Proper material selection is essential for achieving optimal results in heat pressing, especially since different fabrics react differently to heat. Understanding heat transfer properties and how they affect your specific fabric type can also improve the overall quality of your design application. Design placement is critical—center the transfer properly and avoid curved or warped areas where the design might shift or distort. Consistently check and calibrate your pressure settings, and perform test presses on scrap material to fine-tune your process. Doing so helps prevent issues like color fading, fabric stretching, or uneven transfers, ensuring a clean, professional-looking result.
How to Re-Press and Repair Lifting Edges
If you notice a lifting edge on a hat after pressing, re-pressing it carefully can restore a clean, professional look. Begin by thoroughly cleaning the affected area, removing any lint, oils, or moisture that could interfere with adhesion. Use a small amount of cleaning solution or alcohol on a cloth, focusing only near the lift to prevent softening the surrounding fabric. Allow the area to dry completely before proceeding. *Proper cleaning and preparation are essential to ensure the adhesive bonds well and the fabric remains undamaged.* proper cleaning and preparation Next, support the hat on a firm, flat surface. Place a pressing cloth over the lifted edge to protect the fabric from direct heat. Re-press with controlled, moderate heat and pressure—too much heat can damage the fabric, while too little won’t bond properly. Support the edge flat with a cover layer, such as parchment paper, to keep it from curling or shifting. Apply steady pressure until the adhesive has set and the fabric cools completely. For stubborn lifts, you can re-press only the affected section, adding a tiny amount of fabric adhesive if necessary. Ensure the area remains flat and smooth during cooling to reinforce the edge securely. This careful approach helps prevent re-lifting and maintains a crisp, professional appearance on your hat.
Final Tips for Mastering Hat Heat Pressing
Mastering hat heat pressing involves several precise steps to ensure a professional finish. Start by pre-press in 3 to 10 seconds to remove moisture and wrinkles from the hat’s surface. This creates a smooth, flat surface that is especially important for embellishments and decorative fabrics. Thoroughly clean the hat’s surface to remove dirt and debris, which helps improve adhesion and prevents imperfections in the transfer. Apply firm and even pressure during pressing, and verify your results with a paper-pull test—if the paper lifts cleanly, pressure is adequate. Adjust the temperature based on the material of your hat and transfer, as different fabrics require specific heat settings.
Carefully center your design, using seams or other existing features as guides to ensure consistent alignment. Secure the transfer with heat-resistant tape to prevent shifting during pressing. Follow the peel instructions precisely: some materials require a hot peel while others need a cold peel. Accurate peeling ensures the transfer adheres correctly and remains durable. Use a laser thermometer to confirm the platen temperature before pressing. Allow the hat to cool completely after pressing before inspecting the final adhesion, which helps prevent damage or distortion. Taking these steps carefully results in a clean, durable, and professional-looking heat press application.