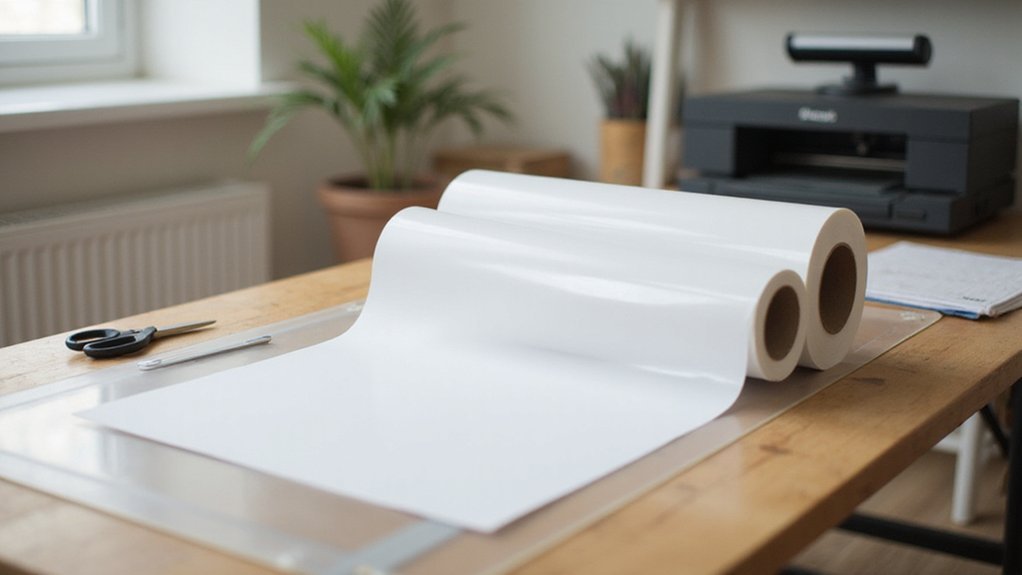
Trying to print heat transfer vinyl can feel tricky at first, but with the right steps, you’ll get professional-looking results.
The key is knowing how to prepare your design, choose the right printer, and apply heat properly to make your project pop.
Once you get the hang of it, creating vibrant, durable designs becomes much easier.
Keep reading to learn the full process in detail.
What Is Printable Heat Transfer Vinyl and How Does It Work?
Printable heat transfer vinyl (HTV) is a type of vinyl designed for printing full-color images directly onto its surface. It allows you to create detailed, vibrant designs—including photographs, gradients, and intricate artwork—that traditional cut vinyl cannot achieve. To use it, you print your design onto the printable side of the vinyl using compatible inkjet or toner-based printers. Once printed, you cut around your design and weed away excess material, leaving only your artwork on the vinyl. You then apply heat and pressure with a heat press or an iron, which bonds the design securely to the fabric. Durability is a key feature of printable HTV, as it is specifically formulated to withstand the heat transfer process without damage, ensuring the longevity of your custom designs. Additionally, understanding the compatibility of your printer with printable heat transfer vinyl is essential for achieving optimal results, especially since some printers and inks are better suited for this type of vinyl than others.
How to Choose the Best Printable HTV for Your Projects
Choosing the right printable heat transfer vinyl (HTV) depends on several important factors to ensure your project’s success. First, verify that the HTV is compatible with inkjet printers because most printable HTV is designed to accept liquid ink for vibrant, detailed designs. Next, consider the fabric you plan to transfer onto; some HTV types work best on cotton, polyester, or blends, so matching the material is crucial for adhesion and durability. Test brands and availability by checking retail options like Hobby Lobby, Michaels, Target, and Walmart to find the best quality and choices for your needs. Brand comparison is an effective way to gauge differences in application ease, finish, and longevity. Some brands may require specific temperature, pressure, or peel settings, which can influence how simple the process feels and how well the design adheres over time. Visual finish options, such as matte or glossy, are also key—they can alter the look of your finished piece and should align with your project’s aesthetic. Durability varies among brands, so reviewing washing instructions and testing small samples when possible will help you select a HV that withstands regular use. Additionally, understanding and mastering the application techniques is essential to achieve a professional look from home. Taking the time to evaluate these factors will help you choose a printable HTV that delivers sleek, professional, and long-lasting results, especially when considering the compatibility with heat transfer methods and the equipment used.
Getting Your Artwork Ready for Printing and Cutting
To ensure your artwork is properly prepared for printing and cutting, start with high-contrast colors to keep your design clear and easily identifiable during the cutting process. Use vector artwork whenever possible, since scalable paths maintain crisp edges and prevent pixelation, especially with detailed designs. Set the final dimensions of your artwork before starting to cut so it matches your intended placement exactly, avoiding surprises. Organize your colors and layers carefully, as this helps streamline the cutting process later and reduces mistakes. When working with raster images, choose high-contrast, clean sources to make defining cut paths simpler. Always remember to mirror your design horizontally if it will be transferred or applied in a way that requires correct orientation, and double-check this step before cutting. Proper preparation ensures precise cuts, minimizes errors, and results in a professional-looking heat transfer vinyl project. Additionally, understanding image resolution can help ensure your designs are print-ready and sharp.
Printing Your Design on Printable HTV
To properly set up your printer for printing on printable heat transfer vinyl (HTV), start by adjusting the media setting on your printer to match the recommended options, such as “Normal Paper” or “High-Quality.” This ensures the correct paper feed and ink application for the thicker printable HTV material. Use single-sheet feeding to prevent jams, and load the sheet with the printable side facing up or the vinyl side facing up as specified in your product instructions. Confirm that your inkjet printer can handle thicker media, and verify ink compatibility to achieve accurate color reproduction. Before printing, keep your design at the final size, and consider tweaking brightness and saturation for better color accuracy. Double-check the positioning to ensure the design is correctly aligned. Allow the printed sheet to dry fully before handling, as this helps preserve the ink quality and ensures a clean transfer onto your surface. Additionally, understanding the role of Cricut transfer tape can help ensure smooth application and a professional-looking finished project. Also, familiarizing yourself with the printer specifications can help prevent issues with media compatibility and printing quality. Ensuring your printer settings are optimized for the media type can dramatically improve your results and reduce potential problems.
Cutting and Weeding the Printed Design
To ensure clean, precise cuts when working with printed vinyl, start by fine-tuning your cutter settings before making any cuts. Perform a test cut using a small square with a triangle inside, each about half an inch wide. This verifies the blade depth and helps prevent the cutter from damaging the carrier liner or cutting too deep into the vinyl, especially with metallic finishes. Set your cutter to cut only through the vinyl layer, not the backing, to avoid tearing or unwanted cuts. Load the vinyl face up so that the shiny side acts as the liner and the dull side as the vinyl face. Align the edges under your guides or rollers to ensure even feeding during cutting. When it’s time to weed the design, begin from the outside, removing larger background areas first and working inward. Use a fine-tipped weeding tool for intricate areas, and work in a well-lit space or over a lightbox to improve visibility. Taking your time to weed carefully helps preserve all the detailed cuts and ensures a professional-looking finished product. Proper cutter calibration is essential for achieving accurate cuts and avoiding unnecessary material waste. Additionally, understanding heat tape moisture resistance can be helpful if you’re working with materials that might be exposed to humid conditions. Being aware of the proper tool techniques also contributes to achieving clean, precise weeding.
Applying a Transfer Mask for Precise Handling
Applying a transfer mask is crucial for maintaining your design’s accuracy and placement during heat transfer. Use a mask that is slightly larger than your final design to ensure full edge coverage and easier alignment. Begin by positioning the mask at the center of the design, employing the taco method or visual tools like rulers for precise placement. Use a squeegee to press the mask from the middle outward, applying gentle pressure initially and then more firm strokes to secure it firmly. Carefully peel away the backing once the mask adheres well, keeping the design attached to simplify handling. Proper masking prevents shifting during transfer, resulting in a clean, professional finish. Choosing the right mask size is essential for achieving accurate and consistent results, especially since the type of transfer tape can influence the alignment and overall quality of your project. Being aware of the best ventilation options can also improve your workspace safety and comfort during the heat transfer process. Additionally, understanding the compatibility of heat transfer vinyl with acrylic surfaces can help ensure the longevity and appearance of your finished piece.
Preparing Your Fabric and Positioning the Design
Preparing your fabric properly is crucial for successful HTV adhesion. Start by washing and drying the garment to remove any residues or oils that could interfere with bonding. Pre-press the fabric for 2 to 5 seconds to eliminate wrinkles and residual moisture, which helps it lie flat. Use a flat, stable surface and support to keep the fabric smooth, avoiding pulling or stretching that could distort your design. Before placing the design, mark the center with fabric chalk or a ruler to ensure precise placement. Always double-check the carrier sheet orientation and the design’s position, especially since repositioning after heat application can be difficult. Confirm that everything is perfectly aligned and free of wrinkles before applying heat to ensure the best result. Choosing the right heat transfer method is also essential for achieving durable and vibrant results. Additionally, understanding dye sublimation principles can help determine if this method is suitable for your fabric. Being aware of adhesion techniques can further improve your overall results and durability of the transfer.
How to Use a Heat Press or Iron for Perfect Transfer
To achieve a perfect transfer, you need to set up your heat press or iron with precision. For heat press use, preheat the device to the vinyl’s recommended temperature, typically between 305°F and 356°F, depending on the material. Adjust the pressure according to the vinyl specifications—usually a firm, even pressure works best—and set the timer accordingly. Always ensure the platen is fully heated before placing your garment to avoid uneven adhesion. Understanding the science behind heat transfer, such as how heat activates the adhesive on vinyl, can help improve your results. When using an iron, turn off the steam setting to prevent excess moisture from interfering. Set the iron to a high-temperature setting appropriate for heat transfer, such as the cotton or high heat mode. Apply firm, even pressure directly over the vinyl for 10 to 20 seconds. Do not move the iron back and forth, as this can cause smudging or uneven transfer. Using a non-stick cover sheet over the design protects it from scorch marks and ensures a clean transfer. Proper setup and technique are essential for smooth, durable transfers with a professional finish. Knowing about heat transfer, like the effects of temperature on adhesion, can help make your projects more successful.
Final Steps: Cooling, Peeling, and Finishing Your Project
After your heat transfer vinyl application, let it cool for 3–5 minutes or until it’s safe to touch. Cooling allows the adhesive to set properly, which helps ensure a secure bond and reduces the chance of edge lifting. When peeling, do so in one smooth, continuous motion, keeping one hand on the fabric to hold it steady. Peel slowly at a controlled angle, especially if you encounter resistance, to avoid lifting or stretching the vinyl’s edges.
Once the vinyl is peeled, consider doing a brief repress with a protective cover sheet, such as parchment paper. This step helps seal the edges and enhances overall adhesion. After finishing, gently stretch the fabric to see if the design moves with it. Proper cooling, careful peeling, and finishing contribute to a professional-looking, durable heat transfer vinyl project.
Troubleshooting Common Printing and Application Issues
Even when you follow all the final steps carefully, issues can still occur during the printing and application process. One common problem is compromised color fidelity, often caused by incorrect temperature settings. Always refer to the manufacturer’s instructions because heat, time, and pressure requirements vary depending on the vinyl type. Using an infrared thermometer helps you verify the actual surface temperature of the garment or substrate. This prevents failed adhesion caused by insufficient or excessive heat. Proper pressure adjustment is equally important: too little pressure results in poor bonding, while uneven pressure can cause peeling. To test pressure, insert a piece of paper at the edges—easily removable indicates the pressure is too light. Confirm that the garment is preheated, laid flat, and free of debris before applying the transfer. Ensuring accurate heat is vital because even slight deviations can affect transfer quality and longevity. Adjusting temperature and pressure as needed ensures a durable, vibrant transfer, helping you avoid common problems like peeling, cracking, or fading.