Struggling to get Cricut heat transfer vinyl to stick just right? It can feel tricky to know the exact steps to ensure your design looks professional and lasts.
Luckily, with a few simple tips, you’ll be able to master the process and create personalized garments that stand the test of time.
Keep reading to learn how to get perfect results every time.
How to Choose the Best Heat Transfer Vinyl for Cricut Projects
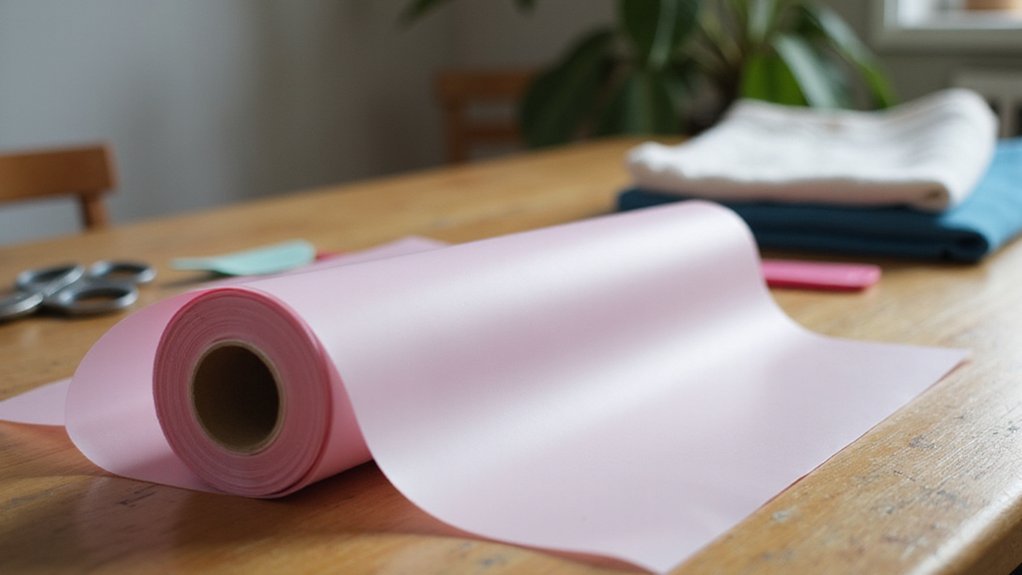
Choosing the right heat transfer vinyl for your Cricut projects starts with understanding the material’s specific characteristics and how they match your project’s needs. Vinyl colors can influence the final look, especially for multicolor designs or detailed artwork where printable HTV shines. Think about the fabric textures you’re working with: smooth, heat-tolerant fabrics work best with HTV, while textured or heat-sensitive materials might reduce adhesion or cause damage. Standard HTV is ideal for simple text and shapes, whereas printable HTV is better for complex images with gradients or photos. Match your vinyl selection to your project’s durability requirements, considering washability and finish—whether matte or glossy. Properly choosing your vinyl guarantees your design bonds well, lasts through washes, and looks professional on your fabric surface. Material Compatibility also plays a crucial role in ensuring the vinyl adheres properly without wrinkling or peeling over time. Additionally, understanding sublimation sticker paper compatibility can help you incorporate different mediums into your crafting projects for more vibrant results. Being aware of material-specific properties helps achieve optimal adhesion and longevity for your designs.
Preparing Your Design File for Cutting and Application
To prepare your design file properly in Cricut Design Space, start by uploading your artwork—SVG files are ideal because they contain precise vector paths. Set your design to the correct final size for your garment or item using the canvas tools, which helps visualize placement and ensures consistent sizing. Always convert text or logos into cut-ready paths; creating outlines if needed guarantees clean cuts and prevents issues during cutting. Before starting, mirror your design in Design Space since heat transfer vinyl (HTV) is shiny-side down, so you cut from the back of the material. Confirm the mirrored preview for accuracy and keep the carrier sheet orientation in mind, as this affects how the design will transfer. Additionally, properly organizing your layers and ensuring your design is grouped can help prevent errors during cutting and simplifies the transfer process. For best results, review your cut file setup to ensure all elements are correctly aligned and ready for cutting. It’s also helpful to check your material placement within the workspace to avoid misalignment during application. Proper vinyl placement is essential to achieve a professional-looking finish, so take your time to position the design accurately. Finally, double-check that your layers are grouped, details are properly scaled, and the entire design fits within the cutting area to streamline application and reduce material waste.
How to Cut and Weed HTV Effectively for Clean Results
To cut and weed HTV effectively for clean results, start by confirming your blade is properly aligned and perform a test cut. This helps ensure you’re setting the right depth and pressure, minimizing errors. During cutting, place the vinyl side up with the shiny liner down to achieve the best cut quality. Use Cricut-compatible settings to create a clean kiss cut, which stops at the backing without cutting through it. For intricate or detailed designs, decreasing the cut speed improves detail accuracy, preventing ragged edges or incomplete cuts. Additionally, selecting the best heat transfer vinyl for your project can greatly impact the final appearance and ease of weeding.
When weeded, begin from the outer edges and remove large sections first, pulling steadily away from the design to avoid tearing small pieces. For inner details or tiny cutouts, use a weeding tool to carefully lift and remove these small sections without damaging the surrounding material. Proper storage of your vinyl—keeping it flat, in a cool, dry place—prevents warping or damage that can interfere with cutting accuracy. Good lighting and controlled heat also help by clearly illuminating the cut lines, allowing for more precise weeded results. Being aware of your 3D printer choices can inspire new ideas for customizing your vinyl projects with added dimension or effects.
How to Position and Press HTV for a Flawless Finish
To achieve a flawless HTV finish, proper positioning and pressing are essential. Start by laying the garment flat on the lower platen, ensuring it is fully centered and smoothed out to remove wrinkles. Pre-press the blank for 2 to 5 seconds to eliminate moisture and prevent steam from interfering with adhesion. When aligning your design, use a ruler or T-shirt alignment tool to keep it straight, typically about 3 inches below the collar. Place the carrier sheet side up, with the adhesive face against the fabric, and double-check the orientation before pressing. Applying heat evenly with the right amount of pressure ensures strong bonding; maintain steady pressure throughout the dwell time to prevent shifting or sliding. Correct positioning combined with precise heat application results in a clean, professional-looking HTV transfer. Additionally, choosing the best sublimation paper can impact the overall quality of your transfer. It’s also important to note that the heat transfer process on acrylic may require specific considerations to ensure proper adhesion without damaging the surface. Even understanding the laser engraver process can provide insights into achieving even heat distribution and better overall results.
Peeling and Finishing Tips for Long-Lasting Designs
Peeling and finishing are critical steps to ensure your HTV design endures through multiple washes. Start with the peel timing: do a warm peel when the design is still warm and a cold peel after it’s completely cooled. Proper carrier removal requires a smooth, steady pull to avoid ripping or lifting edges. If the carrier resists, let it cool a bit longer before attempting again to prevent stretching or damaging the fine details. For multi-layered designs, adjust peel timing for each layer—generally warm peel for the bottom layer and cool peel for the top. The peel direction also plays a role; peeling back across the design reduces stress on the adhesive, strengthening its bond. Ensuring your blade is properly attached correctly is essential to achieve clean cuts and a smooth finish. Using a laser cutter for intricate designs can sometimes be challenging, as some materials require special techniques or equipment adjustments to achieve the best results. Additionally, understanding how different materials respond to heat transfer techniques can help prevent damage, especially when working with delicate leather surfaces which can be affected by heat if not used properly. Finishing with a brief repress using parchment paper helps reinforce adhesion and improves the overall durability of your design.
Troubleshooting Common Application Issues With HTV
Ensuring the correct heat, time, and pressure settings is crucial for a successful HTV application. Most standard HTVs require pressing at around 305°F for 10 to 15 seconds. If the temperature is too high or too low, or the pressing time is off, you risk poor adhesion or bubbling. Consistent pressure is equally important; uneven contact can cause partial adhesion, which may lead to peeling or lifting after washing. To troubleshoot, perform a test press on scrap fabric to fine-tune your machine’s settings. Use pressing pillows or folding towels to prevent uneven contact from seams or zippers. Always let the vinyl cool before peeling off the carrier sheet. Double-check your layer stacking and cut settings to ensure accuracy. Proper surface preparation and verification of all parameters contribute to a smooth, durable transfer. Monitoring the temperature with a heat thermometer can help maintain consistent heat and improve overall application results. Additionally, understanding the sublimation process can help you achieve better adhesion and vibrant colors in your final design. Paying attention to heat transfer principles ensures you optimize the process and prevent common issues. Recognizing the importance of consistent application techniques can significantly enhance your project’s durability and appearance.
How to Care for and Wash Your Cricut HTV Projects
Waiting at least 24 hours before washing your Cricut HTV projects is essential to ensure the design is fully cured. Some brands recommend up to 72 hours for maximum bonding strength. This curing period helps the adhesive set properly and enhances color durability, making your project last longer. When washing, always use cold or warm water below 178°F (80°C) to prevent weakening the adhesive. Turn your garments inside out and select a gentle cycle to minimize stress on the vinyl. Use mild, dye-free, fragrance-free detergent to avoid residue buildup that can compromise stickiness. Ensuring the type of filament is compatible with your printer can influence the overall quality of the adhesion and durability of your finished project. For drying, opt for hang drying or tumble drying on a low setting to protect the vinyl from high heat, which can cause fading and weaken the adhesive. Never dry clean your project, as the chemicals involved can damage the vinyl design. Regular washing and proper care help maintain the appearance and durability of your HTV design over time. As with any adhesive bond, proper care can ensure your design remains vibrant and intact for longer periods.
Essential Tools and Tips for Mastering Cricut Heat Transfer Vinyl
Mastering Cricut heat transfer vinyl (HTV) involves using specific tools and following precise techniques to ensure professional-looking results. Start with essential cutting tools like a Cricut machine, which provides clean, accurate cuts for various vinyl types and colors. A weeding tool is crucial for removing excess material without disturbing your design’s delicate parts. When designing in Cricut Design Space, make sure to mirror your image before cutting, especially for designs with directional elements or text. Use a precise cutting machine to ensure the design is accurately transferred without mistakes, which is essential for a clean finish.
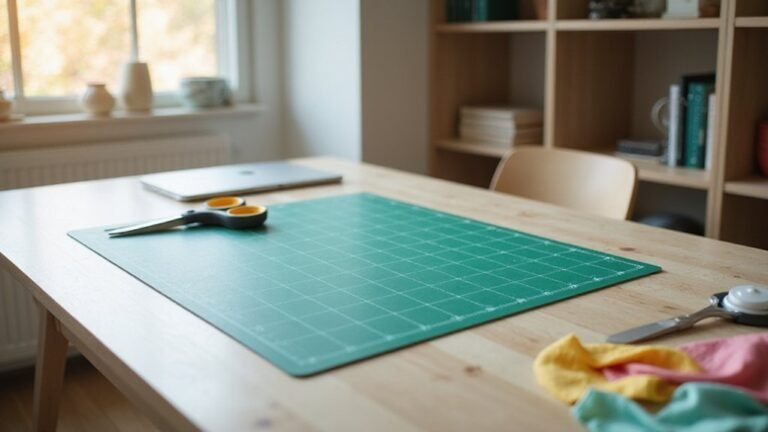
Use a standard grip cutting mat with the shiny liner side down to keep the vinyl securely in place during cutting. For heat pressing, rely on the Cricut Heat Guide or app to determine the ideal temperature, pressure, and pressing time. You can apply heat with an EasyPress, a heat press machine, or even a household iron, as long as you follow recommended settings. Placement tools such as a lint roller help remove debris and ensure proper adhesion, while measuring guides ensure your design is perfectly aligned. Proper layering techniques can improve the durability and appearance of your final project. Applying consistent heat is essential; a good heat press or iron helps you achieve even heat distribution, which is crucial for a professional finish. Protect your project with parchment paper or a Teflon sheet during heat application, which prevents scorching and ensures even heat distribution.
Creative Ideas to Personalize Apparel and Accessories
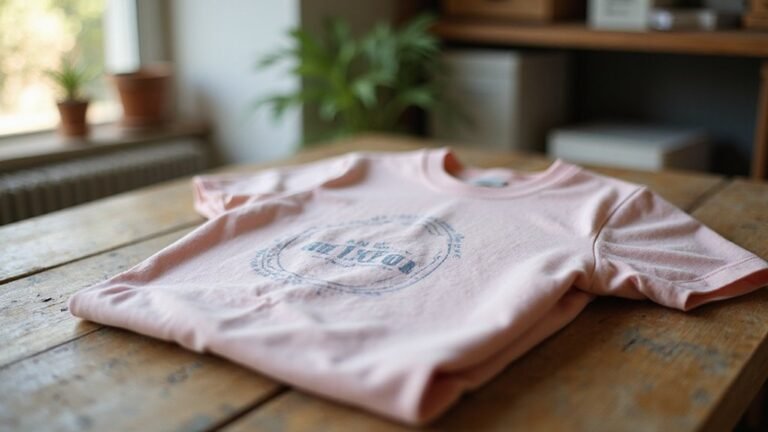
Personalizing apparel and accessories with Cricut heat transfer vinyl allows you to create truly unique items. You can add vintage motifs or floral embellishments to give your designs an elegant or nostalgic feel. Custom T-shirts are especially popular because they’re versatile; just mirror your design before cutting and make sure it’s centered for a professional look. Flat surfaces like tote bags and zipper pouches are perfect for bold graphics, initials, or monograms, making them great for daily use or as personalized gifts. Small accents like hats or sleeve graphics provide subtle customization, which works well for team uniforms or event outfits. For special occasions, try creating matching shirts with themed designs, names, or dates. Adding these personal touches can transform simple accessories into memorable pieces, perfect for gifting or enhancing your everyday style. Using heat transfer vinyl is cost-effective and allows for quick customization, making it an accessible craft for beginners and experienced crafters alike.