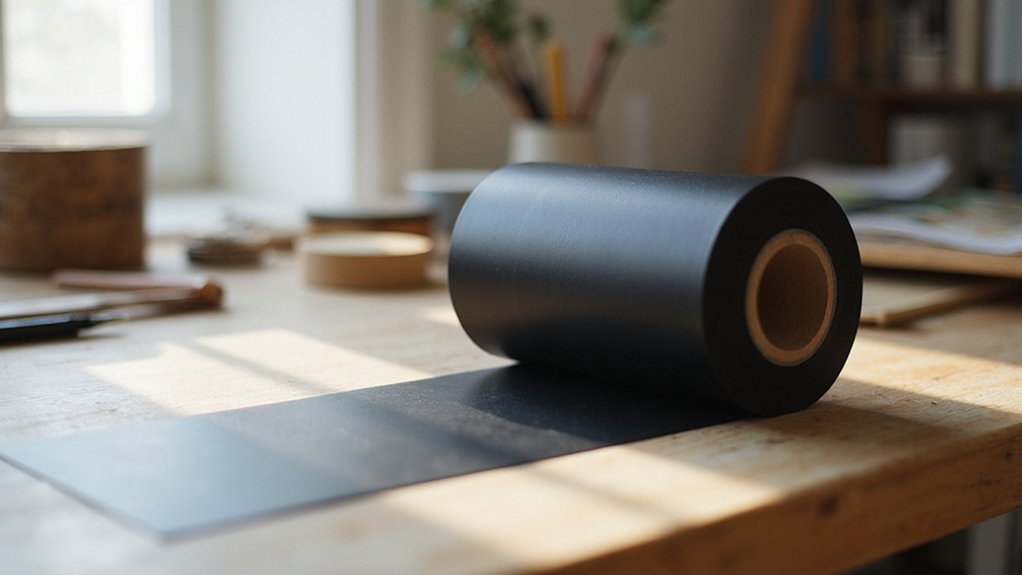
Getting transfer tape just right can be tricky, especially if you’re new to the process. It’s all about prepping your surface, cutting the right size of tape, and applying it smoothly for a clean finish.
Once you master these steps, your designs will look flawless every time. Keep reading to learn the simple steps to apply transfer tape like a pro.
What You Need to Know Before Applying Vinyl Transfer Tape
To ensure a successful vinyl transfer, proper surface preparation is essential. The surface must be clean, dry, and free from dust, residue, or moisture. For glass and plastic surfaces, wiping with rubbing alcohol works best. If you’re working with freshly painted surfaces, wait at least two weeks for the paint to fully cure. Smooth, hard surfaces promote better adhesion compared to textured ones. Additionally, verify that your design’s color contrast stands out against the background to aid in precise placement. When choosing transfer tape, opt for a size slightly larger than your design. This covers the entire image and provides better control during transfer. Proper surface prep combined with the right transfer tape size helps ensure your vinyl sticks firmly, minimizes bubbles, and keeps your design aligned during application. Using proper surface prep techniques can significantly improve the adhesion and appearance of your vinyl projects. Ensuring the surface is free from moisture is particularly crucial since residual moisture can compromise the adhesion quality of the transfer tape. It’s also important to consider the surface texture, as it impacts how well the transfer tape adheres and the overall success of your project.
Preparing Your Vinyl Design for Transfer
After weeding your vinyl design, it’s important to thoroughly check for stray fragments, dust, or incomplete cuts. Use a weeding tool to carefully remove small details like dots or tight corners to prevent lifting issues during transfer. When preparing the design, consider resizing or color matching to ensure it fits your surface perfectly. Trim the vinyl close to the artwork when necessary to reduce tape coverage and make handling easier. Before applying transfer tape, clean the vinyl and work surfaces with rubbing alcohol to remove dust and grease, ensuring better adhesion. Cutting the transfer tape slightly larger than your design helps provide a margin for easier handling and positioning. Additionally, permanent vinyl’s durability can influence the longevity of your design on different surfaces, especially for items like shirts. Additionally, using a sticky-backed transfer tape assists in picking up and holding your vinyl securely during application, which is essential for achieving precise results.
How to Position and Align Your Vinyl Perfectly
To position and align your vinyl design precisely, start by identifying the center point of your surface using a ruler or measuring tape. Mark this spot with a fine-tip pen and add a small piece of tape to improve visibility. Double-check that the mark aligns with the geometric midpoint of the surface and ensure it’s free of dust and grease for optimal adhesion. Place your vinyl face down and align its center with the mark, then secure the edges with masking tape to prevent shifting. Step back and check visually—make slight adjustments if needed to perfect the placement. Use a level to verify both horizontal and vertical alignment, especially if your design needs to be perfectly straight. Confirm that the edges are flush with the boundaries and parallel, as these details are crucial for a professional finish. Always perform a final check before burnishing, as accurate positioning impacts color matching and overall appearance. Regularly verifying measurements during the process ensures that your design remains properly aligned and centered.
Burnishing the Transfer Tape for a Strong Seal
Burnishing the transfer tape is crucial for creating a strong, lasting bond with your vinyl design. This step ensures the adhesive on the tape fully contacts the vinyl surface, which is especially important on textured or uneven surfaces. Use a scraper tool, roller, or even a credit card to apply steady, even pressure starting from the center and working outward. Pay close attention to the edges, as they are common points for delamination. Take your time—slow, deliberate burnishing allows the adhesive to fully bond, reducing air bubbles and preventing issues during transfer. By thoroughly pressing the tape onto the vinyl, you ensure a secure seal that will hold through handling and application. Applying consistent pressure throughout the process helps prevent lifting or shifting of the vinyl during transfer proper application techniques. Additionally, taking your time during the burnishing process enhances the durability of the final application, especially when working with different surfaces or materials. Knowing the proper method to apply and burnish transfer tape can make a significant difference in transfer tape adhesion and the longevity of your project.
How to Remove the Backing Paper Safely
To remove the backing paper safely, start by flipping the decal so the backing faces up and the transfer tape faces down. Use slow, controlled peeling to protect both the surface and the decal itself. Begin by peeling a small edge to create a grip point, then lift the backing paper at a low, shallow angle—around 30 degrees or less. Keep the backing away from the transfer tape, rather than pulling the tape away from the backing, to ensure the vinyl stays on the transfer layer.
Pay attention to stubborn areas; if needed, re-burnish or gently lift corners using fingertips or a small picker tool. For delicate or detailed decals, peel gradually from the corners, lifting in small sections to avoid tearing or lifting small parts of the design. Moving carefully throughout the process helps maintain the integrity of the decal and results in a clean, smooth removal. Additionally, iron-on permanent vinyl can be heat-activated, so using an iron or heat transfer tool can sometimes facilitate the process, especially on tricky surfaces. Being aware of the heat-activation properties can improve your results and reduce frustration during removal.
Applying Transfer Tape to Your Surface for Precise Placement
To ensure the transfer tape adheres properly, start by thoroughly cleaning and preparing the surface. Use soap and water or rubbing alcohol on glass or plastic surfaces, then allow the area to dry completely. A clean, dry, and smooth surface helps improve adhesion and reduces the likelihood of bubbles or lifting points later on. When positioning the tape, take your time to align the design accurately—using rulers or center marks can help ensure precision. Cut the transfer tape slightly larger than the design to give yourself a margin for adjustment. Apply the tape gradually from one end or corner, pressing down with a squeegee or credit card as you go. Firmly burnish from the center outward to maximize contact and secure a smooth, bubble-free application. Additionally, choosing the right surface material can influence how well the transfer tape adheres and how easily you can achieve a flawless finish. Ensuring the proper surface preparation can significantly enhance the adhesion, especially on surfaces that are porous or textured. In cases where surfaces are rough or uneven, using appropriate surface preparation methods can further enhance the adhesion process.
Tips for Removing Transfer Tape Without Damaging the Design
Careful removal of transfer tape is essential to preserving your design’s integrity. Use a slow peel at a 45-degree angle to minimize stress on the edges, which helps prevent lifting or tearing. Start from one corner and gently peel back, stopping immediately if any vinyl begins to lift—a sign to press it back down and proceed more cautiously. For stubborn spots, use your fingers, a scraper, or a credit card to gently help separate the tape without forcing it. Applying low heat with a hairdryer can loosen the adhesive, making removal smoother and reducing the risk of tearing delicate details. Keep the peel path controlled to ensure the adhesive stays with the surface, avoiding messy residues.
Be aware that vinyl adhesion plays a critical role in how easily transfer tape can be removed, especially when working with different materials. During removal, pay attention to color matching, as uneven peeling can disrupt the design’s hues. Using appropriate transfer tape for your project can also make a significant difference in achieving a clean removal process. Understanding how material type influences transfer tape removal can help you choose the best techniques for your specific application. Be especially careful with fine fonts and delicate lettering; gentle handling prevents tearing or stretching. By following these steps, you’re more likely to keep your vinyl design intact and looking professional.
Troubleshooting Common Transfer Tape Problems
Surface contamination such as oils or dust is a common cause of transfer tape problems. Always clean the surface thoroughly with alcohol-based cleaners and ensure it is completely dry before application. Weather conditions also impact adhesion; high humidity or cold temperatures can cause wrinkles or air bubbles during transfer. If the transfer tape is too sticky, it can pull on delicate vinyl, while insufficiently sticky tape won’t pick up the design properly. To avoid this, choose a tape appropriate for your material’s delicacy and adhesion needs. Additionally, conditions during transit, such as extreme heat or humidity, can weaken the adhesive, making application more difficult. To smooth out wrinkles, use a squeegee and work from the center outward to release trapped air. For stubborn sections, applying mild heat can loosen the adhesive and help it conform better to the surface. After applying the transfer tape, let it sit for 10 to 20 minutes to improve bonding. Proper surface preparation is crucial in ensuring a successful transfer. When peeling, do so slowly at a low angle to ensure a clean release without damaging the design.