Struggling with a clogged 3D printer nozzle? It’s a common issue that can cause poor prints, strange noises, or a complete stop in your printing process.
Knowing how to clean the nozzle effectively is key to keeping your printer running smoothly.
By the end, you’ll have proven techniques to clear blockages and maintain top performance.
How to Recognize When Your Nozzle Is Clogged
If your filament isn’t extruding properly, it’s a clear sign your nozzle may be clogged. Look for thin, incomplete, or absent filament lines despite your hotend being at the correct temperature. An irregular filament shape—such as curling, spitting, or wispy strands—also indicates a blockage. Noises like clicking or grinding from the extruder suggest resistance in the filament feed, which often results from a clogged nozzle. To verify, try manually extruding filament or shine a light through the nozzle; if you can’t see through it easily, a clog is likely present. Keep in mind that certain filament types and nozzle materials are more prone to build-up and blockages, increasing the likelihood of clogs forming. If you notice the filament struggling to flow smoothly, it’s time to inspect your nozzle for obstructions. Additionally, understanding how permanent vinyl interacts with fabrics can help ensure proper maintenance and avoid additional extraneous issues. Regularly inspecting and cleaning your nozzle can also help prevent blockages, especially when using filaments that tend to leave residue.
Simple maintenance routines and awareness of common clogging causes can significantly extend the lifespan of your nozzle and improve print quality.
Prevent Nozzle Clogs With Routine Maintenance
Regular maintenance is essential for preventing nozzle clogs and maintaining smooth 3D printing. Check material compatibility before printing and adjust print speeds, especially when using filaments prone to clogging like ABS or PETG. Regularly clean the nozzle exterior with a brass brush while the hotend is heated to remove buildup. Ensure the cooling fan is dust-free to reduce heat creep, which can cause filament jams. Inspect the nozzle tightness against the heat block to eliminate gaps that might lead to leaks and residue buildup. Examine the PTFE tube and other extruder components for signs of wear or deformation, replacing them if necessary. Store filament in airtight containers with desiccants to prevent moisture absorption that can cause printing issues. Establish a routine cleaning schedule that includes cold pulls and nozzle inspections to eliminate residue early, preventing serious blockages. Proper nozzle maintenance can significantly extend your nozzle’s lifespan and improve print quality.
How to Perform Cold Pulls to Clear Clogs
To perform a cold pull, start by selecting a suitable filament such as nylon or a cleaning filament, which forms a stronger plug when cooled. Adjust your printer’s temperature settings to match the filament’s recommended range, typically around 80–90°C for PLA or 100–110°C for PETG. Heat the nozzle to the filament’s normal printing temperature or slightly above, then insert the filament until it begins to extrude or ooze. Turn off the heater and gradually lower the temperature while applying gentle downward pressure to the filament. Once the filament becomes semi-solid, pull it smoothly and steadily from the nozzle. This process helps remove partial clogs and debris, similar to the way filament materials impact cleaning effectiveness. When using PETG HF filament, it’s particularly important to control the temperature carefully due to its unique composition, which can influence how well the cold pull clears obstructions. Maintaining proper temperature control also helps preserve the integrity of the nozzle and prevents damage during the process. Repeat the procedure if necessary to achieve a cleaner interior and improve extrusion quality. Proper temperature control is essential during both heating and cooling stages to avoid damage to the nozzle or filament melting issues.
Deep Clean Your Nozzle by Removing and Soaking It
To thoroughly clean your 3D printer nozzle, you must first remove it from the hotend assembly. Begin by heating the hotend to your filament’s printing temperature, which softens any residue and makes unscrewing easier. Power off the printer and unplug it before proceeding to avoid risk. Carefully use a wrench or pliers to unscrew the nozzle, ensuring it has cooled enough for safe handling—especially if you plan to use heat or flame-based cleaning methods afterward. For deep cleaning, soak the nozzle in a solvent compatible with your filament, such as acetone for ABS or isopropyl alcohol for PLA. The soak time can range from a few minutes to overnight, with longer durations better at dissolving stubborn filament buildup. After soaking, gently dislodge softened debris with a fine tool like a needle or toothpick. Clean away residual particles with a small brush, then dry the nozzle thoroughly before reinstalling. Finally, perform a test extrusion to verify the nozzle’s cleanliness and proper function.
Use Tools and Solvents for Effective Nozzle Cleaning
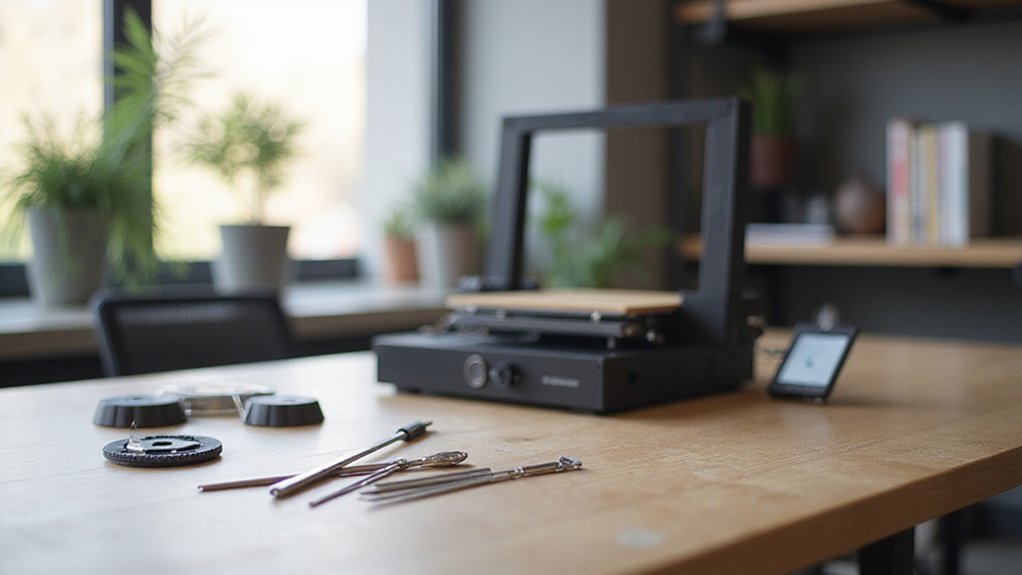
Using the right tools and solvents is crucial for effectively cleaning your 3D printer nozzle. Start with manual clearing tools like a cleaning needle or thin wire, heated slightly above the nozzle’s printing temperature to soften residue. Gently insert the needle and move it back and forth to dislodge debris without scratching or damaging the nozzle surface. For stubborn clogs, use a small drill bit or precision pin carefully, ensuring you don’t damage the nozzle opening.
Brushes also play an important role; a brass wire brush can clean melted filament from the exterior without causing scratches, while stiff-bristled brushes help remove surface buildup around the nozzle. Solvents like acetone for ABS or ethyl acetate for PLA are effective at soaking stubborn deposits for several hours, loosening deposits for easier removal. Applying a heat gun or a controlled flame can soften gunk before cleaning—be cautious to avoid overheating or warping the nozzle. For metal nozzles, a controlled open flame is appropriate, but plastics and composites shouldn’t be exposed to direct flame.
Additionally, understanding nozzle temperature and properly maintaining the heat settings can prevent future clogs, making your cleaning process more efficient. Compressed air is useful for blowing out loosened debris from inside the nozzle and surrounding area, ensuring a thorough clean. Always use these tools and solvents with proper safety measures, working in a well-ventilated area, and avoid rushing to prevent damaging your nozzle or compromising print quality.
Best Practices to Keep Your 3D Printer Nozzle Clear
Regularly inspecting your nozzle before each print helps keep it clear. Look for burnt plastic, dust, or stray filament pieces that may have accumulated. Removing loose debris promptly prevents it from melting and causing buildup during printing. Always ensure filament ends are cut cleanly to avoid frayed or jagged edges that can drag debris into the hotend. Performing purge and cleaning cycles after changing filament or finishing a print helps remove softened residues and prevents blockages. Additionally, after every print, inspect the nozzle area for any signs of buildup or residue, cleaning it as necessary. Maintaining these habits ensures your nozzle stays clear, resulting in smooth, consistent extrusion and high-quality prints. Proper nozzle maintenance practices are essential for prolonging the lifespan of your 3D printer. Regular use of sublimation printer techniques can also help keep the overall printing environment clean and efficient. Being mindful of nozzle clogging and taking preventive measures is crucial for avoiding unnecessary downtime and ensuring optimal print results.