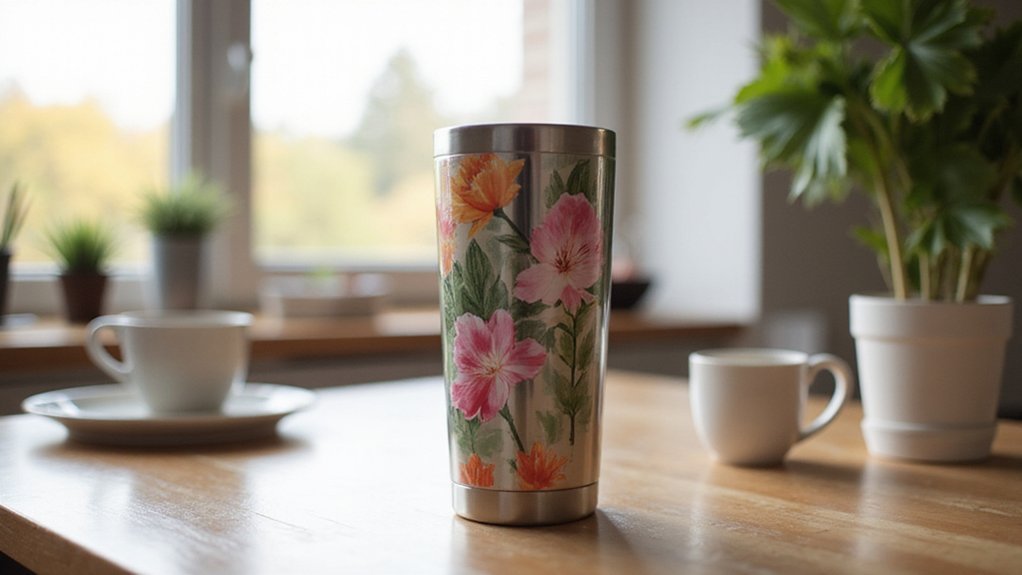
Wondering how to create custom sublimation tumblers that turn out perfect every time? The process involves selecting the right coated tumbler, preparing its surface, and applying a high-quality design with heat.
With a few simple steps and careful attention, you’ll be able to produce vibrant, personalized tumblers that look professional. Keep reading to see how you can master the technique from start to finish.
Understand the Basics of Sublimation Tumblers
Sublimation tumblers are specialized drinkware blanks coated with a polymer layer that accepts sublimation ink during heat transfer. This coating allows the ink to turn into a gas under heat and bond permanently, producing vibrant, durable images. To achieve the best results, you need tumblers that are sublimation-ready—meaning their surface is compatible with sublimation ink. Not all stainless steel or non-coated tumblers will work unless they feature the appropriate coating. It’s also crucial that the tumbler’s surface is smooth, thoroughly cleaned, and fully coated to prevent uneven coloring or defects. Mastering these basics ensures your designs will transfer properly and look professional. Sublimation-ready tumblers are specifically manufactured with a high-quality polymer coating designed for heat transfer, which significantly improves the vibrancy and longevity of your customized designs. Additionally, choosing tumblers that are sublimation-compatible ensures better heat conduction and adhesive qualities, resulting in more vibrant and durable prints.
Prepare and Print Your Tumbler Design (Mirror Image)
Before printing your tumbler design, it’s essential to prepare it at a high resolution—ideally 300 DPI—to guarantee crisp, vibrant results. Use design software like Adobe Illustrator, Canva, Photoshop, or GIMP to create your artwork, matching the design size to the tumbler’s 8–10 inch height and 7–9 inch circumference. Set the layout in landscape orientation for wrap-style designs. Crucially, perform image flipping—mirror the design before printing—to ensure the final transfer reads correctly. This step is indispensable for text and detailed images, as it prevents backward printing. Enable the mirror setting in your printer or software, then preview to confirm it’s correctly mirrored. Proper preparation ensures your sublimation tumbler turns out sharp, professional-looking, and mistake-free. Additionally, check the print preview to verify that the design is correctly positioned and fully within the printable area, preventing misalignment, and ensure you are using a high-quality printer capable of producing vibrant sublimation images. Remember that an understanding of printing instructions can help you troubleshoot common issues during the process.
Choose the Right Materials and Equipment for Sublimation
Choosing the right materials and equipment is crucial for vibrant, durable sublimation on tumblers. Start with poly-coated tumblers or blanks specifically made for sublimation, as they ensure compatibility and strong ink bonding. Stainless steel tumblers with smooth, even powder coatings tend to produce brighter colors and longer-lasting designs. Glass blanks can work if they have suitable coatings designed for sublimation.
Match your heat source to the shape of your tumbler. For curved surfaces, use a tumbler press or a convection oven combined with heat wraps like silicone bands or shrink sleeves to achieve even heat distribution. Use a sublimation printer loaded with sublimation ink and compatible paper to generate high-quality transfer designs. Properly secure the transfer with heat-resistant tape to prevent shifting during heat application, and protect your workspace with butcher paper or heat-shrink wraps to catch any excess ink or protect surfaces. Additionally, understanding the cost factors involved in equipment and supplies can help you make smarter investment decisions and avoid unnecessary expenses.
Always prioritize safety. Handle hot blanks with heat-resistant gloves and work on a sturdy, heat-resistant mat to avoid accidents. Ensuring all equipment is used correctly and safely will result in better sublimation results and a safer working environment.
Clean Your Tumbler Surface Before Wrapping
Cleaning your tumbler surface before wrapping is essential for vibrant sublimation results. Use isopropyl alcohol ranging from 70% to 99% concentration to thoroughly wipe down the entire surface with a lint-free cloth or pad. This removes oils, dust, and debris that can cause imperfections or dull your design. Wipe in a circular motion to eliminate any invisible oil films and re-wipe if residue remains. Allow the alcohol to evaporate completely—usually 1 to 2 minutes—and then use air to speed drying, ensuring no wet spots stay. Proper cleaning creates a smooth, residue-free surface, which is key to achieving high-quality sublimation with bright, crisp colors. Thorough cleaning also helps remove any residues from previous sublimation attempts, ensuring the new design bonds properly.
Wrap Your Tumbler and Ensure Proper Contact
To ensure your sublimation transfer appears crisp and vibrant, wrapping the tumbler tightly and maintaining proper contact between the paper and surface is crucial. Begin by carefully aligning the design on the paper so it is straight and the edges line up smoothly around the tumbler. Extend the paper slightly beyond the ends to provide full coverage. When applying the wrap, pull it tightly to minimize gaps and keep the paper flush against the curved surface. Secure the seam with heat-resistant tape, starting at the seam and overlapping as needed to prevent shifting during heating. Use a scraper or credit card to press out any bubbles or pockets, smoothing the wrap evenly. Proper tape application and precise design alignment are key to achieving a professional-looking finish. Maintaining consistent contact ensures even heat transfer and vibrant results. Additionally, choosing the right tape with adequate heat resistance helps prevent shifting or peeling during the process.
Set Up Your Heat Press or Oven for Sublimation
To properly set up your heat press or oven for sublimation, start by adjusting your heat source to the correct temperature. For a heat press, set it to around 380–400°F, following the manufacturer’s guidelines, and allow it to preheat. This preheating stabilizes the temperature, ensuring even transfer. Calibration is crucial—test with a spare blank to verify that the heat press reaches and maintains the target temperature accurately. If you are using an oven, set it to the appropriate substrate temperature, typically in the same range. Make sure the oven heats evenly to avoid uneven color transfer. Use a thermometer to regularly check the oven’s temperature and make adjustments as needed. Following the manufacturer’s instructions for your specific equipment will give you the best results and help create a smooth sublimation process. Proper calibration ensures consistent results across projects.
How to Apply Heat and Pressure Correctly: Step by Step?
To apply heat and pressure correctly, set your heat press to the recommended temperature, typically between 350°F and 400°F. Adjust the pressure using the machine’s tension controls to apply medium, firm pressure, ensuring the blank remains snug against the heating surface without deforming the tumbler or handle. Before heating, securely fasten your wrap with heat-resistant tape, maintaining consistent contact to prevent shifting during pressing. For handles, use gentle pressure to avoid damage. To ensure even heating, rotate the tumbler 180 degrees halfway through if your press allows. Keep a close watch on the timing, generally around 50 to 60 seconds, and check the transfer after pressing for vibrant and even results. Proper pressure adjustment is crucial for achieving high-quality sublimation on tumblers. Additionally, consider the shiny side position of heat transfer vinyl to ensure optimal adhesion and appearance during the process.
Cool, Peel, and Finish Your Sublimation Tumbler
Allow the tumbler to cool completely before handling to ensure safe removal and maintain the quality of your design. Rest it on a cooling rack for 1 to 2 minutes, or a few minutes longer if recommended by your specific materials. During this time, avoid using heat-resistant gloves to prevent burns and make delicate peelings easier. When cool enough, carefully peel away the shrink wrap, paper, and tape in a smooth motion to prevent smearing or shifting of the design. Ensure the peel is even and gentle to protect the vibrant transfer and sharp edges along seams, as well as at the top and bottom of the tumbler. Proper cooling techniques are essential to prevent design smudging, which can occur if the sublimation ink hasn’t set properly. Insufficient cooling can lead to design smudging, so patience is key. Inspect the transfer visually, confirming full coverage, bright color saturation, and crisp edges. Pay special attention to seams and the edges at the top and bottom to sure everything is secure and well-defined. Remember that temperature control during cooling is crucial for maintaining the integrity of your design. Gently remove any remaining residues, such as adhesive or paper remnants, and check for any imperfections like trapped moisture or misalignments. Once cleaned, allow the tumbler to reach room temperature to guarantee the design remains vibrant and properly aligned, resulting in a professional, finished appearance.