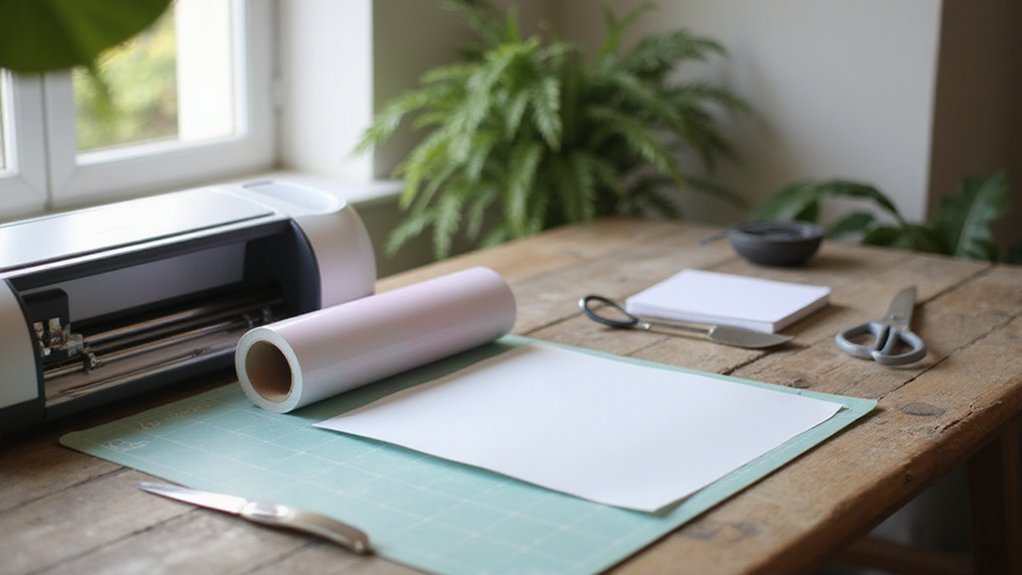
Struggling to get permanent vinyl to stick smoothly with your Cricut? The right technique can make all the difference for a clean, long-lasting finish.
By mastering the steps from design to application, you’ll be able to create professional-looking projects that stay put.
Keep reading for the simple process that will transform your vinyl crafting.
Why Choose Permanent Vinyl for Your Cricut Projects?
Permanent vinyl is the best choice when you need a long-lasting, durable finish for your Cricut projects. Its strong adhesive ensures your design stays intact even after frequent handling or outdoor exposure. With a wide range of colors available, matching your project’s aesthetic or theme becomes simple and straightforward. This versatility makes it suitable for both indoor and outdoor applications. Proper surface preparation, like cleaning with alcohol and ensuring a smooth surface, is essential for maximum adhesion. When applied correctly, permanent vinyl produces clean, reliable results that are perfect for decals, labels, and decorative accents. Additionally, understanding adhesion properties can help you select the best surface for your project, ensuring longevity and durability. Recognizing the surface interactions can also help you troubleshoot adhesion issues and achieve optimal results. Knowing how different surfaces interact with permanent vinyl can significantly impact the success and durability of your project.
Design Your Vinyl in Cricut Design Space
Once you’ve chosen your project canvas in Cricut Design Space, you can start creating your vinyl design. Focus on color coordination by assigning different colors to each layer, which is especially important for layered vinyl projects. This step helps prevent mistakes during layering and ensures a professional finish. Use simple shapes like squares or rectangles to align elements and handle registration points easily. Add text or images for custom graphics, and resize your design to fit your blank surface while maintaining clarity. Group related elements to simplify editing and use the Offset tool to create outlines or borders. For layered designs, duplicate colors as needed to separate cut layers, making assembly smoother. Keep your design organized in one project file, and make adjustments to size, alignment, and spacing before sending it to cut for a polished, professional look. Proper alignment and layering are crucial for a clean final product, especially when working with multiple layers or intricate details. Additionally, paying attention to sublimation paper choices can impact the quality of your final printed design. To ensure your design maintains its integrity during cutting and application, consider checking the vinyl’s adhesive strength to match your project’s needs. Regularly review your design for accurate registration to avoid misaligned layers in complex projects.
Prepare Your Workspace and Vinyl Materials
To guarantee a smooth permanent vinyl application with your Cricut, thoroughly preparing your workspace and materials is essential. Start by selecting vinyl in your preferred color options to match your project’s style. Store your vinyl in a cool, dry place away from sunlight to prevent warping or damage. Using a sharp blade or scissors, cut your vinyl into manageable pieces to avoid waste and facilitate easier handling. Before beginning, clean your blank surfaces with alcohol or rubbing solution to remove oil, dust, and debris. Use a lint-free cloth for a final wipe to ensure the surface is spotless. Keep your tools—transfer tape, weeding tools, scrapers, and squeegees—organized and within easy reach to avoid interruptions. Place your items on a stable, flat surface to prevent shifting during application. Proper workspace organization helps create a seamless process and results that look professional. Additionally, understanding material durability can assist you in choosing the right vinyl for outdoor or high-wear projects. Preparing your vinyl and tools in advance helps create a seamless process and results that look professional. Ensuring your workspace is well-prepared can also minimize material waste and improve your overall results. Proper setup makes all the difference in achieving a clean, precise finish.
Cut Your Vinyl With the Cricut Machine
Before you start cutting your vinyl with the Cricut machine, ensure your material settings are correctly configured in Design Space. First, select the exact vinyl type you’re using, such as Permanent or Glitter, from the Materials menu. Confirm that the settings match your vinyl’s thickness and tack level to achieve the best cut. Adjust the cutting speed to a lower setting for thicker vinyl, as slower speeds typically result in cleaner cuts.
If you’re using an older Cricut Explore or Cricut Air, turn the dial to the “Vinyl” setting and verify that the pressure setting corresponds to your vinyl’s thickness. For Smart Permanent Vinyl, activate the “Without the Mat” option in Design Space. Additionally, checking blade sharpness before starting can prevent poor cuts and ensure smooth operation. It’s also important to periodically revisit and maintain your machine, especially when switching between materials, to ensure optimal performance of your cuts. To further improve your results, it’s helpful to understand the importance of proper cutting machine calibration, which ensures your blade depth and pressure are accurately aligned with your material.
Weed Excess Vinyl for a Clean Design
Proper weeding guarantees your vinyl designs look clean and professional. Use the right tools such as hooks, picks, and tweezers, which are gentle and precise. Avoid hard plastic tools that can damage the vinyl.
Start by illuminating your workspace with a bright light or lightbox. This enhancement helps you see cut lines more clearly, reducing errors. Begin weeding by removing the largest excess areas, gently pulling at a 45-degree angle to prevent tears.
For tiny details like inner cavities, slide a weeding hook carefully beneath negative spaces without pushing through the backing. Use precise cutting techniques and lift gently to remove stray vinyl. This approach ensures clean edges and a polished final design. Additionally, understanding the correct placement of the shiny side in heat transfer vinyl is essential for achieving optimal results. Being mindful of transfer tape alternatives can save time and effort during the process. Proper cutting techniques ensure a professional look and minimize errors during application.
Apply Transfer Tape Properly to Your Vinyl
Applying transfer tape properly ensures your vinyl design transfers smoothly and looks professional. Start by cutting the transfer tape slightly larger than your design—about 1 centimeter extra—so you get full coverage and easier application. When applying, begin at one edge and slowly work across the vinyl to minimize bubbles and wrinkles. Curving the tape slightly before placement helps with alignment. Once it’s in position, use a scraper or a credit card to smooth and burnish from the center outward. This step ensures full contact and eliminates air pockets. Peel the liner away slowly at a low angle to prevent lifting the vinyl. If adhesion feels weak, re-burnish and press the tape back onto the design before continuing. Proper transfer tape application can prevent frustration and save time during your project, especially if you use quality transfer tape. Additionally, ensuring your surface is clean and dry before application can enhance the longevity of your vinyl design.
Position and Adhere Vinyl to Different Surfaces
Proper surface preparation and precise positioning are crucial to ensure your vinyl adheres smoothly and looks professional. First, clean the surface thoroughly, removing all dust, grease, and contaminants. For nonporous surfaces like glass, use rubbing alcohol or pharmacy alcohol—avoid ammonia-based cleaners, as their residue can interfere with adhesion. Make sure the surface is completely dry before applying the vinyl.
When positioning, measure the area and mark reference lines with masking tape to ensure straight alignment. Temporary hinges or center-based placement can help you position decals accurately. On flat surfaces, place the vinyl lightly without pressing until you’re satisfied with the positioning. For curved or uneven surfaces, stabilize the object and work in smaller sections, applying steady pressure as you go. For glass or smooth surfaces, a damp method—spraying a mixture of water and dish soap—allows you to reposition the vinyl easily without tearing or sticking prematurely. Understanding surface compatibility can assist in selecting the right adhesive type for long-lasting results. Knowing how to use transfer tape effectively can also simplify the process by making repositioning easier and ensuring a clean transfer of the vinyl.
Remove Transfer Tape and Ensure Lasting Bond
To remove transfer tape effectively and ensure a lasting bond, peel slowly at about a 45-degree angle while applying steady pressure. This technique helps prevent the vinyl from lifting or stretching. Avoid pulling straight up, as it can damage the design or cause distortion. For delicate graphics, re-burnish lifted areas with a scraper or your finger, then peel again only after the vinyl re-adheres securely. If the tape resists removal, warm it with a hair dryer to soften the adhesive—just avoid overheating, which can cause vinyl damage. To create a durable bond, burnish the vinyl firmly from the center outward, ensuring the surface is clean and dry beforehand. Proper surface preparation and careful tape removal are essential for a professional, long-lasting finish. Applying additional pressure can help release stubborn transfer tape. Understanding how vinyl transfer tape interacts with various surfaces can further improve your results and protect your project.
Troubleshoot Common Vinyl Application Issues
If vinyl doesn’t stick as expected, the first step is to ensure the surface is thoroughly cleaned and degreased. Dust, oils, and residues can significantly weaken adhesion. Use a clean cloth and a mild cleaning solution, then dry completely before application. Applying firm, even pressure with a scraper, brayer, or credit card helps to establish good contact. When working with transfer tape, burnish from both sides to improve bonding. For tricky surfaces or stubborn vinyl, consider using a stronger adhesive variety or applying a surface primer, but always follow safety precautions for these treatments. Air bubbles and wrinkles often result from uneven smoothing; to prevent this, apply the vinyl slowly from the center outward and use a scraper to remove trapped air. Proper alignment before pressing down and applying extra pressure around edges can prevent lifting over time. Additionally, using the right type of vinyl for your surface can greatly improve adhesion and, if problems persist, try adjusting your technique or switching to a different vinyl type compatible with your surface for better results.