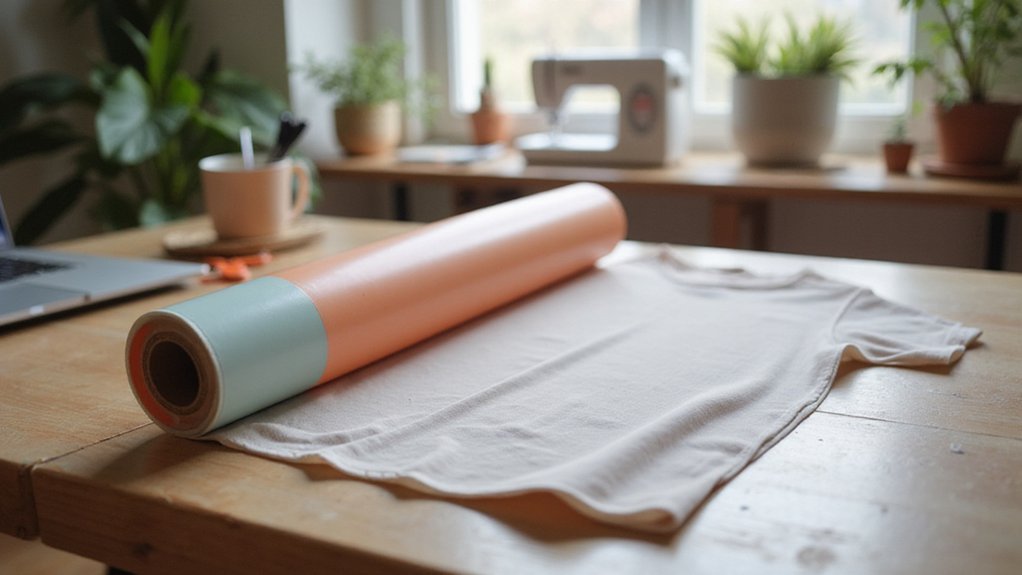
If you’re curious about adding custom designs to your fabrics, heat transfer vinyl is likely what you need. It’s a special material that bonds to fabric with heat and pressure, creating vibrant, long-lasting images without glue.
By understanding the different types and application tips, you’ll be ready to create professional-looking projects. Keep reading to learn everything you need to know about heat transfer vinyl.
What Is Heat Transfer Vinyl and How Does It Work?
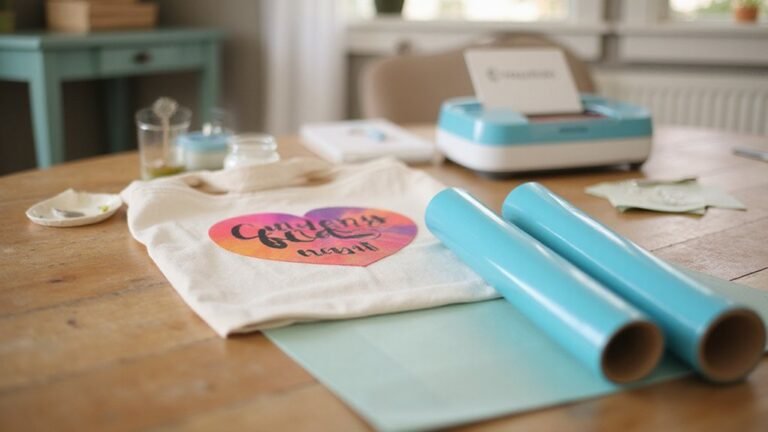
Heat transfer vinyl (HTV) is a special type of vinyl film that adheres to fabrics using heat and pressure instead of glue or ink. It features a sticky adhesive on one side that activates when pressed with a heat press or an iron. When applied correctly, the heat causes the adhesive to fuse with the fabric fibers, creating a permanent, flexible bond that won’t peel or crack over time. Once cooled, you peel away the carrier sheet, leaving your crisp, vibrant design securely attached. This technique allows for precise customization, producing professional-looking results without mess or mess. HTV is especially popular for decorating T-shirts, hats, bags, and other fabric items because of its durability, color variety, and ease of use. HTV can be layered, enabling the creation of multi-color and complex designs. Understanding the application process is essential for achieving long-lasting, professional results when working with heat transfer vinyl. Additionally, recognizing the importance of the correct tools and equipment, such as the appropriate heat press or iron, helps ensure optimal adhesion and finish. Furthermore, understanding the compatibility with different fabrics can help make sure your designs last and look their best on a variety of materials.
Which Types of HTV Are Best: Polyurethane or PVC?
Polyurethane (PU) HTV is generally the better choice for projects requiring flexibility, durability, and comfort. It is softer and more pliable than PVC HTV, making it ideal for apparel that stretches and moves. PU offers superior compatibility with stretchy fabrics and tends to withstand repeated washing without cracking or peeling. It also provides a more environmentally friendly option compared to PVC, which is thicker, firmer, and often more budget-friendly but less eco-conscious. Your selection should consider the project’s need for flexibility and washability, and environmental impact. Additionally, proper application techniques can significantly enhance the longevity of your HTV projects. Understanding heat transfer vinyl weeding techniques can also help you achieve cleaner and more professional results, ensuring your designs last longer seamlessly.
How Do You Properly Apply Heat Transfer Vinyl to Fabrics?
To properly apply heat transfer vinyl (HTV) to fabrics, start with surface preparation. Pre-press the fabric or garment for 2 to 10 seconds to remove moisture and smooth wrinkles. This ensures an even surface and better adhesion. Use a dry, steam-free, flat, and firm surface—preferably not an ironing board—to smooth out any folds or trapped air that could cause adhesion issues. Mark the design’s placement beforehand because repositioning after pressing can be difficult and may damage the vinyl or fabric. Ensuring the fabric is at the correct temperature before application can improve the adhesion process, which helps the vinyl to stick better and last longer. Proper surface preparation and the environment can impact the effectiveness of heat transfer, so proper preparation is key. Cut the design in reverse to ensure it appears correctly once applied. Weed away the excess vinyl carefully, and use heat-resistant tape if needed to secure the design in place before pressing. Set your heat press or iron to the manufacturer-recommended temperature and pressure specific to your vinyl type. Apply firm, consistent pressure for the recommended duration and then peel away the carrier sheet either hot or cold, depending on the vinyl instructions. A quick peel helps prevent stretching the fabric or leaving adhesive residue, resulting in a durable, professional finish. Proper understanding of sublimation-compatible printers can also influence the quality of the final design.
What Are the Key Factors for Successful HTV Projects?
Achieving a successful HTV project depends on several critical factors. First, ensure your material is compatible with your surface. HTV adheres best to heat-resistant, smooth, and clean surfaces, so surface contamination or dust can compromise adhesion. Proper surface preparation involves thoroughly cleaning and drying the material beforehand.
Next, pay attention to design setup. Always mirror your images before cutting to prevent upside-down or reversed designs, and scale your files accurately to avoid placement errors. For beginners, simpler designs—those with fewer small details—are recommended to reduce issues during weeding and application. The design complexity can significantly impact the ease and success of your project.
Using your vinyl cutter correctly is essential. Match your machine settings to the specific type of HTV you use, and work patiently to weed small or intricate sections accurately. Precise weeding prevents issues during transfer, especially for detailed designs.
The application process itself requires careful control of heat, pressure, and time. Typically, a temperature around 305°F for 10 to 15 seconds yields best results, but always verify with a thermometer to ensure consistency. Applying too much heat can damage the vinyl or the surface, while too little might lead to poor adhesion. Consistent pressure ensures proper bonding without distorting the design.
Another important factor is understanding the heat transfer process, which influences how effectively the vinyl bonds to the material under heat and pressure conditions. Proper technique during transfer ensures durability and longevity of your design.
Finally, consider sustainability. Eco-friendly HTV options are increasingly available, offering similar performance with less environmental impact. Regardless of type, following these factors closely will significantly improve your chances of a successful HTV project.
How Can You Troubleshoot Common HTV Application Problems?
To troubleshoot adhesion problems such as poor sticking or lifting, check your temperature, pressure, and application time. Each HTV type requires specific conditions; under-pressing is a common cause of failure. Use the dollar bill test: if it slips out easily from the closed press, your pressure is too low. Apply firm, even pressure across the entire design and re-press weak spots as needed to ensure complete adhesion.
Proper surface preparation is crucial for a successful transfer. Remove wrinkles, moisture, and residue from the fabric before application. Pre-wash garments to eliminate oils or dirt that can hinder adhesion. For coated fabrics, lightly clean with isopropyl alcohol to remove any finishing residues. Additionally, move obstructive seams or zippers out of the way for a smooth surface. Testing heat and pressure settings on scrap material can help you identify the best conditions, preventing adhesion issues and resulting in a longer-lasting, cleaner transfer. Understanding proper application techniques can also help you achieve consistent, high-quality results with HTV. For sublimation blanks, applying heat transfer vinyl requires understanding the compatibility of materials, as not all sublimation blanks are suitable for HTV application.