Wondering how to get your permanent vinyl project to stick and stay looking perfect? The key is in the prep work and careful application.
Once you’ve designed and cut your decal, there are simple steps to ensure it adheres well and lasts over time.
Keep reading for a straightforward process to help your vinyl project turn out just right.
Prepare Your Surface for Vinyl Application
To ensure proper adhesion, thoroughly prepare your surface before applying permanent vinyl. Begin by cleaning the area with mild soap and water to remove dirt, grease, and grime. Use a lint-free cloth or microfiber towel to prevent fibers from leaving marks or residues. Rinse the surface completely to eliminate any soap residue, as it can weaken the vinyl’s sticking power. For stubborn oils or contaminants, wipe the surface with an isopropyl alcohol wipe or a suitable solvent. Dry the area entirely with a lint-free towel or let it air dry, making sure no damp spots remain. Inspect closely to eliminate dust, fibers, or smudges before applying the vinyl. Avoid applying vinyl on textured, porous, or uneven surfaces unless specified as compatible, as these can prevent proper adhesion and affect the finished look. Durability depends heavily on surface preparation and cleanliness, so taking extra care can significantly increase the longevity of your project. Additionally, using a clean and smooth surface can make it easier to achieve a flawless application. Remember, proper surface preparation is essential for textile or non-flat surfaces, especially when working with various materials, to ensure a secure and lasting bond. Follow these steps to create a clean, smooth, and residue-free surface, ensuring your vinyl sticks securely and looks flawless.
Design, Cut, and Weed Your Vinyl
To achieve clean and precise results, you need to properly design, cut, and weed your vinyl. Start by creating your pattern with accurate color matching, ensuring the colors you choose complement your project. Place the shiny side of the vinyl facing up on a standard grip mat, aligning it straight to ensure smooth and accurate cuts. Use a 45-degree blade for optimal results, and always perform a test cut first to set the correct machine settings. Proper settings, a sharp blade, and good vinyl storage are key to producing clean edges and preventing tears. During weeding, work in small sections under good lighting. Remove the outer excess vinyl first, then carefully weed out intricate details. Use a vinyl weeding tool for better control, and employ tweezers to reposition small pieces accurately for a precise finish. Additionally, understanding Cricut transfer tape can help you achieve seamless application and protect your intricate designs during transfer.
Apply Transfer Tape and Position the Decal
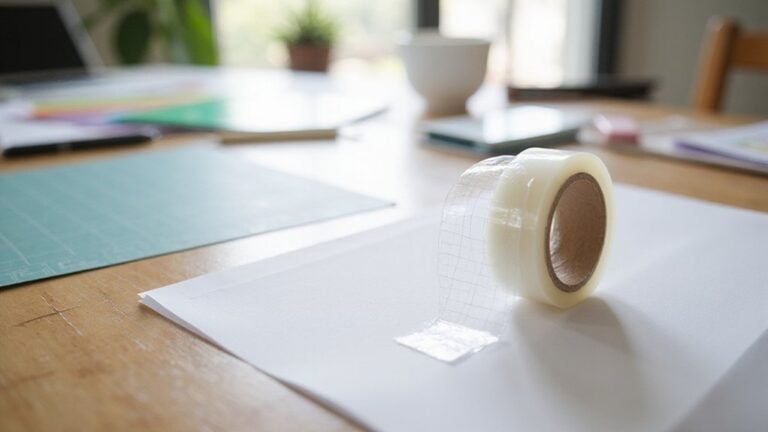
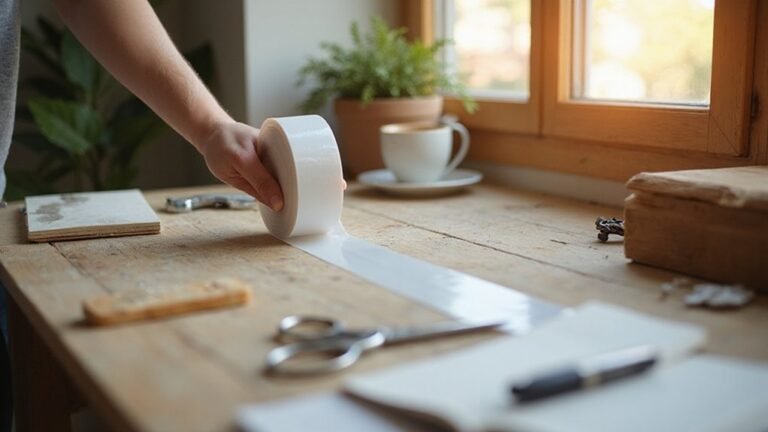
To apply transfer tape and position your decal correctly, start by cutting the tape slightly larger than the vinyl decal. This ensures full coverage, including edges and small details. Carefully peel off the backing of the transfer tape, then position it over the decal. For larger designs, use the “taco” method—folding the tape into a taco shape—to prevent bubbles and wrinkles during application.
Align the transfer tape with the edges of the decal and pay close attention to maintain straightness for a professional look. For large decals, a center-first or hinge approach helps achieve precise placement. Once positioned, smooth the tape onto the design from the center outward, applying firm, controlled pressure. This technique reduces the risk of trapping air and forming bubbles. Proper handling ensures accurate placement and helps prevent the formation of bubbles or wrinkles during application. Using the application techniques can also improve the overall adhesion and appearance.
Before transferring the decal to the final surface, re-press any areas that lift or are not fully adhered. Take your time to ensure the transfer tape is secure, as this will directly impact the decal’s ease of placement and overall appearance.
Burnish and Remove Transfer Tape Properly
Begin removing the transfer tape slowly at a consistent, steady angle to prevent lifting of the vinyl. Use your hand or a tool to peel back the tape carefully, avoiding sudden jerks that can cause tears or distortions. Watch closely for any lift points—if a section lifts, lay the tape back down, press it gently into place with your burnishing tool, and then continue peeling. Maintain gentle, even pressure along the peel line to keep fine details intact. Before starting, ensure the surface is free of dust, oil, or moisture because debris can interfere with adhesion and make removal more difficult. Properly preparing and controlling your removal process helps achieve a smooth, clean transfer and preserves the details of your design. Additionally, proper surface preparation, such as cleaning with rubbing alcohol, plays a crucial role in ensuring the decal remains intact during removal. Handling the transfer tape with care can also influence tape reusability, allowing for multiple uses if the tape maintains its tackiness and remains undamaged during removal. Knowing how to iron-on permanent vinyl properly can also improve your results and prevent mishaps during application and removal.
Cure, Care, and Maintain Your Vinyl Decal
Proper curing is essential for the longevity of your vinyl decal. Allow at least 24 hours for apparel and 48 to 72 hours for mugs and tumblers before washing or regular use. During this period, keep the item undisturbed on a clean, dry surface, and avoid exposing it to high friction or abrasion. To ensure optimal adhesion, avoid exposing your decal to excess moisture during the curing process. When cleaning, use cold or warm water with a mild soap, steering clear of harsh chemicals and abrasive cleaners that could damage the vinyl. Air drying is preferred; if you must use a dryer, select a low heat setting and turn items inside out to prevent heat damage. Protect your decal from excessive friction, strong chemicals, and prolonged exposure to sunlight or UV rays. Proper surface preparation prior to application and careful maintenance afterward are key to preserving both its appearance and adhesive strength over time.