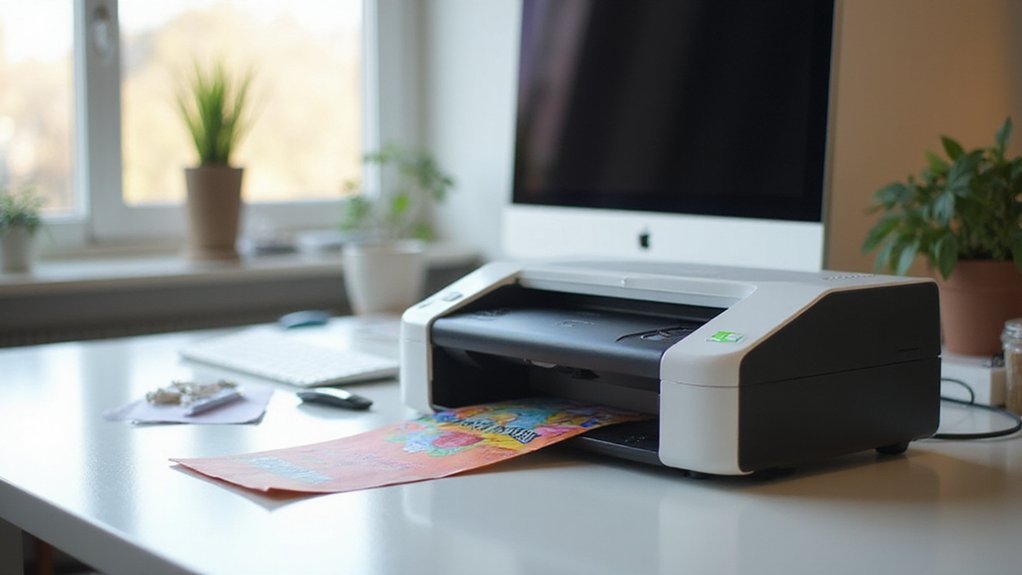
Want to create vibrant, personalized items with a sublimation printer? Knowing the right steps ensures professional-looking results, from selecting the right equipment to the proper printing and pressing techniques.
By mastering these basics, you’ll be able to produce durable designs on fabrics, ceramics, and other surfaces. Keep reading for a simple, step-by-step guide to get you started.
Understanding the Sublimation Printing Process
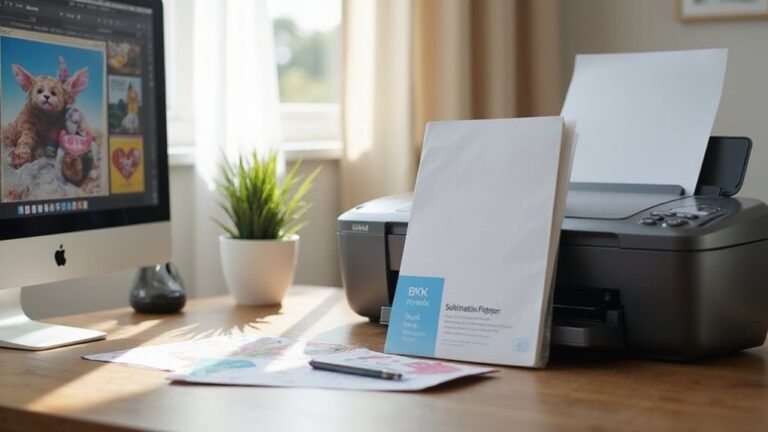
Understanding the sublimation printing process begins with knowing how heat transforms ink from a solid into a gas, allowing it to form a permanent bond with the substrate. Sublimation ink is specially formulated to vaporize at high temperatures, typically around 380°F. Transfer paper types are coated to hold the dye securely until heat releases it, ensuring precise transfer. When you heat the transfer paper and substrate together, the ink vaporizes and penetrates the surface, especially on polyester fabrics or polymer coatings. The high temperature and pressure help the dye embed into the fibers, creating an image that becomes an integral part of the material. As the substrate cools, the gas solidifies, resulting in a durable, vibrant image that remains. Understanding the sublimation paper and its role in ensuring successful transfers is crucial for achieving high-quality results. The choice of printing equipment also plays a significant role in the overall quality of the sublimation process. Additionally, selecting the appropriate heat press settings can greatly influence the transfer quality and durability.
How to Choose the Right Sublimation Printer and Materials
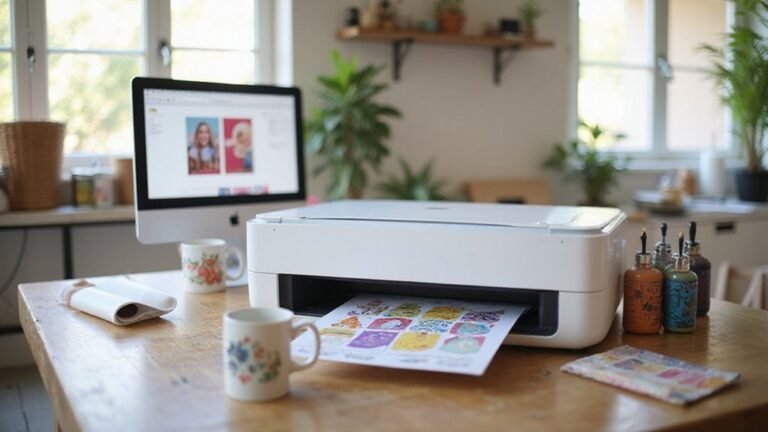
Choosing the right sublimation printer and materials starts with assessing your specific printing needs and budget. Begin by verifying printer compatibility—look for models like Epson SureColor, EcoTank, or WorkForce series that are designed to support sublimation ink. Standard inkjet printers generally won’t work with sublimation without modifications, so it’s important to ensure the printer you select is compatible from the start. EcoTank printers are a popular choice because of their cartridge-free, refillable ink systems, which help keep ongoing costs low. EcoTank models, such as the ET3760 or ET4950, are ideal for sublimation due to their refillable systems and high page yields. Next, focus on ink options. Ensure your printer supports high-quality sublimation ink that provides vibrant colors and consistent results. The quality of the ink directly impacts the final appearance of your prints. Consider your expected production volume as well; larger printers and models with higher duty cycles are better suited for high-volume jobs, while smaller, more user-friendly models work well for beginners or low-volume projects. Additionally, understanding printer capabilities such as color management and resolution can greatly influence your satisfaction with the final product.
Designing and Preparing Your Sublimation Image
Proper design and preparation are essential to ensure your sublimation images turn out sharp and vibrant. Start by setting your canvas size to match the printable area of your product, using product-specific templates if available. This step prevents cropping or misaligned artwork. Use a resolution of at least 300 DPI to ensure crisp details; higher DPI can improve the quality of small or intricate designs. Select the correct color mode, preferably RGB or sRGB, to maintain accurate colors during printing. Save your artwork in suitable formats such as PNG, TIFF, JPEG, or AI, based on your workflow requirements. Keep critical elements within the safe print area to avoid accidental trimming. If your design covers the entire surface, add a bleed area to ensure full coverage after trimming. Lastly, always mirror your design horizontally before printing to compensate for the transfer process, which will flip the image during sublimation.
Setting Up Your Printer for Perfect Sublimation Prints
To set up your sublimation printer correctly, start by ensuring it is dedicated to sublimation or conversion-ready, with sublimation ink installed in the correct channels—never use standard inkjet ink. Check that the reservoirs or cartridges are filled properly and remove any packaging or setup labels before installation. Install the appropriate printer driver, register your device, and add it to your system settings to enable smooth communication between your computer and the printer. Using a dedicated printer helps maintain optimal print quality and prevents ink contamination. Proper paper handling is essential to achieve high-quality prints. Load sublimation paper securely in the correct tray, matching the media size specified in your software. For larger formats, use bypass trays to prevent jams and misalignment. Always verify the paper orientation before printing to avoid unwanted mirrored images or incorrect outputs. Adjust your print settings to include options such as mirror image, high print quality, and the appropriate paper profile. Running nozzle checks before your print job ensures your printer’s heads are clean and responsive. Check that the printer is ready, free of errors, and fully operational prior to starting your sublimation process. Regular printer maintenance routines are crucial for maintaining consistent, professional results, especially when using specialized ink systems to ensure quality and longevity.
Printing and Drying Your Sublimation Image
To ensure your sublimation image transfers correctly, start by using the right side of the paper facing the print head. This prevents smudging and ensures sharp details. Select the proper print settings, such as high-quality mode and the right paper type, to achieve accurate colors and fine details. Proper color management, including color profiles and calibration, helps maintain hue accuracy from print to transfer. Check ink compatibility to avoid issues like smudging or unexpected color shifts during printing.
Use sublimation paper that is correctly sized for your project, wrinkle-free, and thoroughly dry before printing. Wrinkles or excess moisture can cause ghosting or uneven transfers. Set your printer to the recommended paper setting and ensure the ink system is compatible with sublimation inks. Run a test print and perform a nozzle check to confirm ink flow and consistency, which prevents surprises during the full print run.
After printing, allow the sheet to dry completely—typically about 5 to 10 minutes—before handling. Keep the printed sheet flat during this time to avoid smudging or ghosting, which can ruin the transfer quality. Proper drying combined with careful handling results in a vibrant and clear image during sublimation. Following these steps ensures your sublimation process delivers a clean, crisp, and colorful transfer every time.
Preparing and Securing Your Sublimation Blank for Transfer
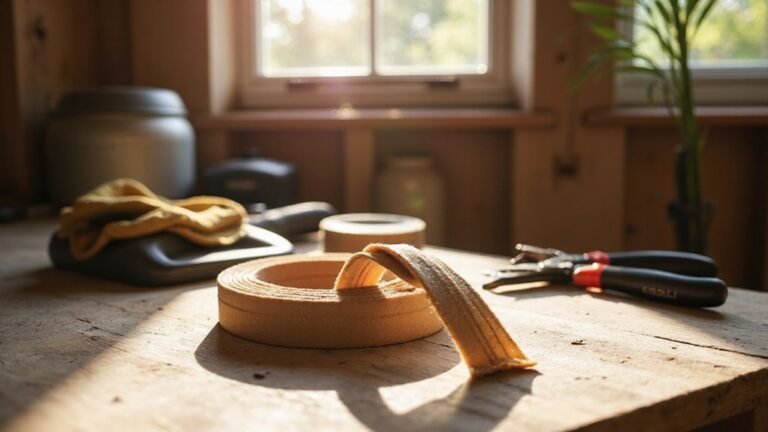
Proper surface preparation is crucial before transferring your sublimation design. Start by cleaning the surface thoroughly using a lint-free cloth to remove dust and debris. Follow this with an alcohol wipe or isopropyl alcohol to eliminate oils, fingerprints, and residues that could prevent proper adhesion or cause uneven transfers. For fabric blanks, run a brief pre-press for about 10 seconds at the recommended temperature to smooth out wrinkles and reduce moisture. Always remove any protective film or coating before positioning the transfer. Confirm the transfer paper size matches the blank’s dimensions to ensure precise alignment. When placing the transfer, position the printed side face down on the blank and carefully align the design exactly where you want it. For curved surfaces like mugs or tumblers, wrap the transfer tightly and use heat-resistant tape to secure all edges. Proper securing prevents shifting during pressing, leading to sharper, more accurate transfers. Understanding transfer tape and its role can also help ensure your design stays in place and adheres smoothly during heat application.
Performing the Heat Transfer: Tips for Temperature, Pressure, and Timing
Achieving the best sublimation transfers requires precise control of temperature, pressure, and timing. Keep a close eye on the temperature because many heat presses can vary by 5 to 10°C from the display reading. Accurate pressure calibration ensures even contact across the entire transfer surface. For fabric transfers, set your heat press to 375–400°F and press for 45–55 seconds with medium pressure. Hard surfaces like ceramic tiles or metal usually need 400°F and slightly longer, around 50–90 seconds, with firm pressure. Mug presses operate at about 400°F for 180–240 seconds, so they require longer cycles. Consistency is key—use a countdown timer to prevent over- or under-pressing. Always preheat your press fully before starting. When working on delicate or uneven surfaces, consider placing protective sheets to improve transfer quality and avoid damage. Monitoring temperature accurately is crucial for consistent results.
Finishing Your Sublimation Project and Troubleshooting Common Issues
To finish your sublimation project successfully, proper cooling and transfer paper removal are essential. Allow the substrate to cool completely before lifting the transfer paper to prevent blurring, ghosting, or shadowing. Wait until the item no longer feels warm to the touch to ensure the ink has set. Handling the item while it’s still hot can cause the design to smudge or lose sharpness. Use protective layers like butcher paper during the cooling process to keep excess ink from transferring onto the press and to facilitate easier cleanup. When removing tape or transfer paper, do so only after the item is fully cooled and can be handled without shifting, which helps maintain precise alignment and prevent double images. For apparel, avoid handling immediately after pressing, as this can cause the design to double or smudge. After completing the pressing, check that the full color transfer is vibrant, the design is properly aligned, and coverage is complete. Handle finished items with clean hands to prevent smudges or fingerprints, and store them carefully to avoid defects or damage before use. Troubleshoot common issues like ghosting, inconsistent colors, or blurred edges by inspecting process controls such as temperature, pressure, and timing to ensure optimal results. Additionally, monitor the machine’s performance regularly to maintain consistent heat and pressure levels, which can significantly impact the quality of your final product. Understanding proper cooling techniques can further enhance the durability and appearance of your sublimation prints.