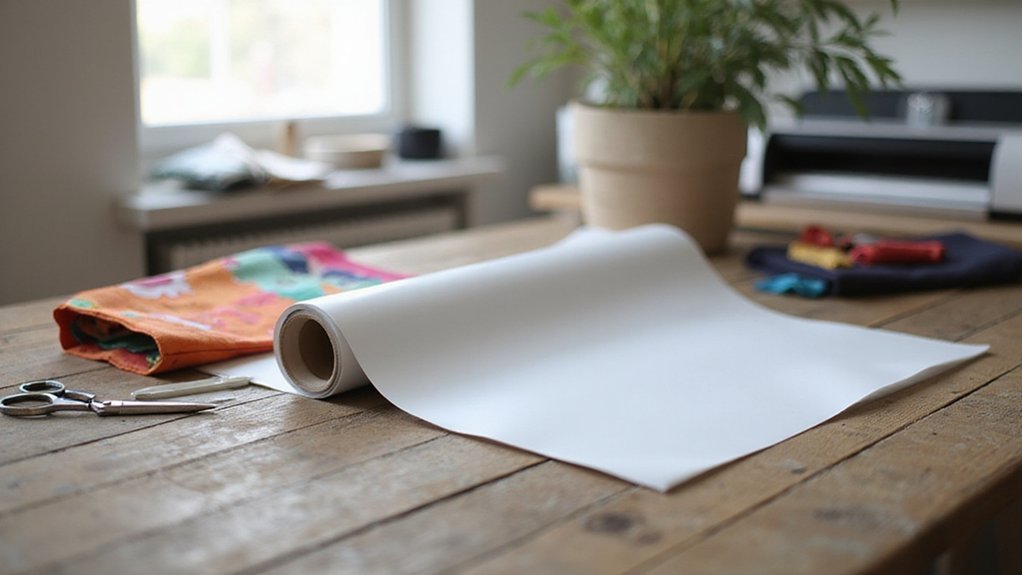
Ever wondered which side of heat transfer vinyl (HTV) to place down for the best cuts and easy application? The shiny side is what you want on the bottom when you cut, ensuring the adhesive is ready to stick when you press.
Knowing how to identify the right side and mirror your design before cutting makes all the difference in your crafting success.
Keep reading to master this simple but crucial step.
Understanding the Difference Between Shiny and Matte Sides of HTV
The shiny side of Heat Transfer Vinyl (HTV) is typically the carrier sheet, which appears glossy, smooth, and reflective. The matte side is the actual vinyl layer, which has a duller, less smooth surface with more texture. To distinguish between the two, look for the color contrast: the shiny side reflects more light and feels slick, while the matte side absorbs light and feels slightly rubbery. Recognizing these surface differences is essential for proper application—you need to place the correct side down for cutting and heat transfer. Visual cues such as printed patterns and shiny surfaces help confirm the identification. Choosing the right side ensures a clean cut and a secure transfer, reducing errors and helping your project turn out as expected. Additionally, understanding the different sides of HTV can prevent mistakes during application, especially when using specialty vinyls that may have unique surface treatments. Being aware of the carrier sheet properties can help you handle the vinyl more efficiently and avoid workspace mishaps.
A key aspect to consider is the adhesion qualities of each side, which directly impact the durability and appearance of your finished design.
How to Tell the Shiny Side From the Matte Side of HTV
To tell the shiny side from the matte side of HTV, start with visual cues. The shiny side typically appears glossy, smooth, or slick under normal light, while the matte side looks dull and less reflective. Check which surface matches the carrier sheet; usually, the glossy side corresponds with the carrier sheet. Feel the texture: the carrier sheet is generally smooth and slick, whereas the vinyl side feels more textured or rubbery. Conduct a light and reflection test by holding the HTV near a light source— the carrier sheet reflects more light. A peel or corner test is reliable: the carrier sheet should peel away easily without leaving vinyl residue. Always verify with manufacturer instructions for best results. Additionally, understanding the shade and surface finish of the HTV can help distinguish the sides more accurately. Sometimes, the adhesive backing may also provide clues, as it tends to be more adhesive on one side than the other. Knowing how the heat transfer process works can also assist in identifying the correct side more effectively.
Why Mirroring Your Design Is Essential Before Cutting
Mirroring your design before cutting is essential to ensure the final product appears correctly. Without mirroring, asymmetrical patterns or text will print backward once pressed onto fabric since the adhesive side faces down and the shiny side faces up. Engaging the mirror function in your design software guarantees that the design reads properly after pressing. Always verify the mirrored preview before sending your file to cut, as this step prevents costly mistakes. The cutter works on the backside of the heat transfer vinyl (HTV) sheet, following the flipped cut path, so proper orientation on the cutting mat is crucial. If you neglect to mirror your design, you’ll waste material and risk ruining your transfer. Most design software, like Cricut Design Space, includes a mirror tool that should be used to produce accurate results on your fabric. Proper identification of vinyl type also ensures you select the correct mirroring process, especially when working with different vinyls.
Step-By-Step: Cutting HTV With the Shiny Side Down
Ensure your heat transfer vinyl (HTV) is placed with the shiny side facing down on the cutting mat before starting. This positioning aligns the adhesive properly, which is crucial for achieving a clean cut and making weeding easier afterward. When loading the vinyl, follow manufacturer instructions by placing the carrier sheet with the shiny side down and the dull side up. Always create and mirror your design before sending it to cut, as this prevents errors when applying the finished transfer. Confirm that your cutter settings match the HTV’s thickness and adhesive quality to avoid cut-through issues, especially since color variations in HTV can influence how it cuts. Proper placement and equipment adjustments are key to a smooth transfer process and a professional-looking result. Checking the manufacturer’s guidelines ensures compatibility, which helps maintain the quality and longevity of your design. Additionally, understanding heat transfer vinyl’s composition can guide you in selecting the right settings and handling techniques for best results. Recognizing removable vinyl’s uses can also inspire new ideas and applications for your projects. Moreover, knowing resin 3D printer’s features can expand your creative options for custom project accessories and embellishments.
How to Identify the Correct Side of HTV When Unsure
To identify the correct side of HTV when unsure, start by examining the visual cues. The carrier sheet is typically shiny, glossy, and highly reflective, often appearing clear or transparent. It feels slick and smooth to the touch. The vinyl layer itself tends to be dull or matte, with less reflectivity and a more textured, rubbery feel. You should see the design color on this side. Performing a corner peel test by gently lifting a small corner of the vinyl; if it separates easily from the carrier sheet, you have the correct side. If it resists or stays attached, you may have the wrong side. Curling edges can also provide clues: the side with a slight curl is often the vinyl layer. Additionally, consult the manufacturer’s guidance, as most HTV products include arrows or labels indicating the correct cutting side. Using these visual and tactile cues ensures you cut on the proper side, leading to cleaner transfers and better results. Proper side identification is essential to avoid mistakes and ensure a smooth application process. Recognizing the visual differences between the sides is especially helpful for new makers still learning to distinguish the layers. Checking the material properties of the HTV can also help, as the carrier sheet is generally more durable and less flexible than the vinyl layer itself.
Fixing Common Cutting and Weeding Mistakes With HTV
To avoid common cutting and weeding mistakes with HTV, ensure you’re cutting on the shiny carrier side down. This orientation directs the blade to cut through the vinyl layer rather than the carrier sheet, resulting in cleaner cuts. Always perform test cuts when switching brands or thicknesses, adjusting settings based on your results to improve accuracy. During weeding, start from the outer edges of the design and work inward to prevent removing small details accidentally. Use gentle tugging and stabilize the design with the mat to prevent tearing or lifting. If errors occur, carefully remove flawed sections using tweezers or a scraper held at a 45-degree angle. You can also re-cut the design or cover mistakes with an extra HTV piece. Developing proper habits like these minimizes errors and leads to more professional-looking results. Additionally, becoming familiar with the proper orientation of the vinyl can significantly impact cutting accuracy and overall quality. Understanding the importance of correct blade settings can further enhance your cutting precision and prevent common mistakes.
Best Practices for Applying HTV to Fabric for Lasting Results
Proper fabric preparation is crucial for a long-lasting HTV application. Start by pre-washing your fabric without fabric softener to remove any residues that could interfere with adhesion. Washing and drying the fabric beforehand is especially important for new garments or fabrics with sizing. Pre-press the fabric for 3 to 5 seconds to eliminate moisture and wrinkles, which helps the HTV adhere smoothly. Use a firm, flat surface like a heat press or a hard table to ensure even pressure. Turn off steam to prevent it from weakening the bond. When applying HTV, place the carrier sheet facing up and check that your design is mirrored for correct orientation. Precise placement and alignment are essential because HTV cannot be repositioned after pressing. For best results, choose a heat transfer vinyl compatible with your fabric type and match colors carefully to improve both durability and visual appeal. Additionally, selecting the appropriate heat-resistant tape can help secure your design during pressing and prevent shifting. Using a properly calibrated heat press will further ensure uniform heat distribution, leading to a more durable and professional finish. To maximize adhesion strength, considering the fabric’s fiber content can also influence the longevity of your HTV application.